
The easiest way to customize your Chromebook is to rearrange the apps on the system shelf and launcher. Here’s how to do it in a few easy steps.
Quick links
Do you use your Chromebook or ChromeOS tablet for work, school, or at home for personal things like social media and web browsing? You don’t have to be bound by how it is configured out of the box, or how an administrator has it set up for you. Like many other operating systems like Windows, you can customize the way ChromeOS looks and feels, to suit your specific needs. That’s in addition to accessorizing your Chromebook with mice, docks, and other cool stuff.
One of the most basic customization options for Chromebooks is the ability to rearrange apps on the ChromeOS system shelf you see at the bottom of the screen. Otherwise, you can also rearrange apps as you see them listed in the ChromeOS launcher, which you invoke by pressing the Chromebook keyboard’s Everything button or the circular button in the bottom left of the screen. We’ll explain how you can do both of these things today in a few simple steps.
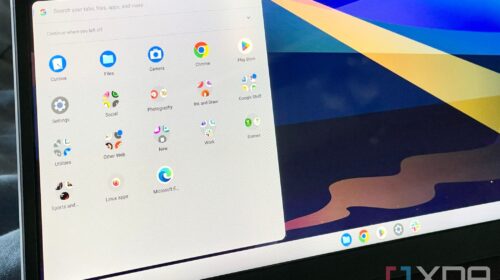
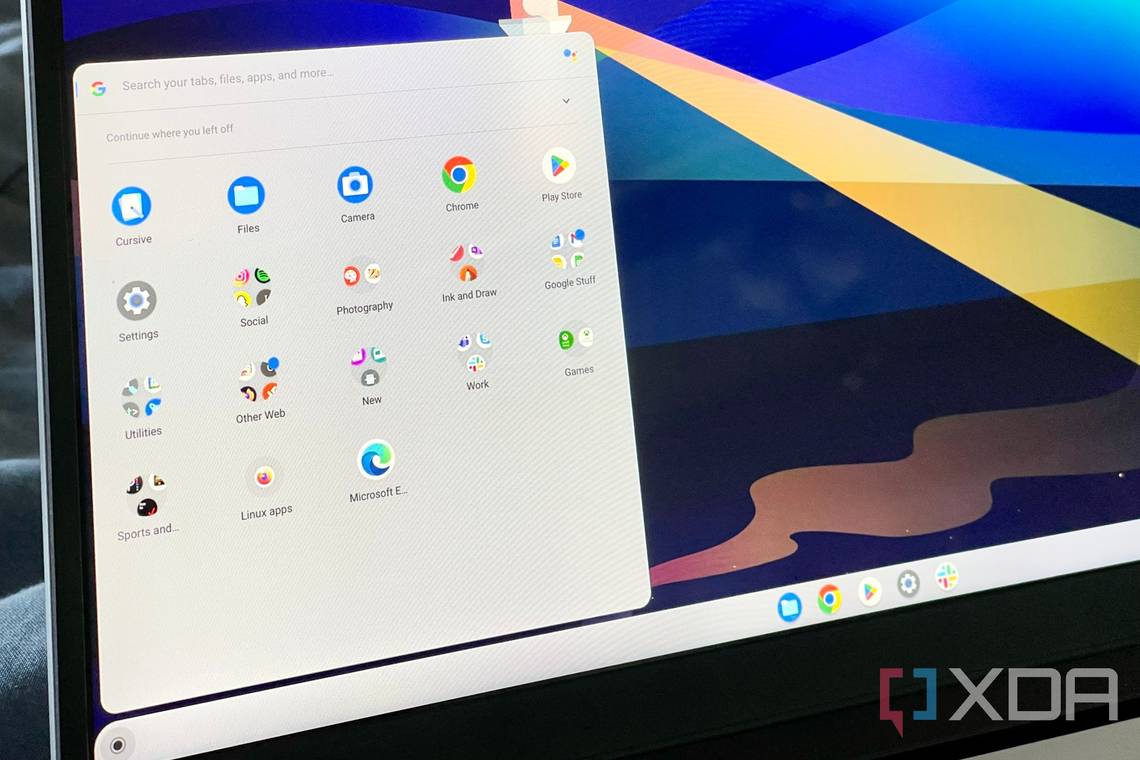
How to rearrange apps on the ChromeOS launcher
The ChromeOS launcher equals the Windows Start menu. In fact, it used to be a full-screen experience, but with ChromeOS 100, Google has tweaked the launcher so that it is now much smaller and more like the Windows 11 Start Menu, but with touches like a “pick up where you left off” section at the top and a Google search bar. The launcher is the home for all of the apps on your Chromebook. Here’s how you can customize it.
- Open the ChromeOS launcher by clicking on the circular icon in the lower left corner of your screen. If you have a ChromeOS tablet, just tap it with your finger.
- To rearrange the apps on the launcher, just hover over the app icon with your mouse, click and hold it, and then drag to where you want it. Other apps will move out of the way automatically.
- On a ChromeOS tablet or Chromebook with a touch screen, just tap and hold the icon, then drag it to an empty space where you want it.
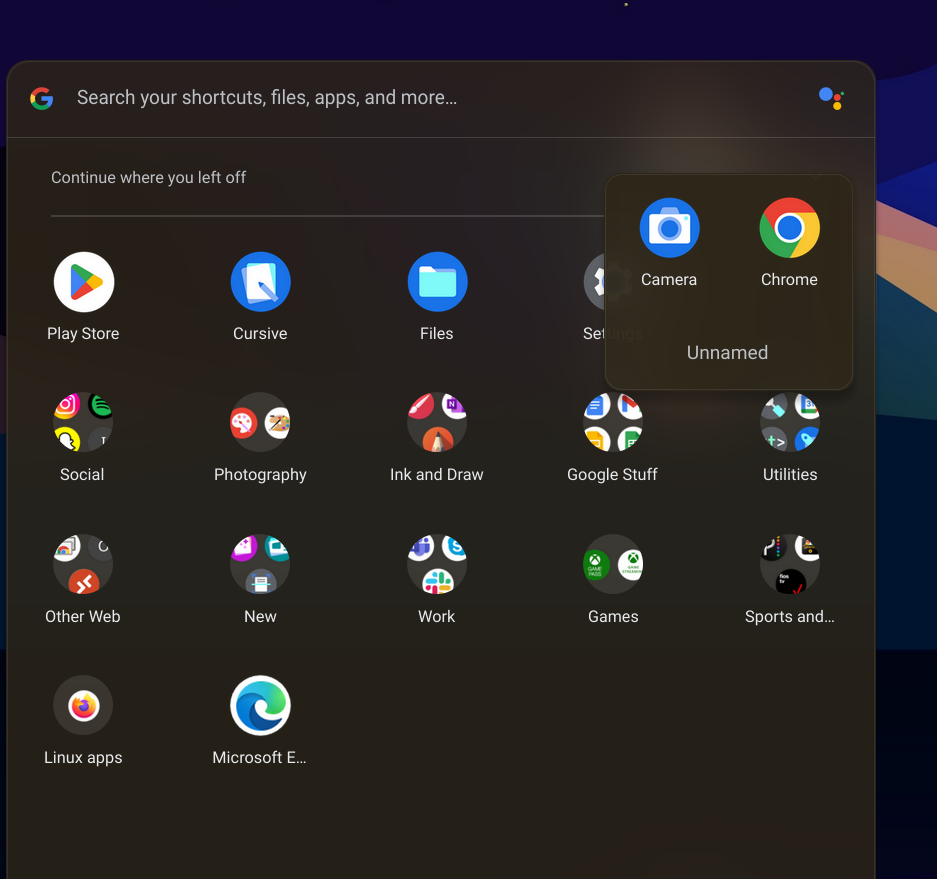
- To create a folder on the ChromeOS launcher, hover over an app icon, long-click it, and then drag it over another icon. A popup will appear allowing you to name the folder. If you drag all icons from the folder, the folder will be deleted.
- To create a folder on the ChromeOS launcher on a ChromeOS tablet or Chromebook with a touch screen, tap and hold an app icon, then drag it over another app icon. You will see the created folder, after which you can name it.

How to rearrange apps and install new apps to your Chromebook shelf

Similar to the taskbar in Windows 11, or the dock in macOS, you can pin apps to your Chromebook’s shelf. The shelf is the area at the bottom of the screen that contains your running apps and any apps you’ve chosen to install. Installed running apps will have a small circular indicator at the bottom to let you know that there is a window open on the screen. Uninstalled running apps will appear to the right of the small divider in the middle of the shelf. With those basics explained, here’s how to rearrange apps and install new apps to your Chromebook’s shelf.
How to install new apps on your Chromebook shelf
We’ll first start by installing the apps on the Chromebook shelf. This allows you to access your favorite apps without having to go to the ChromeOS launcher every time you want to open it.
- Open the ChromeOS launcher by clicking on the circular icon in the lower left corner of your screen. If you have a ChromeOS tablet, just tap it with your finger.
- Find the icon for the app you want to pin to the shelf.
- Move your mouse over the icon. If you have a ChromeOS tablet, you can also long-press the icon to call up a menu.
- On a Chromebook without a touchscreen, press and hold alternative on the keyboard while hovering over the icon, then right-click on it at the same time.
- Select a file Install on the shelf Selection.
At any time, you can remove the app you installed. On a touchscreen Chromebook, just long-press the icon on the shelf and select decode. On Chromebooks without a touch screen, hover over the icon and press and hold alternative on the keyboard, then right-click and select decode.
How to rearrange apps on the Chromebook shelf
Now that you’ve pinned some apps to your Chromebook shelf, you can rearrange them, too. All it takes is a few clicks.
- Hover over the icon you want to rearrange on the ChromeOS shelf.
- Press and hold it, then drag it. Don’t let go of your click until the app goes where you want it.
- For ChromeOS tablets or Chromebooks with a touch screen, just press and hold the icon and drag it where you want it.
That’s all there is to pinning apps to the Chromebook shelf, and rearranging those pins. We will now move on to how to customize the ChromeOS launcher.
That’s all there is to rearranging apps on the ChromeOS launcher and also on the ChromeOS shelf. It’s a really simple process. We suggest pinning important apps to the shelf like the Settings app or the Google Play Store. Then, with the ChromeOS launcher, you can create individual folders for work and school apps, games, photography, social media, and more. It’s a great way to make your Chromebook more personal.
[ad_2]


