

Part of the benefit of having a great Windows laptop is the ability to run Microsoft PowerShell, which is a task-based command-line tool often taken advantage of for system administration and task automation. But did you know that if you own a great Chromebook or even a premium ChromeOS tablet, you can use PowerShell on it too?
Using PowerShell on ChromeOS requires some extra work because it requires Linux to be enabled. But since PowerShell is cross-platform and open source, it still works great on a Chromebook. You can get started in just a few simple steps.
How to install PowerShell on a Chromebook
To install PowerShell on your Chromebook, you’ll need to enable Linux application support. If you haven’t already enabled it, we’ve condensed the steps below into steps 1-6. You’ll also need to download the installer file for the Linux version of PowerShell from Microsoft’s GitHub for the latest Linux version. It will be listed as a DEB file. Also note that if you install PowerShell on a Chromebook, you won’t get support for Windows-based commands.
- Open the Chrome OS Settings app by tapping on the time, then selecting settings icon.
- He chooses advanced in the sidebar.
- He chooses developers.
- He chooses Linux development environment and click His job.
- Follow the steps on your screen and choose a username and size for your Linux environment.
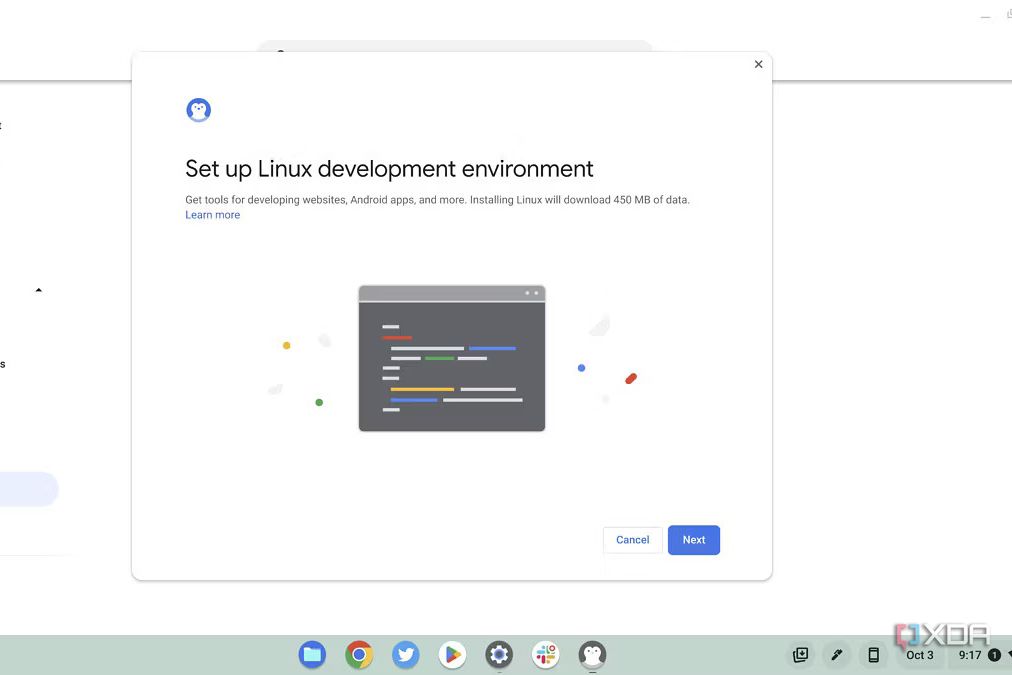
- When done, you will see a terminal window. close it.
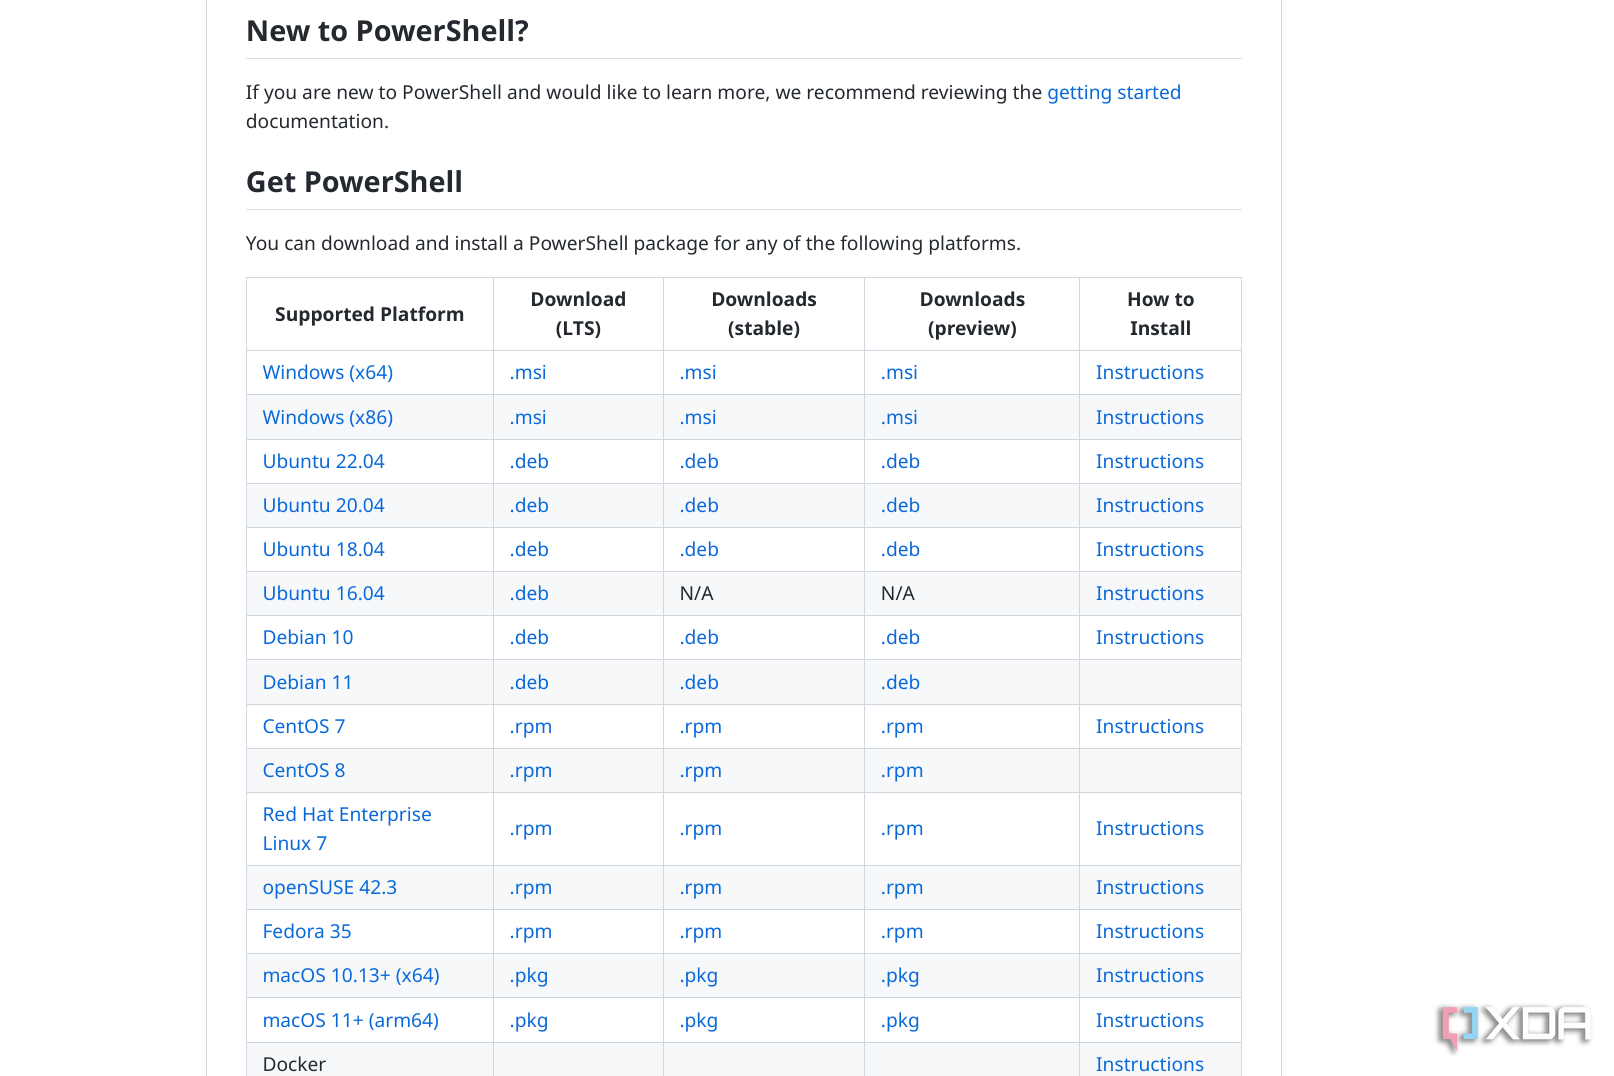
- go to PowerShell installation web page.
- Mouse over Ubuntu 22.04.2019 in the list, and click to download the DEB file listed below stable.
- open the ChromeOS Files app.
- go to downloads.
- Double-click to run the PowerShell installation file you downloaded.
- In the popup that appears, choose the color blue install button.
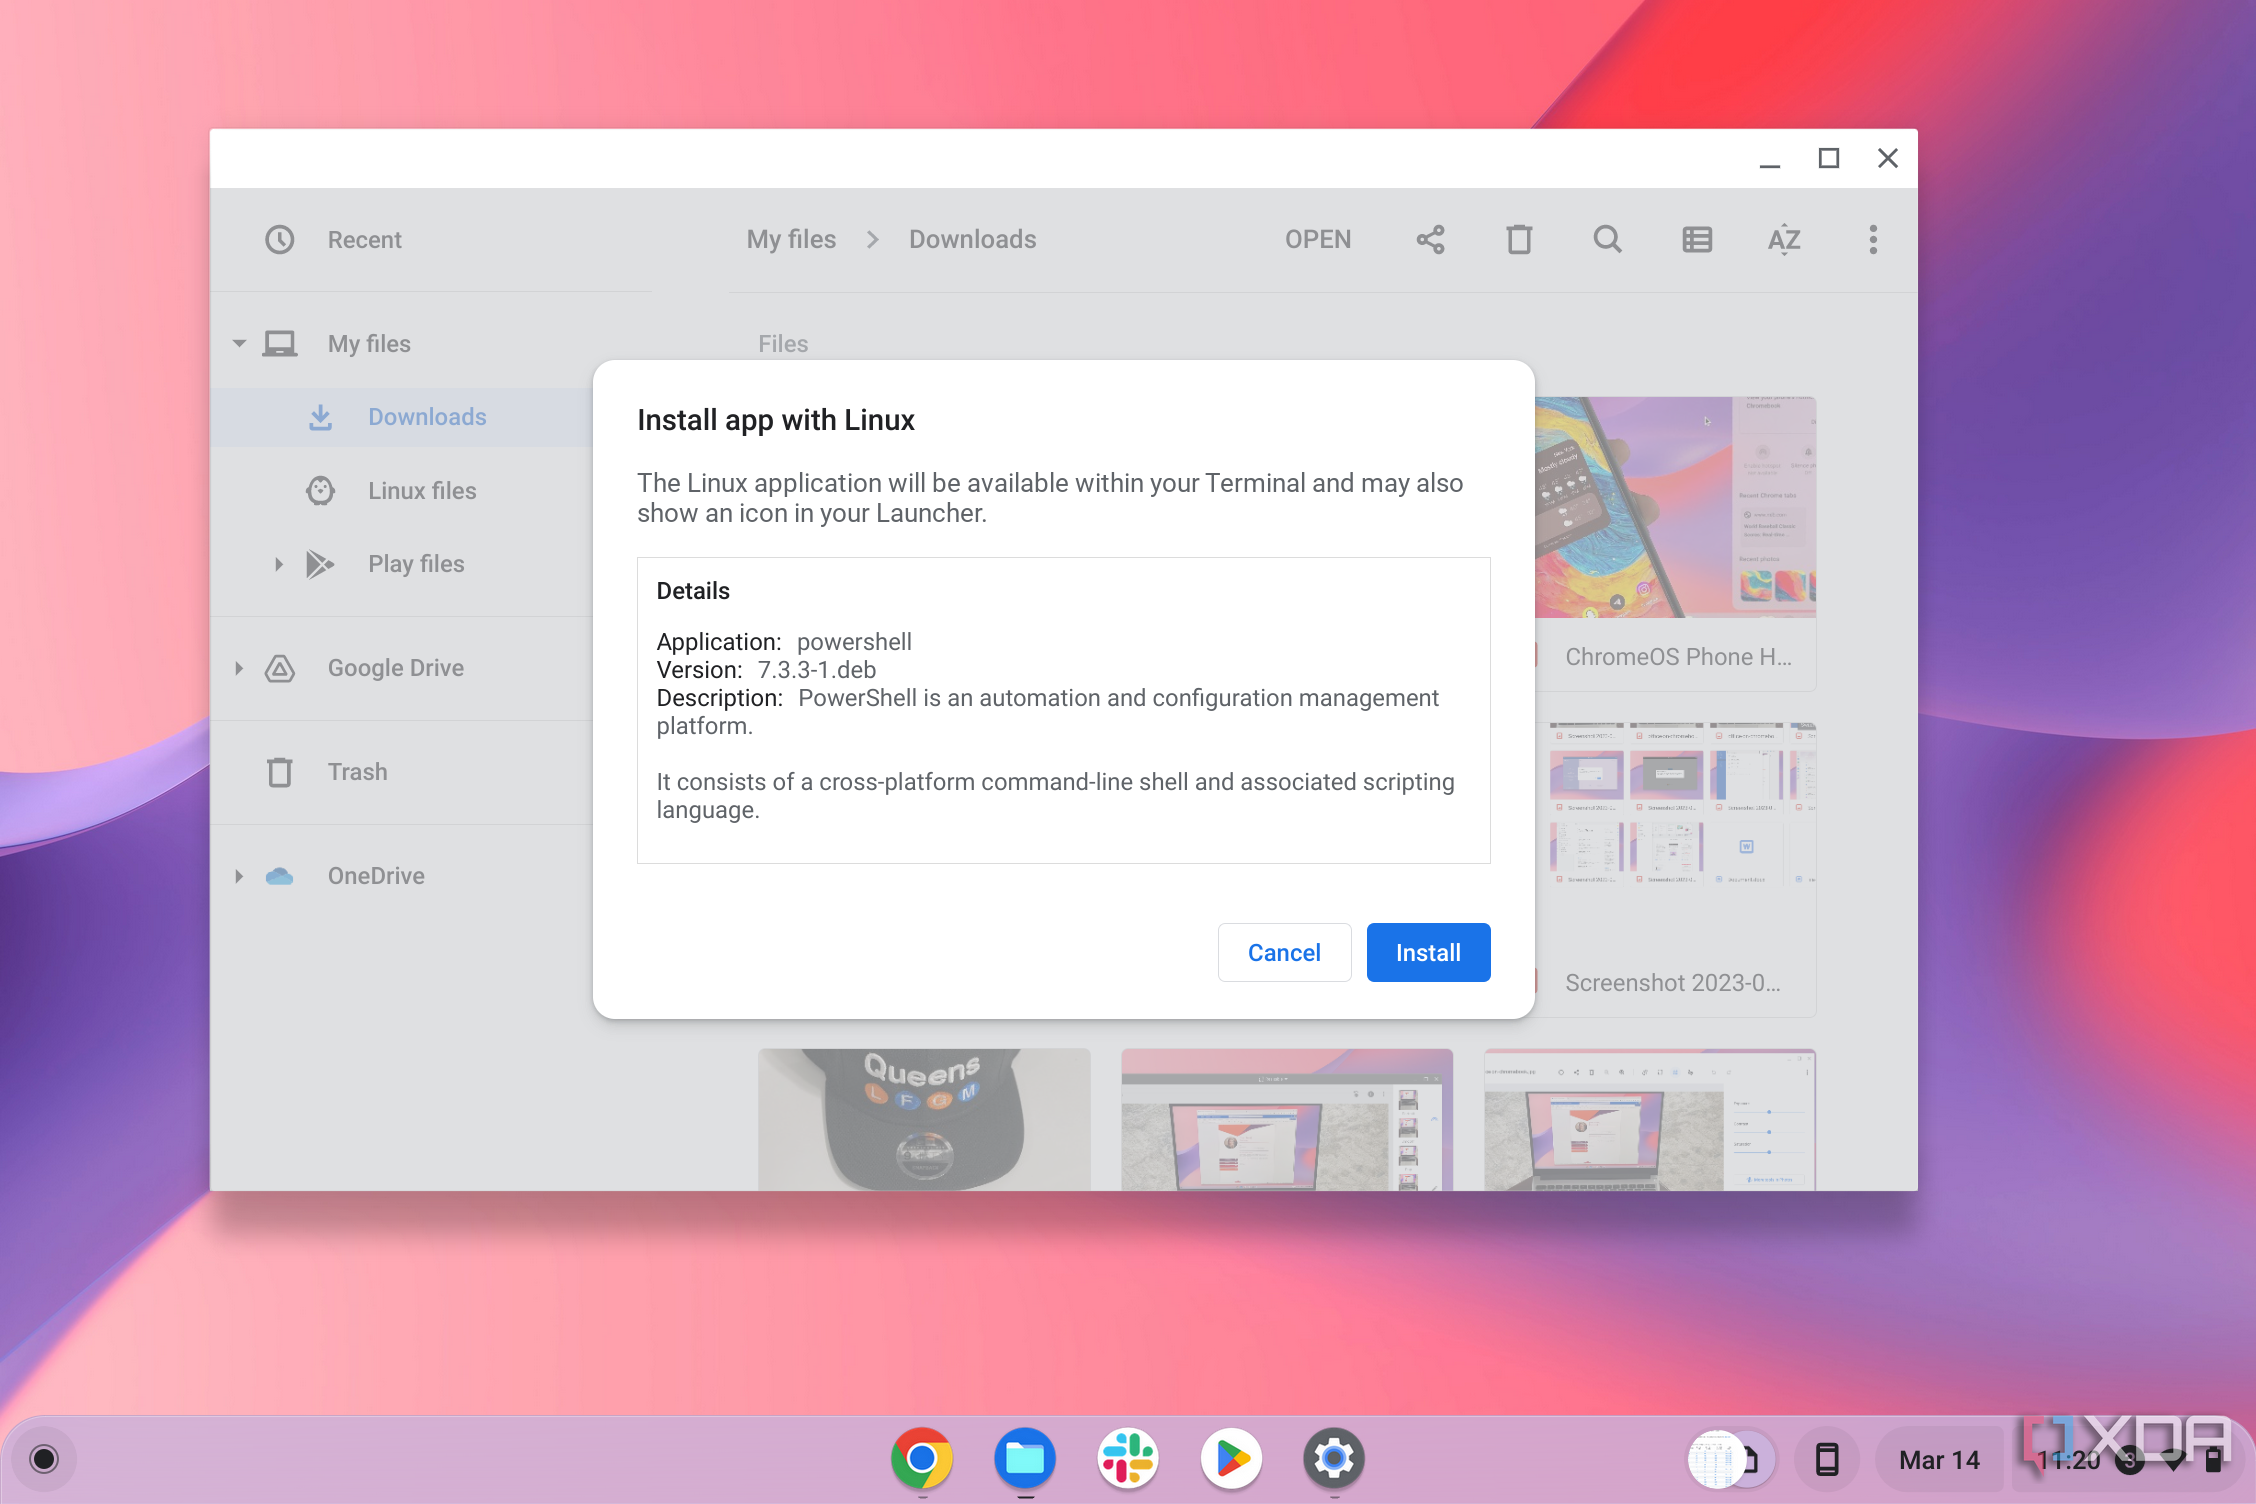
- You will see a file Linux installer prompt at the bottom of the screen. It will alert you when the installation is complete.
- Open the Linux terminal by searching for lounge In ChromeOS launcher and check penguin.
- unacceptable pwsh Then press Enter on your keyboard to launch PowerShell.
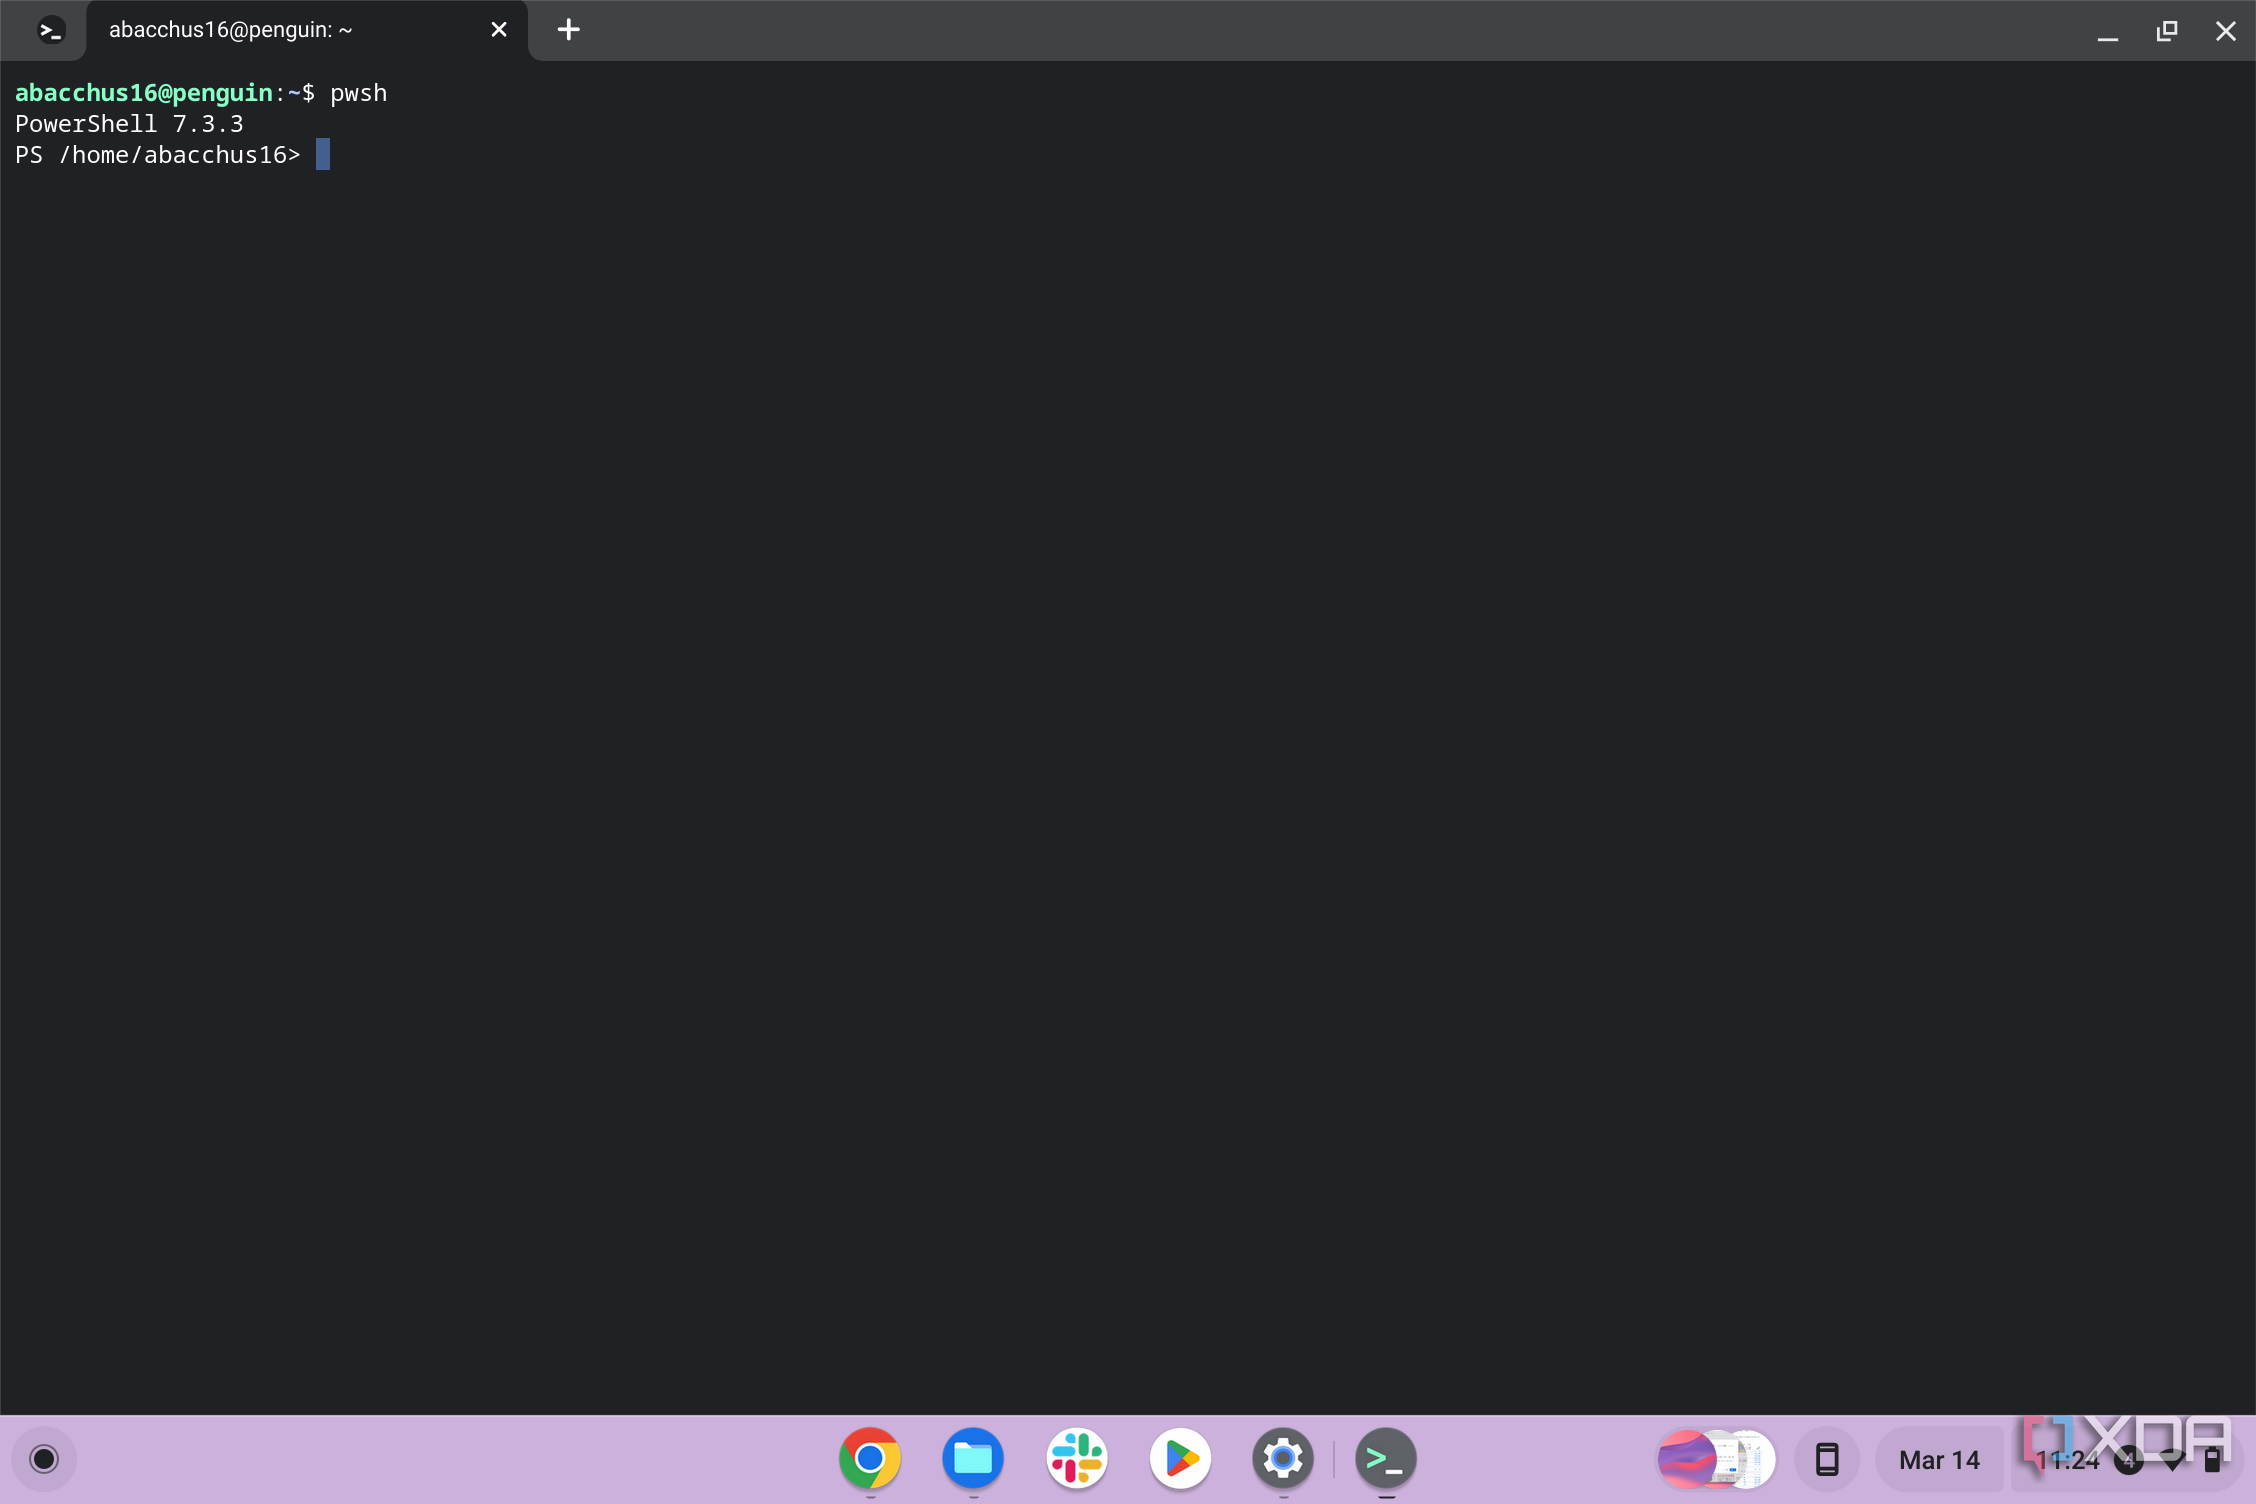


You can now type PowerShell commands! There isn’t much to PowerShell on ChromeOS, as it doesn’t replace any existing terminal apps like Penguin. If you prefer, you can set it as the default terminal using the code below.
sudo chsh -s /usr/bin/pwsh $USER
However, keep in mind that if you go this route, unlike Windows, updating PowerShell requires some extra effort. You will have to go through this process again every time a new version is released and download it manually. There is no way to update it automatically.
If you run into issues with PowerShell itself, you can remove the app using the command below.
sudo apt remove powershell
That’s it! This is how to install PowerShell on a Chromebook. We also have guides for running Android apps on a Chromebook and editing photos on a Chromebook if you want to unlock more functionality on your Chromebook.
[ad_2]


