Windows 11 has been out for over a year now, and it’s one of the best operating systems the company has made. The initial release of Windows 11 brought a completely new design language with more gradients, colors, and rounded corners, along with several redesigned apps. Recently, the Windows 11 2022 Update has made more updates, adding new touch gestures for tablets, revamping the Task Manager, and much more. But Windows 11 is still new to many of us, thanks in part to its high system requirements, plus it’s an optional update. If you want to get Windows 11 on your computer, there are several ways to do so.
Even if you’re not looking to upgrade, sometimes it can be a good idea to do a clean install of Windows 11, just to get things in order and make the experience smoother again. It can also help if you start to notice some issues with the operating system. As such, let’s take a look at all the major ways you can download and install Windows 11 on your computer.
before downloading
Before we start, the first thing you want to do is make sure that your PC meets the system requirements for Windows 11. If you’re running Windows 10, you might find some new requirements that are hard to meet, such as 4GB of RAM or a 64-bit CPU or TPM 2.0 module. In fact, there is a list of compatible CPUs, and it’s a fairly limited list.
Regardless, it’s always best to be on the safe side before doing upgrades like this, so be sure to back up your files to a cloud service or external storage device, such as a flash drive or external SSD.
Download Windows 11 using Windows Update
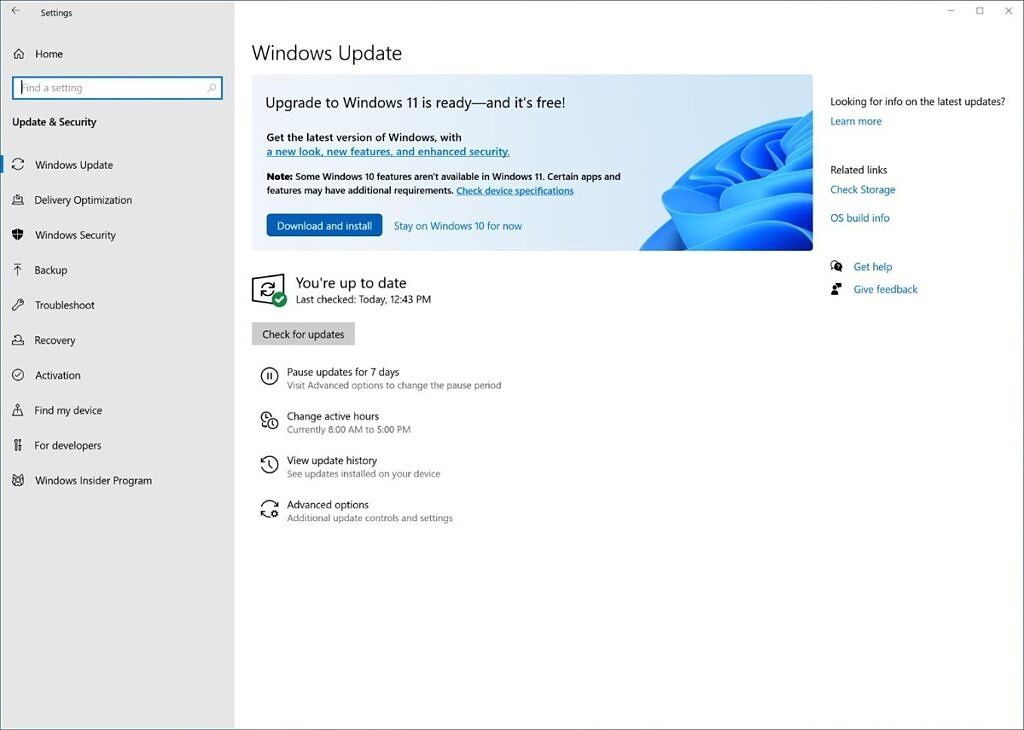
The easiest way to download Windows 11 right now is through Windows Update. The vast majority of supported Windows 10 PCs should be able to find Windows 11 through Windows Update.
To do this, just open the Settings app on your Windows 10 PC, and go to File Update and security Section. If your PC is selected to boot, you’ll see a large banner advertising Windows 11, and you’ll have the option to download it right away.
This will download and install Windows 11 in the easiest possible way, and you don’t have to set up anything after installation. We recommend going this route if you can, but you have more options if that option isn’t available.
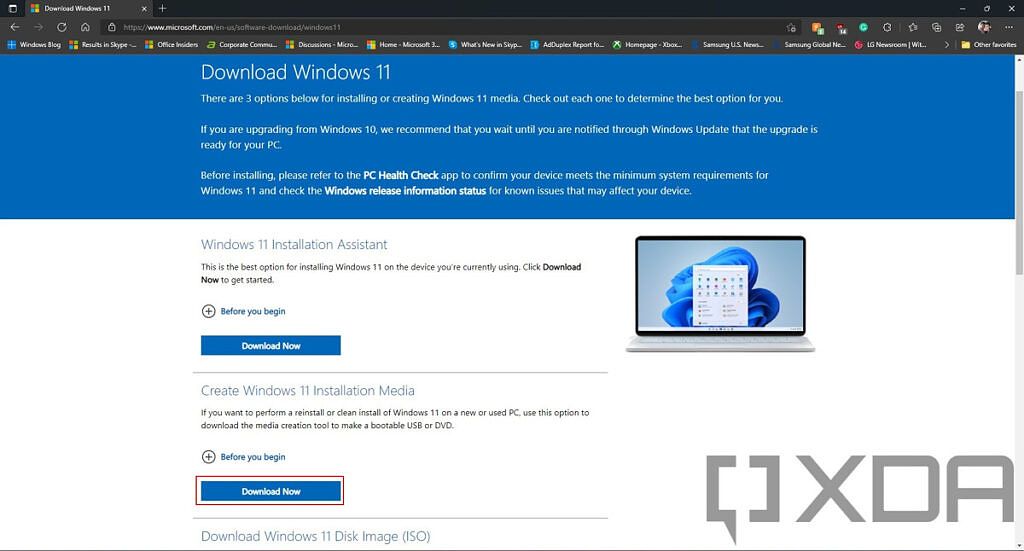
Another official way to download Windows 11 is to use the tools provided by Microsoft to download Windows 11 manually. The most versatile way to do this is to use the Media Creation Tool, which you can use to upgrade your current computer or create installation media for another computer, which you can use if you are offline or have a slow Internet later. Here’s what to do:
- go to the Windows 11 download page.
- under Create Windows 11 installation mediaclick Download now.
- Alternatively, you can download the ISO file directly from the website below Download Windows 11 Disk Image (ISO). If you do, go to step 7.
- Run the file you just downloaded and accept the terms and conditions.
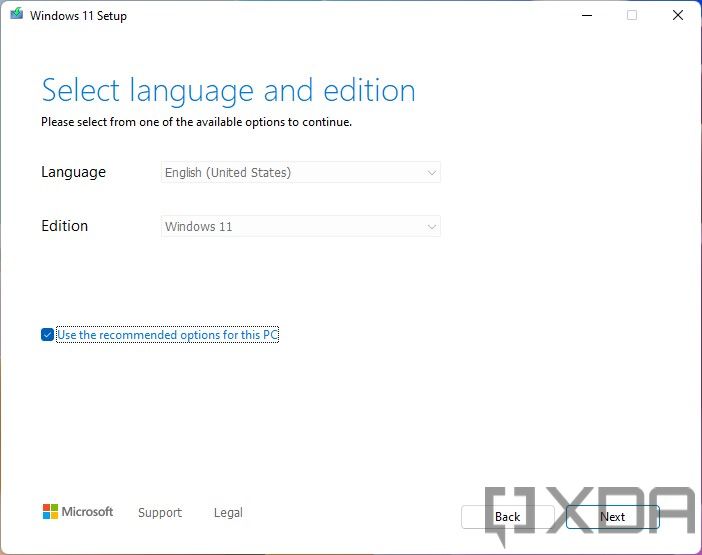
- Choose the language and edition settings you want to install Windows 11. By default, it chooses the correct settings for your computer, but you can change them if you’re creating installation media for another computer.
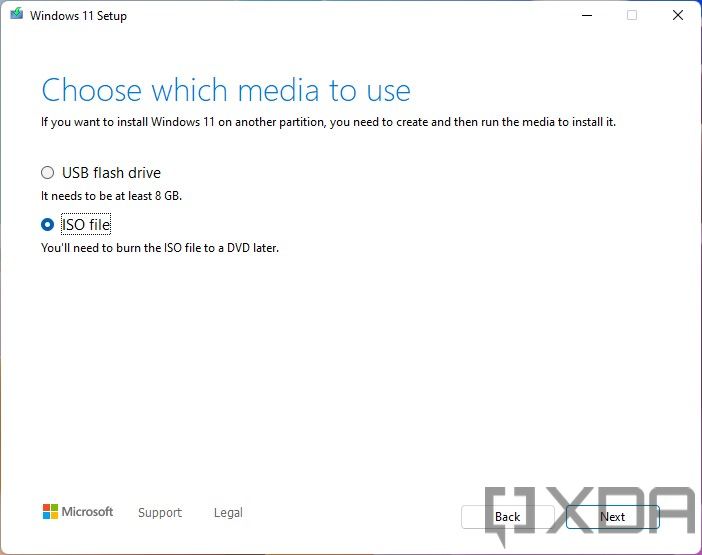
- Choose whether to create an ISO file or a bootable USB flash drive.
- Noticeable: If you want to perform a clean install using bootable USB media, select the USB flash drive you want to use and click Next. You can skip to How to mount a Windows 11 partition below.
- The download will start and the ISO file will be saved to the folder you chose.
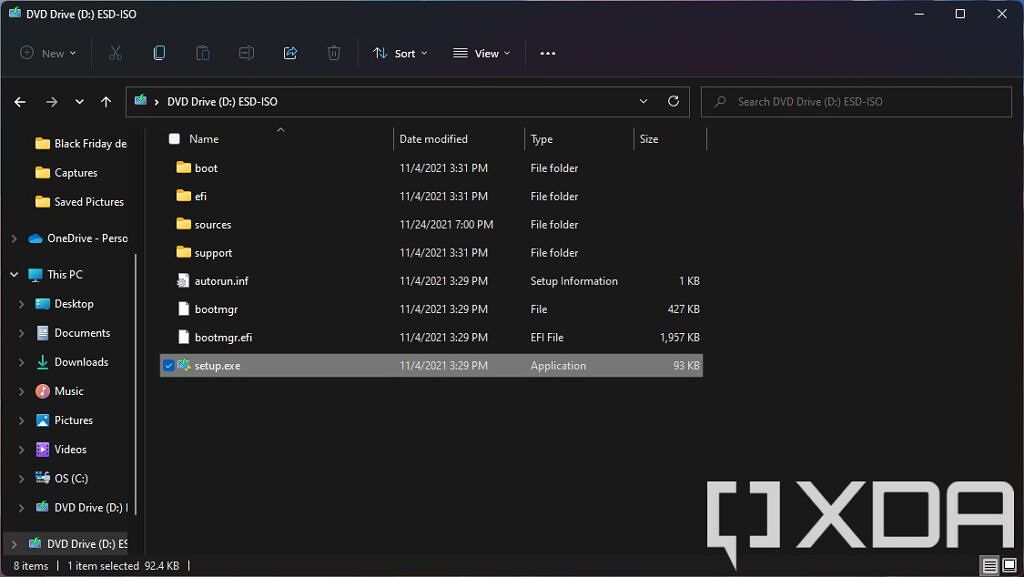
- On the computer you want to upgrade, double-click the ISO file, then run the prove file inside.
- Follow the onscreen steps to upgrade your PC to Windows 11 or to reinstall the operating system.
You can create a bootable USB flash drive with this ISO file later, if you want. Check out the Create installation media from the ISO partition Below to find out how to do this.
As mentioned above, if you downloaded the ISO file and just want to upgrade to Windows 11, you can actually load the ISO into Windows and run the setup file from there. Double-click the ISO file, run the setup file, and you’re good to go. However, if you want to perform a clean install or format your computer, you may need to create a bootable USB drive. You can do this using the ISO file that you have already downloaded. In addition, this method also allows you to install Windows 11 on devices that are not officially supported.
If you want to create USB installation media that you can use for other computers or for a clean install, you’ll need a program like Rufus. This can take your ISO file and flash it to your flash drive so you can boot from it. Before you begin, make sure that you don’t have any important files on your USB drive, as they will be deleted during the process. The USB drive will also need a capacity of 8GB or more. Once that’s taken care of, here’s what you need to do:
- Download Rufus And install the program (or download the portable version).
- Plug in your USB drive and run Rufus.
- Click Select, and find the ISO file you downloaded before. All other options will be filled in automatically.
- Click Start and wait for the process to finish.
How to install Windows 11 using a USB drive
Actually, installing Windows 11 is a very simple process. Once the installation media has been created, you simply run the setup file in your flash drive, and then click through the installation process. Once the installation process is done, you will be booting into Windows 11. If you want to do it this way, it’s a lot like having an ISO file.
However, if you want a clean experience and set up your Windows 11 PC as a brand new device, you can perform a clean install. This means deleting all the data on your drive, but it will allow you to have the best experience. Make sure to back up all the data you need before you start. With the USB installation media connected, follow these steps:
- go to the Settings -> Update & Security -> Recovery.
- under Advanced launchclick Restart now.
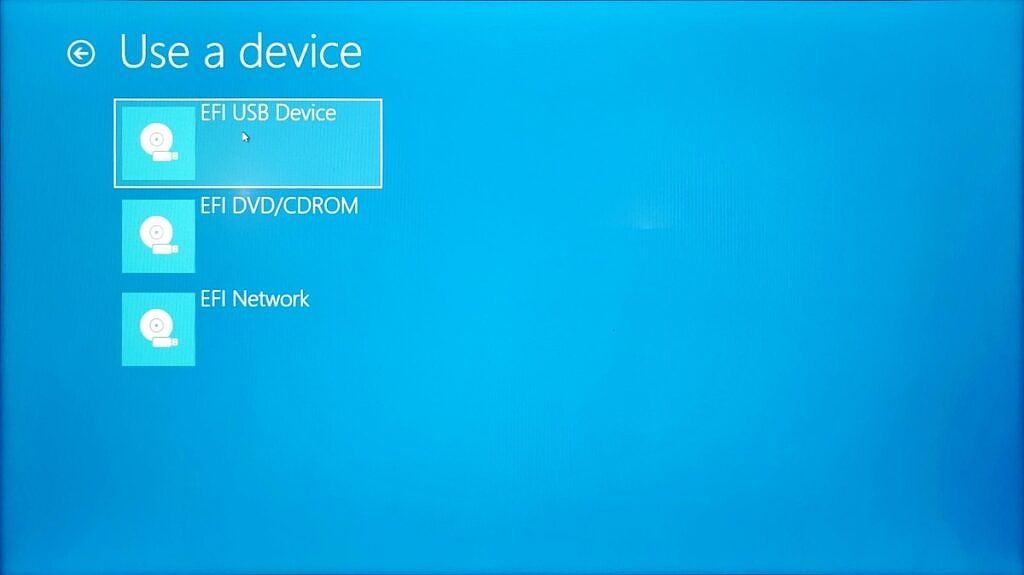
- In the list that appears, tap Choose a devicethen click USB drive.
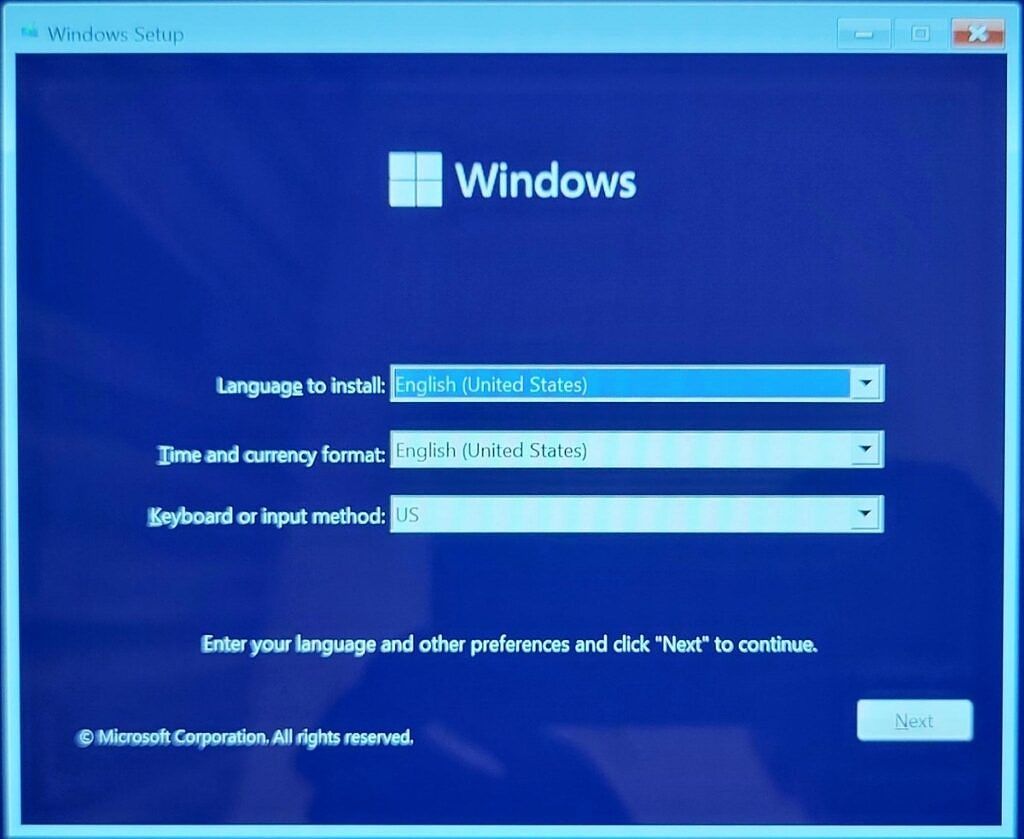
- From here, you will be taken to the installation environment. Choose your language and keyboard settings, then tap Install now and accept the license terms.
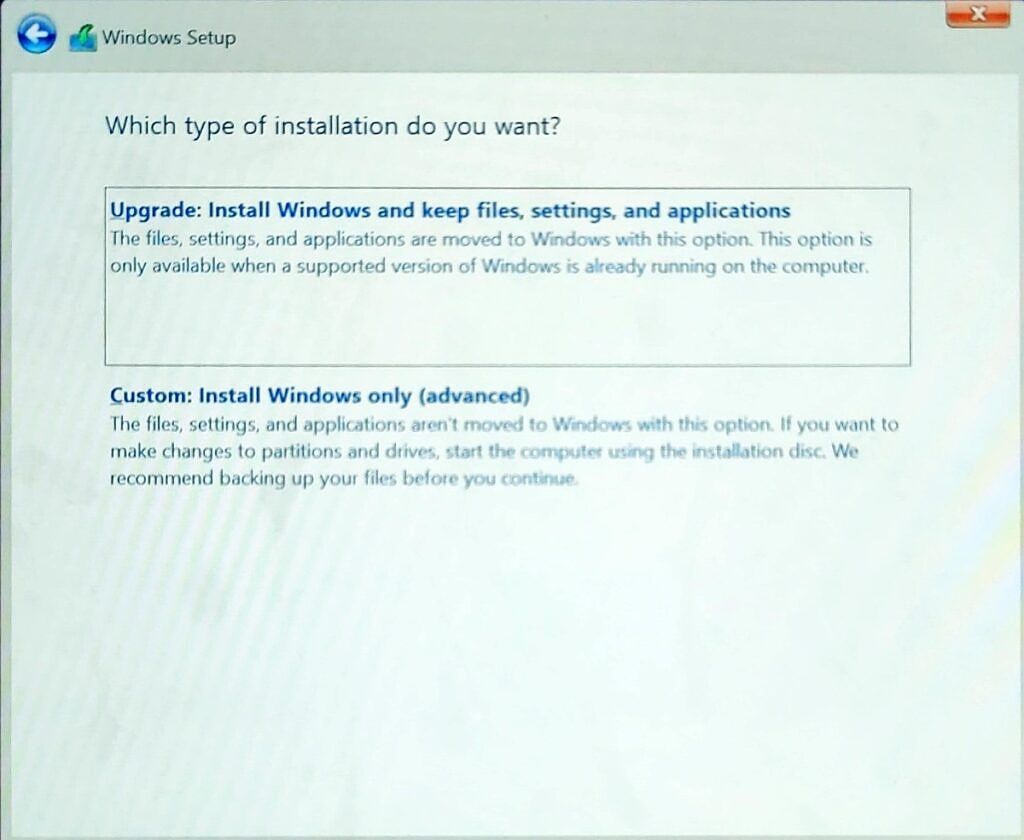
- On the next screen, you will need to make a choice Custom: Install Windows Only (Advanced).
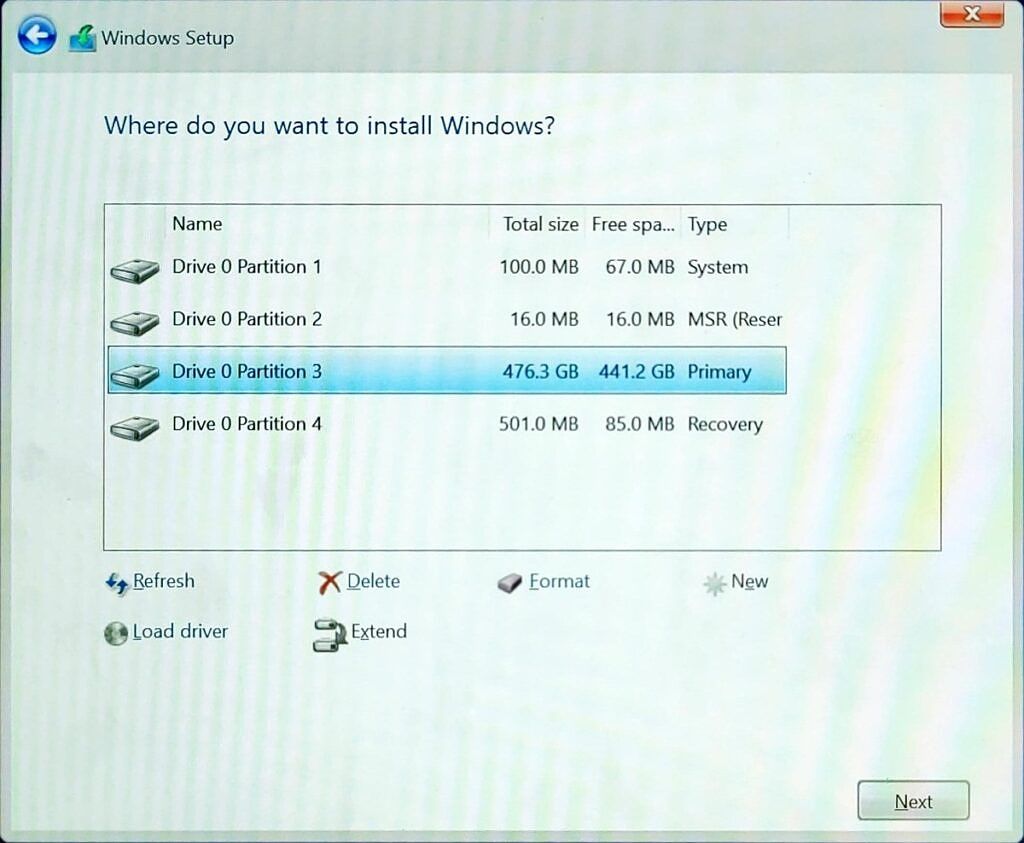
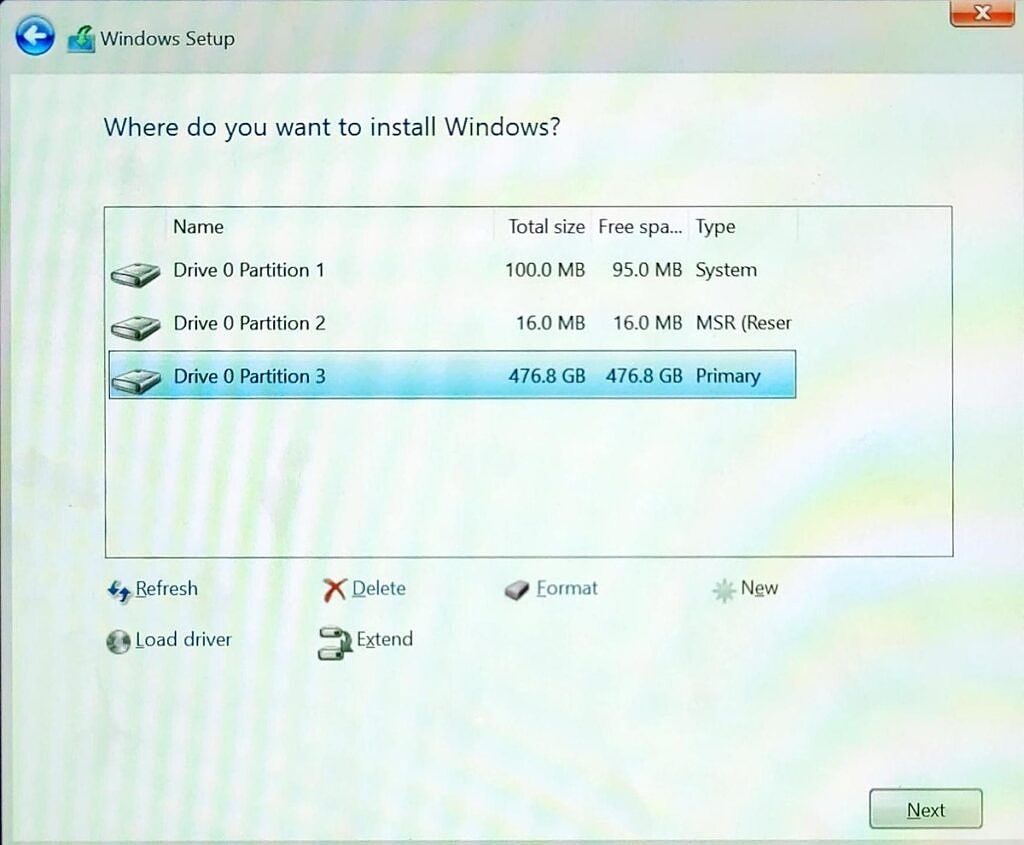
- You will see a list of drives and partitions on your computer.
- You can choose to format it or delete it and create a new partition in the unallocated space. In either case, you will lose your data. In this case, we have deleted the partitions and created a new one. Windows automatically creates two additional partitions that are necessary for it to function.
- click Next And the installation will start.
Once the installation is finished, you will be taken to the Out-of-box Experience (OOBE). This is what you see when you first set up a new computer, or after a reset.
Windows 11 setup
To get ready to use Windows 11, you will need to perform a few steps. Here is the whole process:
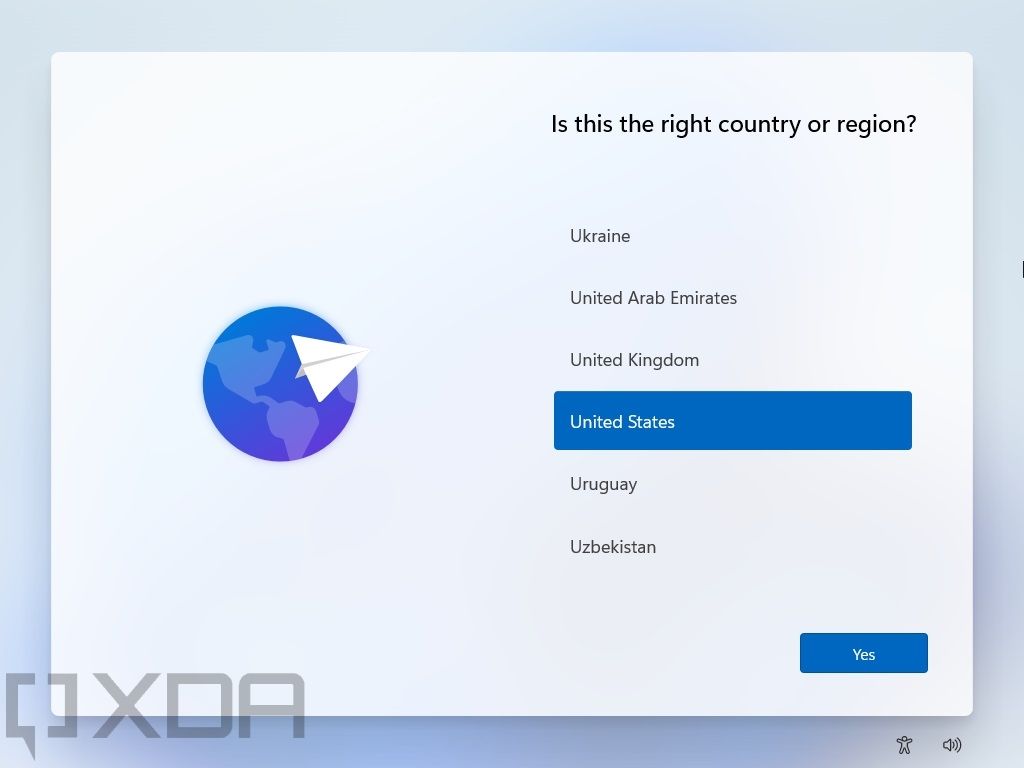
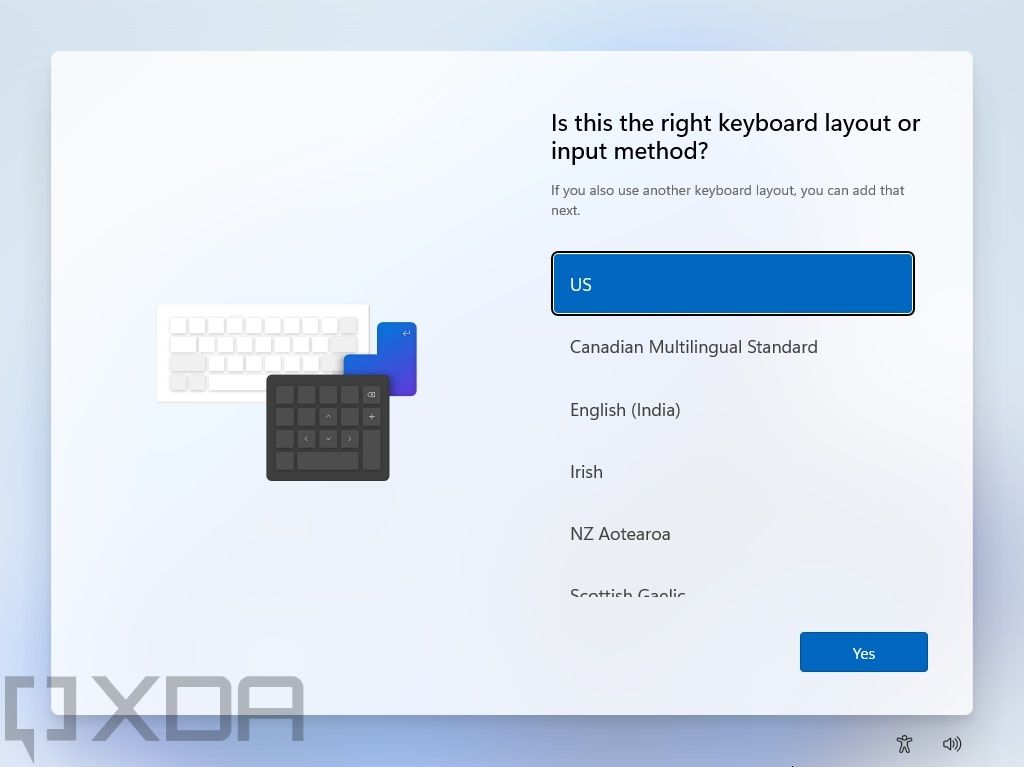
- First, you’ll need to choose your region and keyboard layout.
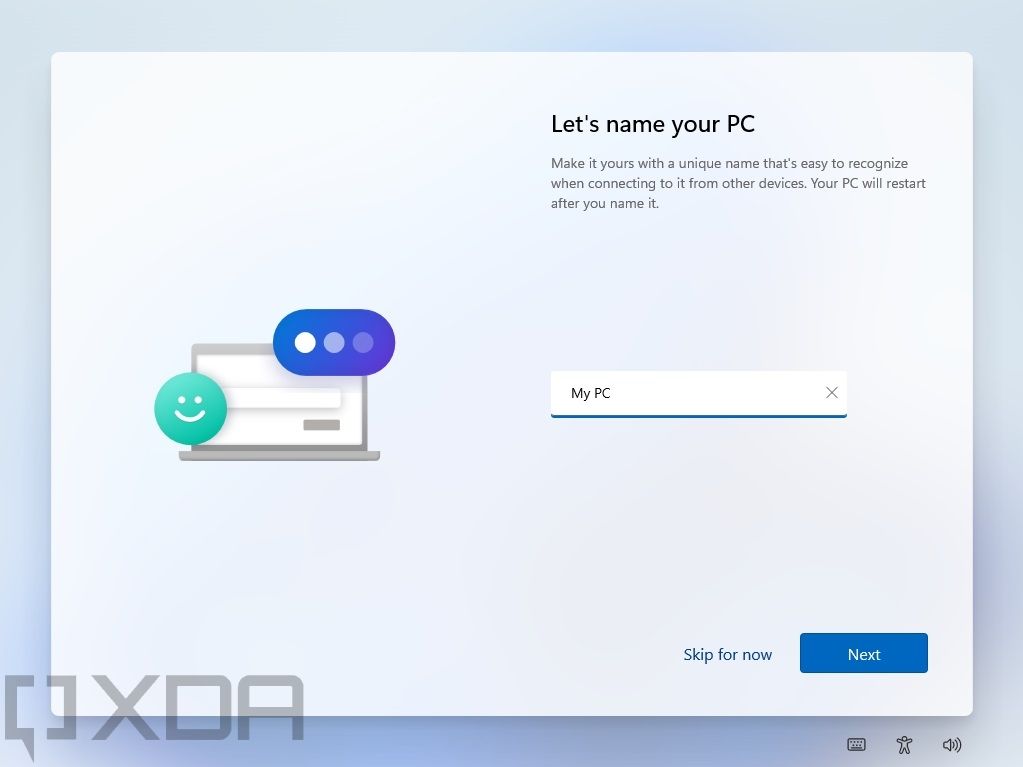
- Accept the license terms, and then you will have the opportunity to name your computer.
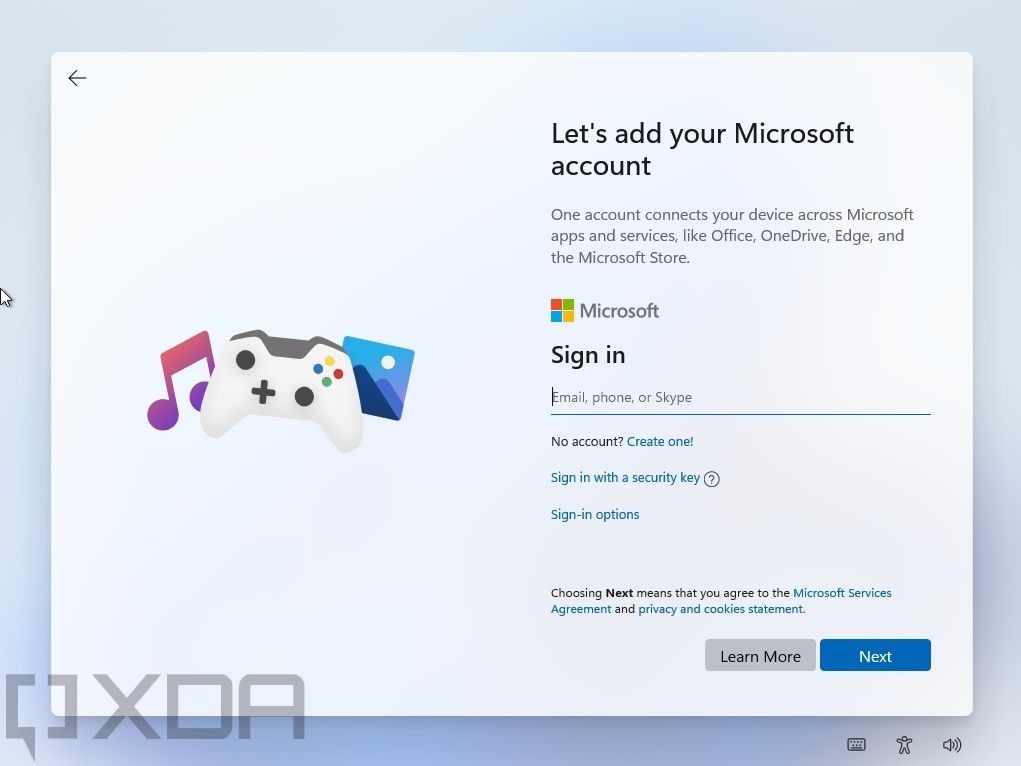
- You will then be asked to sign in with a Microsoft account. This is mandatory for Windows 10 Home users, but some versions can use local accounts.
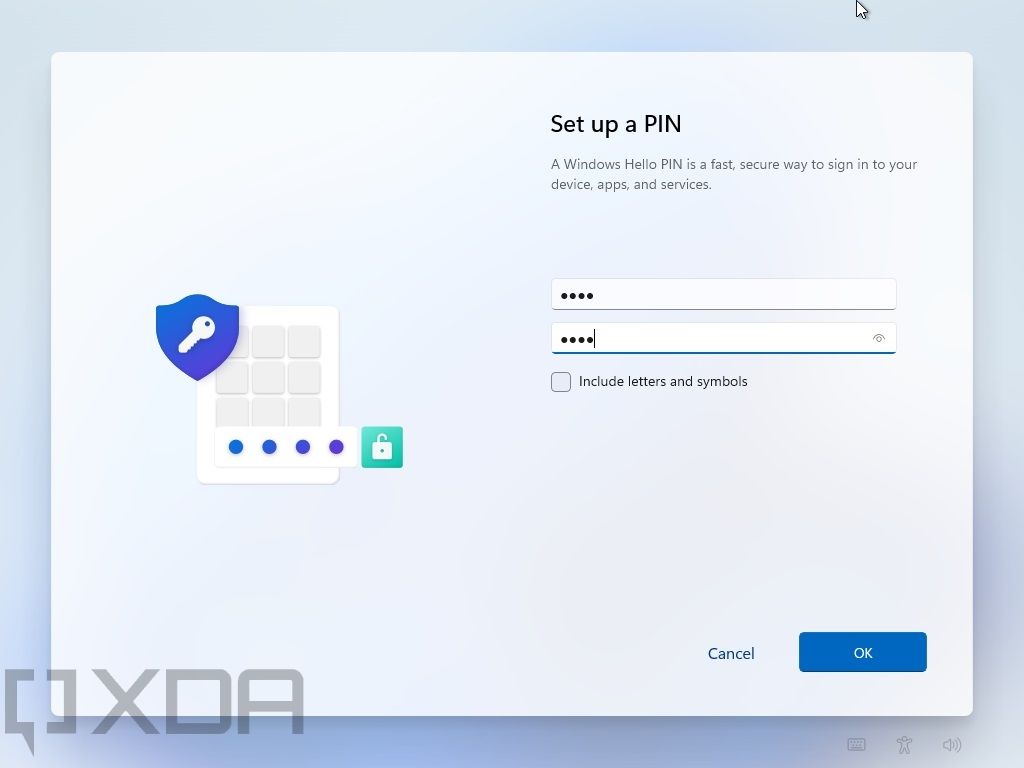
- Once you’re signed in, you can set a PIN to replace your password. If you sign in with Microsoft Authenticator, setting a PIN is mandatory.
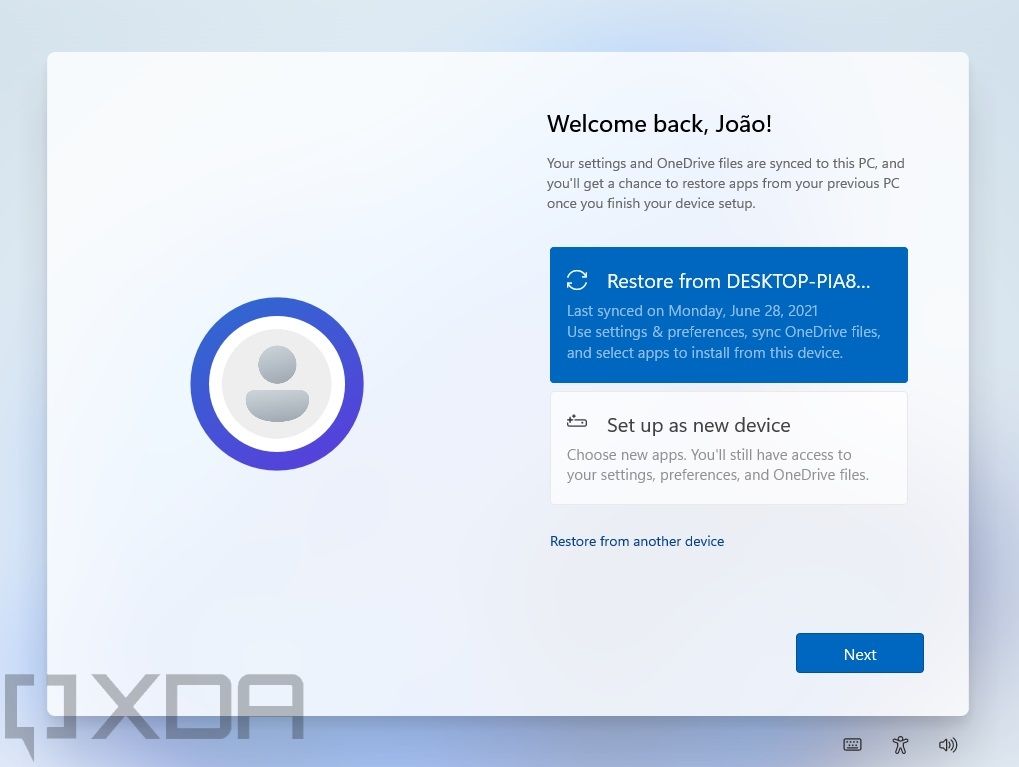
- One thing new in Windows 11 is the ability to back up your settings and installed apps, which makes setting up a new PC even easier. If you have used Windows 11 before, you will see an option to restore from a previous backup.
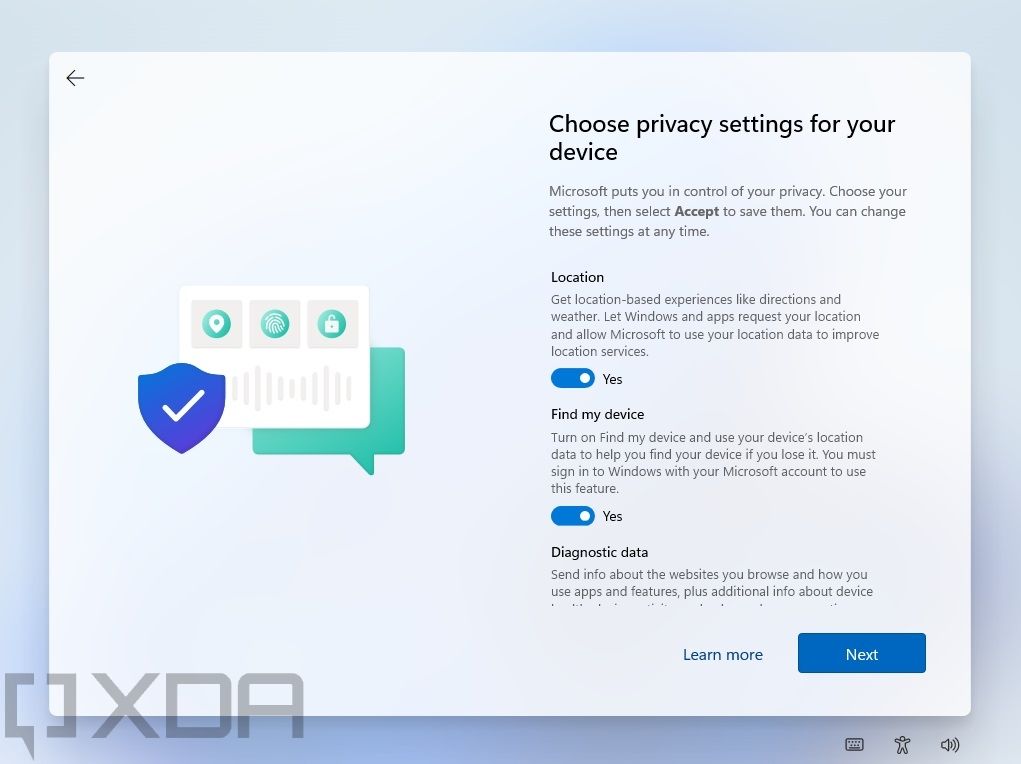
- Next, you have some privacy settings to follow. This includes allowing apps to use your location, how much diagnostic data you want to send to Microsoft, or whether apps can use your advertising identifier. Choose the applications that suit you best, then click Next.
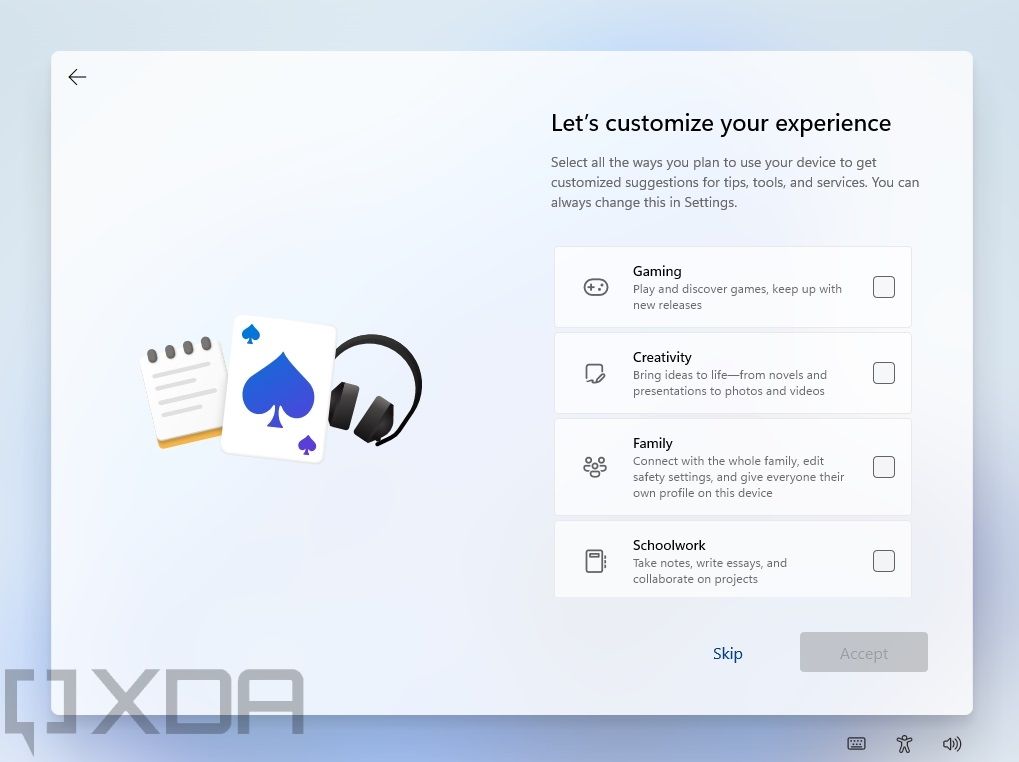
- The next thing you can set up is to use your device. You can tell Windows what you’re most likely to do with your computer, and you’ll get suggestions and tips based on that. You can also choose anything and click Next here.
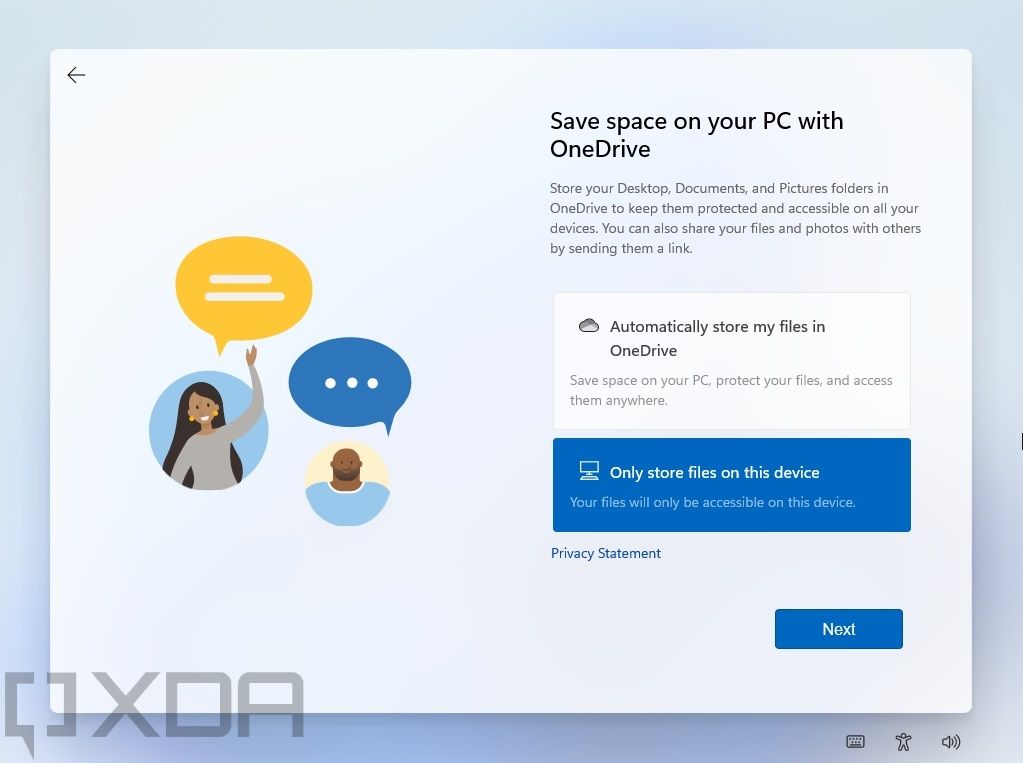
- Finally, you can set up if you want your files to be saved to OneDrive or just to your computer. Keeping your files in OneDrive means they’ll be backed up in case something happens to your computer, but you may need a Microsoft 365 subscription to fit all your files.
- After a short setup period, you will be taken to the Windows 11 desktop.
That’s all you need to know about downloading and installing Windows 11 right now. Since it is still in early testing, there is not an abundance of options to download the operating system, but more will be available later. We will update this article as more options become available, so you can easily choose your favorite one.
[ad_2]


