

Are you planning to resell your Apple MacBook Air? Here’s how to do a factory reset to delete all of your personal information and customizations.
Quick links
Factory reset can come in handy for a few different reasons. Sometimes a computer feels bloated, while other times we simply want to resell or give it away. Regardless of your reasons, factory resetting an Apple MacBook Air is a straightforward process. All you have to do is follow the detailed steps that we have mentioned below. Note that this process is for those using macOS Big Sur or earlier. If you’re running macOS Monterey or later, the process is different, but we’ve linked it in the factory reset section below.
Create a backup
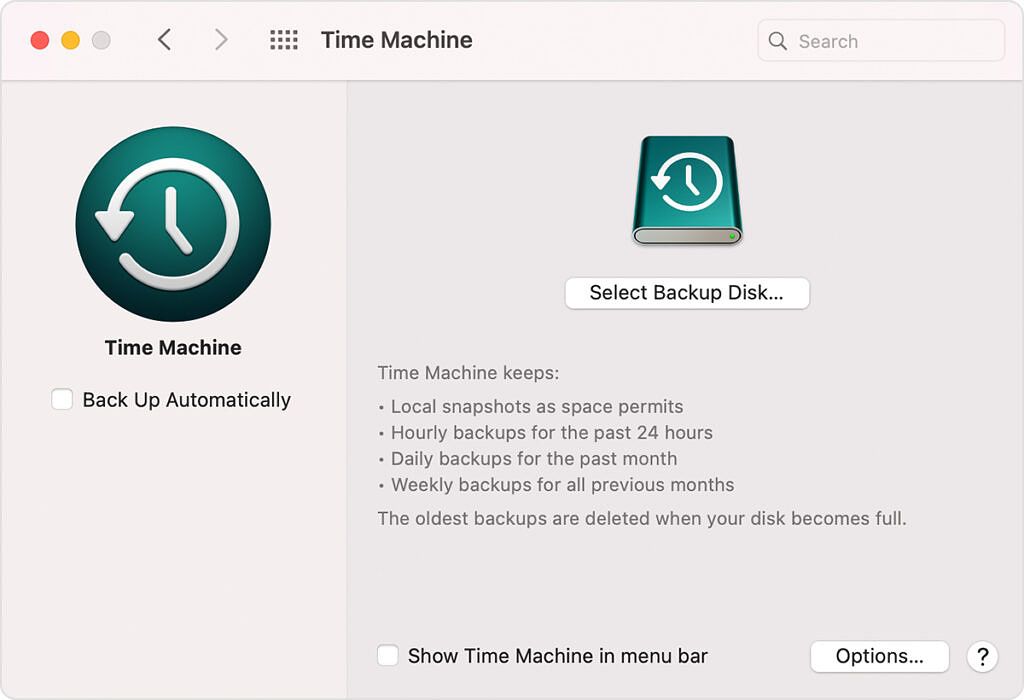
The first step is to create a full backup of your MacBook Air that will include all of your personal data, including apps, music, photos, email, and documents. You can create a backup using Time Machine, the backup feature built into your Mac. All you need is a macOS-compatible external storage device and enough storage space to back up all your data.
- Connect your external storage device to your MacBook
- Opens Time Machine Preferences from the Time Machine menu in the menu bar.
- Select the external storage device and click Encrypt backups and disk usage.
- After selecting the backup disk, Time Machine should immediately start making a backup.
- To start the backup manually, choose Make a backup now from the Time Machine menu in the menu bar. Use the same menu to check the status of a backup or skip a backup in progress.

Sign out of iCloud and other services
Once you’ve successfully created a backup, it’s time to sign out of all services like iTunes, iCloud, and iMessage. This is a necessary step especially if you are planning to sell your MacBook Air.
- open the an Apple menu in the upper left corner and click System Preferences.
- Click apple id If you’re using macOS Catalina (10.15) or later. If you are using an earlier version of macOS, click iCloud instead of him.
- On the left side, select summaryand click Exit button at the bottom. Previous versions of macOS must have the extension Exit button.
- Next, sign out of your Apple Music account or your iTunes account if your MacBook Air is running macOS Mojave (v10.14 or lower). open the Music/Itunes Implementation.
- On the top menu bar, you will see an option account.
- Open the dropdown menu and click licensesand then Deauthorize this computer.
- You will be asked to enter your Apple ID and password to confirm this.
- Finally, you have to sign out of the Messages app.
- open the Messages app on your MacBook Air, click Messages From the top menu bar, choose Preferences.
- Click on iMessage tab and you will see an option Exit next to your Apple ID.
Factory settings
We can finally move on to the process of factory resetting your MacBook Air in which all your data, apps, and settings will be removed. If you are using macOS Monterey or later, go through this guide to erase all your data. The steps below are for those using macOS Big Sur and earlier.
- Boot your MacBook Air into recovery mode. This can be done by turning on your Mac, then pressing and holding a file Command And s keys.
- If prompted, select a user whose password you know, then enter their administrator password.
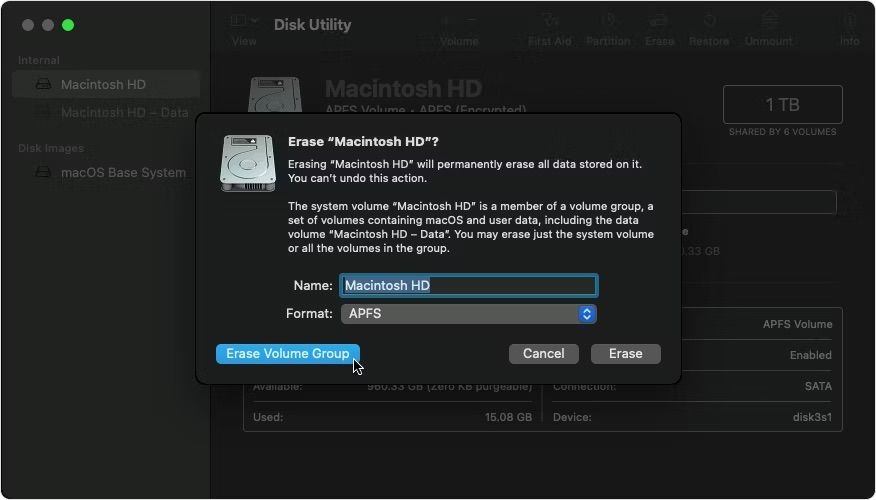
- From the Utilities window, select disk utility and click Complete.
- Choose Macintosh HD in the sidebar of disk utility and click erase button in the toolbar.
- Select Format Disk As APFS If you’re using macOS 10.13 High Sierra or later. It’s also better for newer SSDs. If you have an older MacBook Air, choose Mac OS Extended (Journaled).
- click Erase a volume group. If you don’t see this button, click erase instead of him. After the erasing process is finished, select any other internal volumes in the sidebar and then click the Delete Volume button in the toolbar to delete that volume.
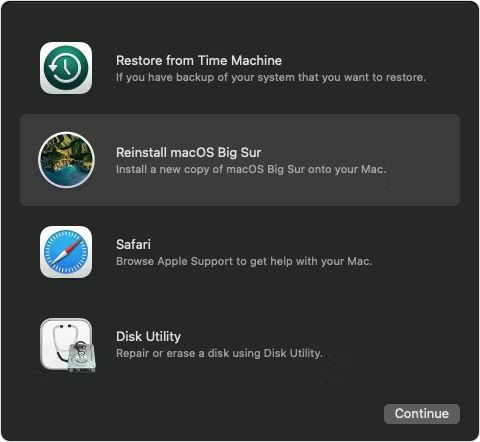
- Once your disks have been erased, finish disk utility And return to the Utilities window.
- Choose Reinstall macOS in the Utilities window, then click Complete Follow the onscreen instructions to reinstall macOS.
- Make sure not to close the cover while installing the operating system.


As you can see, factory resetting the MacBook Air is not a complicated process. As long as you follow our listed steps, you should not encounter any problems or obstacles. If you’re planning to upgrade to a new Apple computer, here are some of the best Macs you can buy. We also have a dedicated list of the best Apple products for students and the best laptops to buy right now, in case you want to switch to a different platform.
-
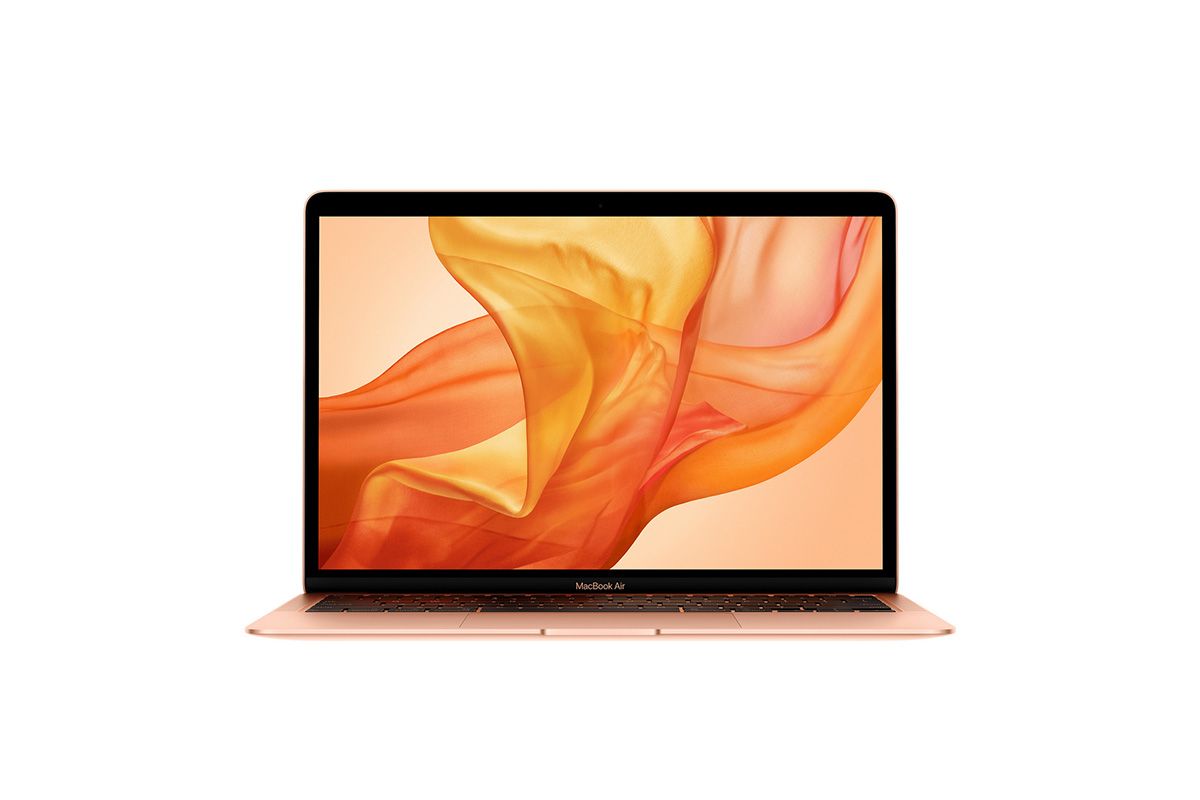
MacBook Air (M1) Apple MacBook Air (M1, 2020)
The 2020 MacBook Air comes with the original Apple M1 chipset, which is powerful and efficient. It does not contain active cooling, which helps make it lighter and quieter.
-
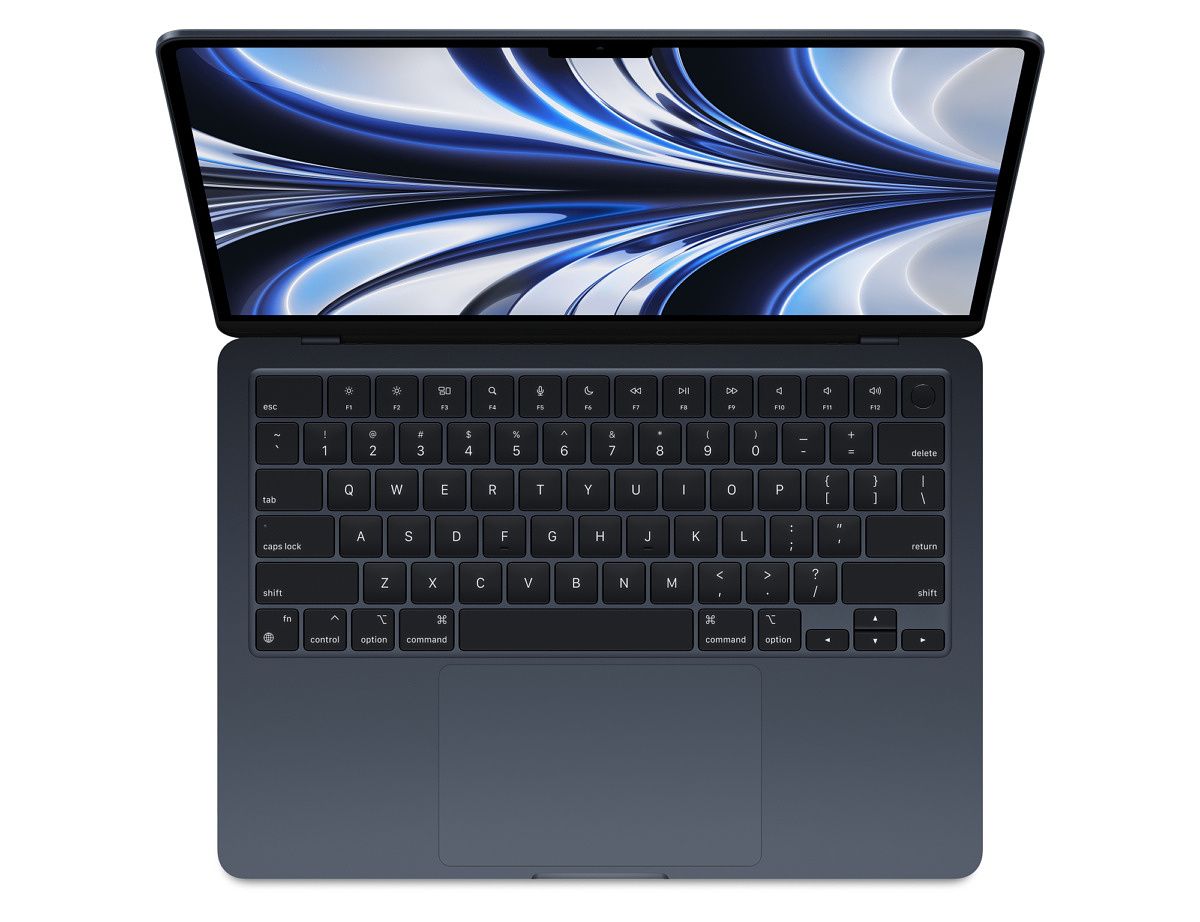
Apple macbook air m2 Apple macbook air m2
The 2022 MacBook Air offers an M2 chip, a 13.6-inch display, and a redesigned chassis with MagSafe support.


[ad_2]


