

When choosing a business laptop, you should match your performance needs to budget constraints, all while keeping an eye on the laptop’s repairability. Lenovo ThinkPad X13 Gen 4 is a powerful line of business laptops powered by the latest CPUs from Intel and AMD. Best of all, the ThinkPad X13 models offer high upgradeability and repairability by allowing you to swap out many of their components, including the battery.
If your ThinkPad drains quickly after performing basic tasks, its battery is likely defective and needs to be replaced. After all, your laptop battery is one of the first components to wear out with heat and age. This article will guide you through the Lenovo ThinkPad X13 Gen 4 battery replacement process.
What will you need
You will need to get a standard Phillips screwdriver and a non-conductive pry tool. I would also suggest getting an anti-static wrist strap to protect the internal parts of the laptop from static shock. It goes without saying that you will also need an appropriate battery that is compatible with your laptop. Lenovo ThinkPad X13 Gen 4 models ship with either a 41Wh battery or a 54.7Wh battery, both of which can be purchased online.
before replacing the battery
Lenovo recommends that you disable the built-in battery and the Nano SIM tray before removing the cover. If you are using Windows 10 or 11, you are required to turn off the fast startup feature before disabling the battery.
Disable fast startup
As its name suggests, fast startup allows your laptop to boot faster. But you will need to disable this setting as it prevents you from accessing your laptop’s BIOS. The quick shutdown steps are the same regardless of whether you have Windows 10 or 11 on your laptop.
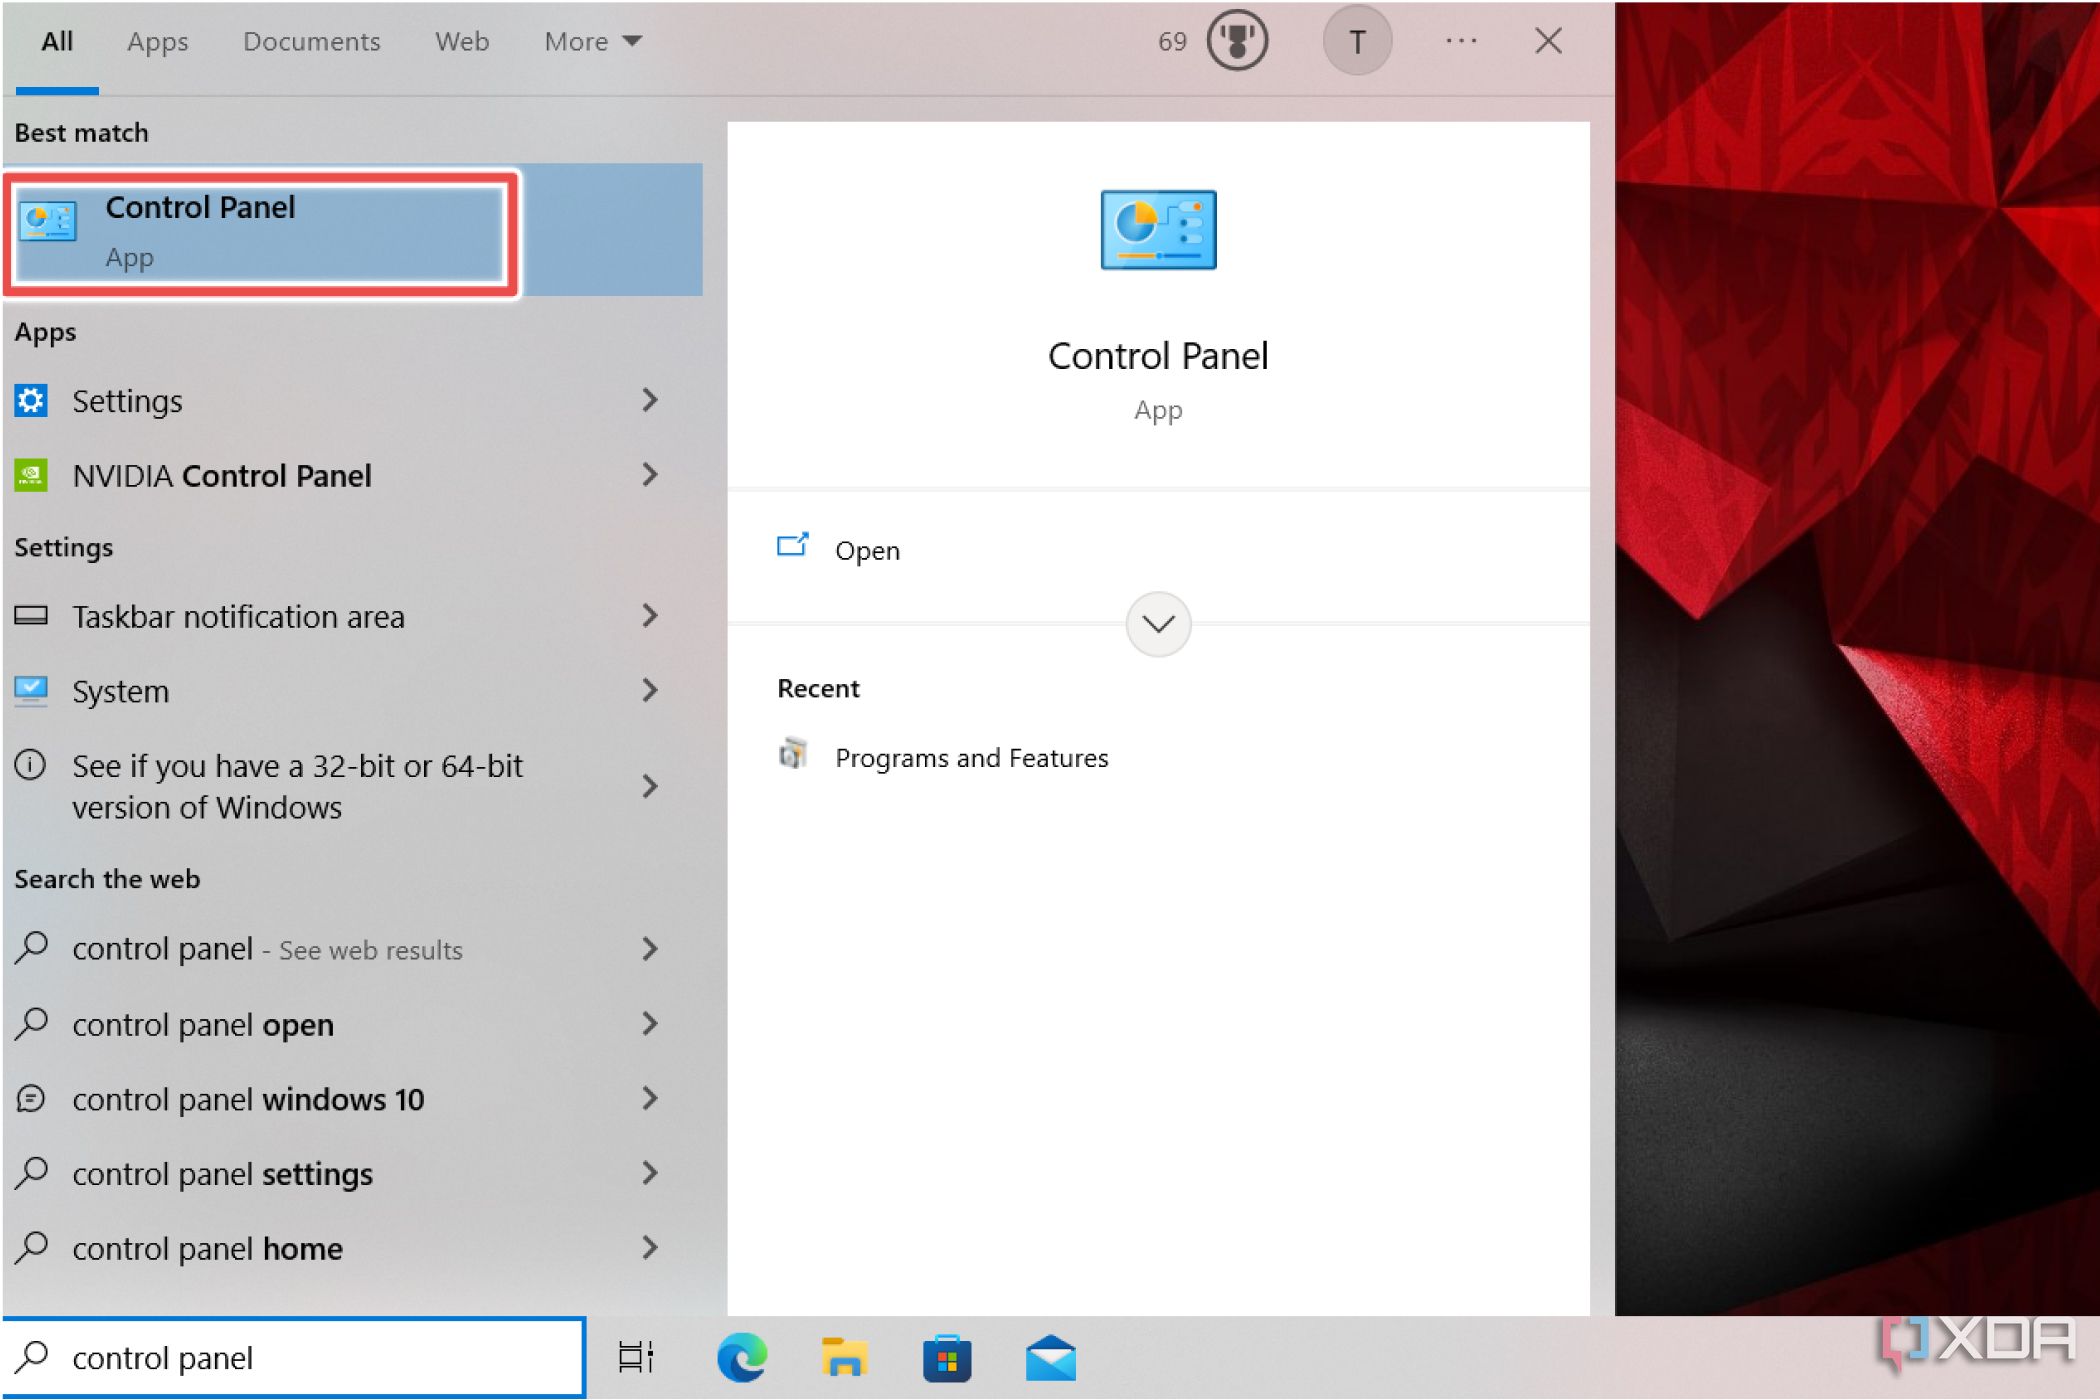
- Write control panel to a file seek bar and click control Board.
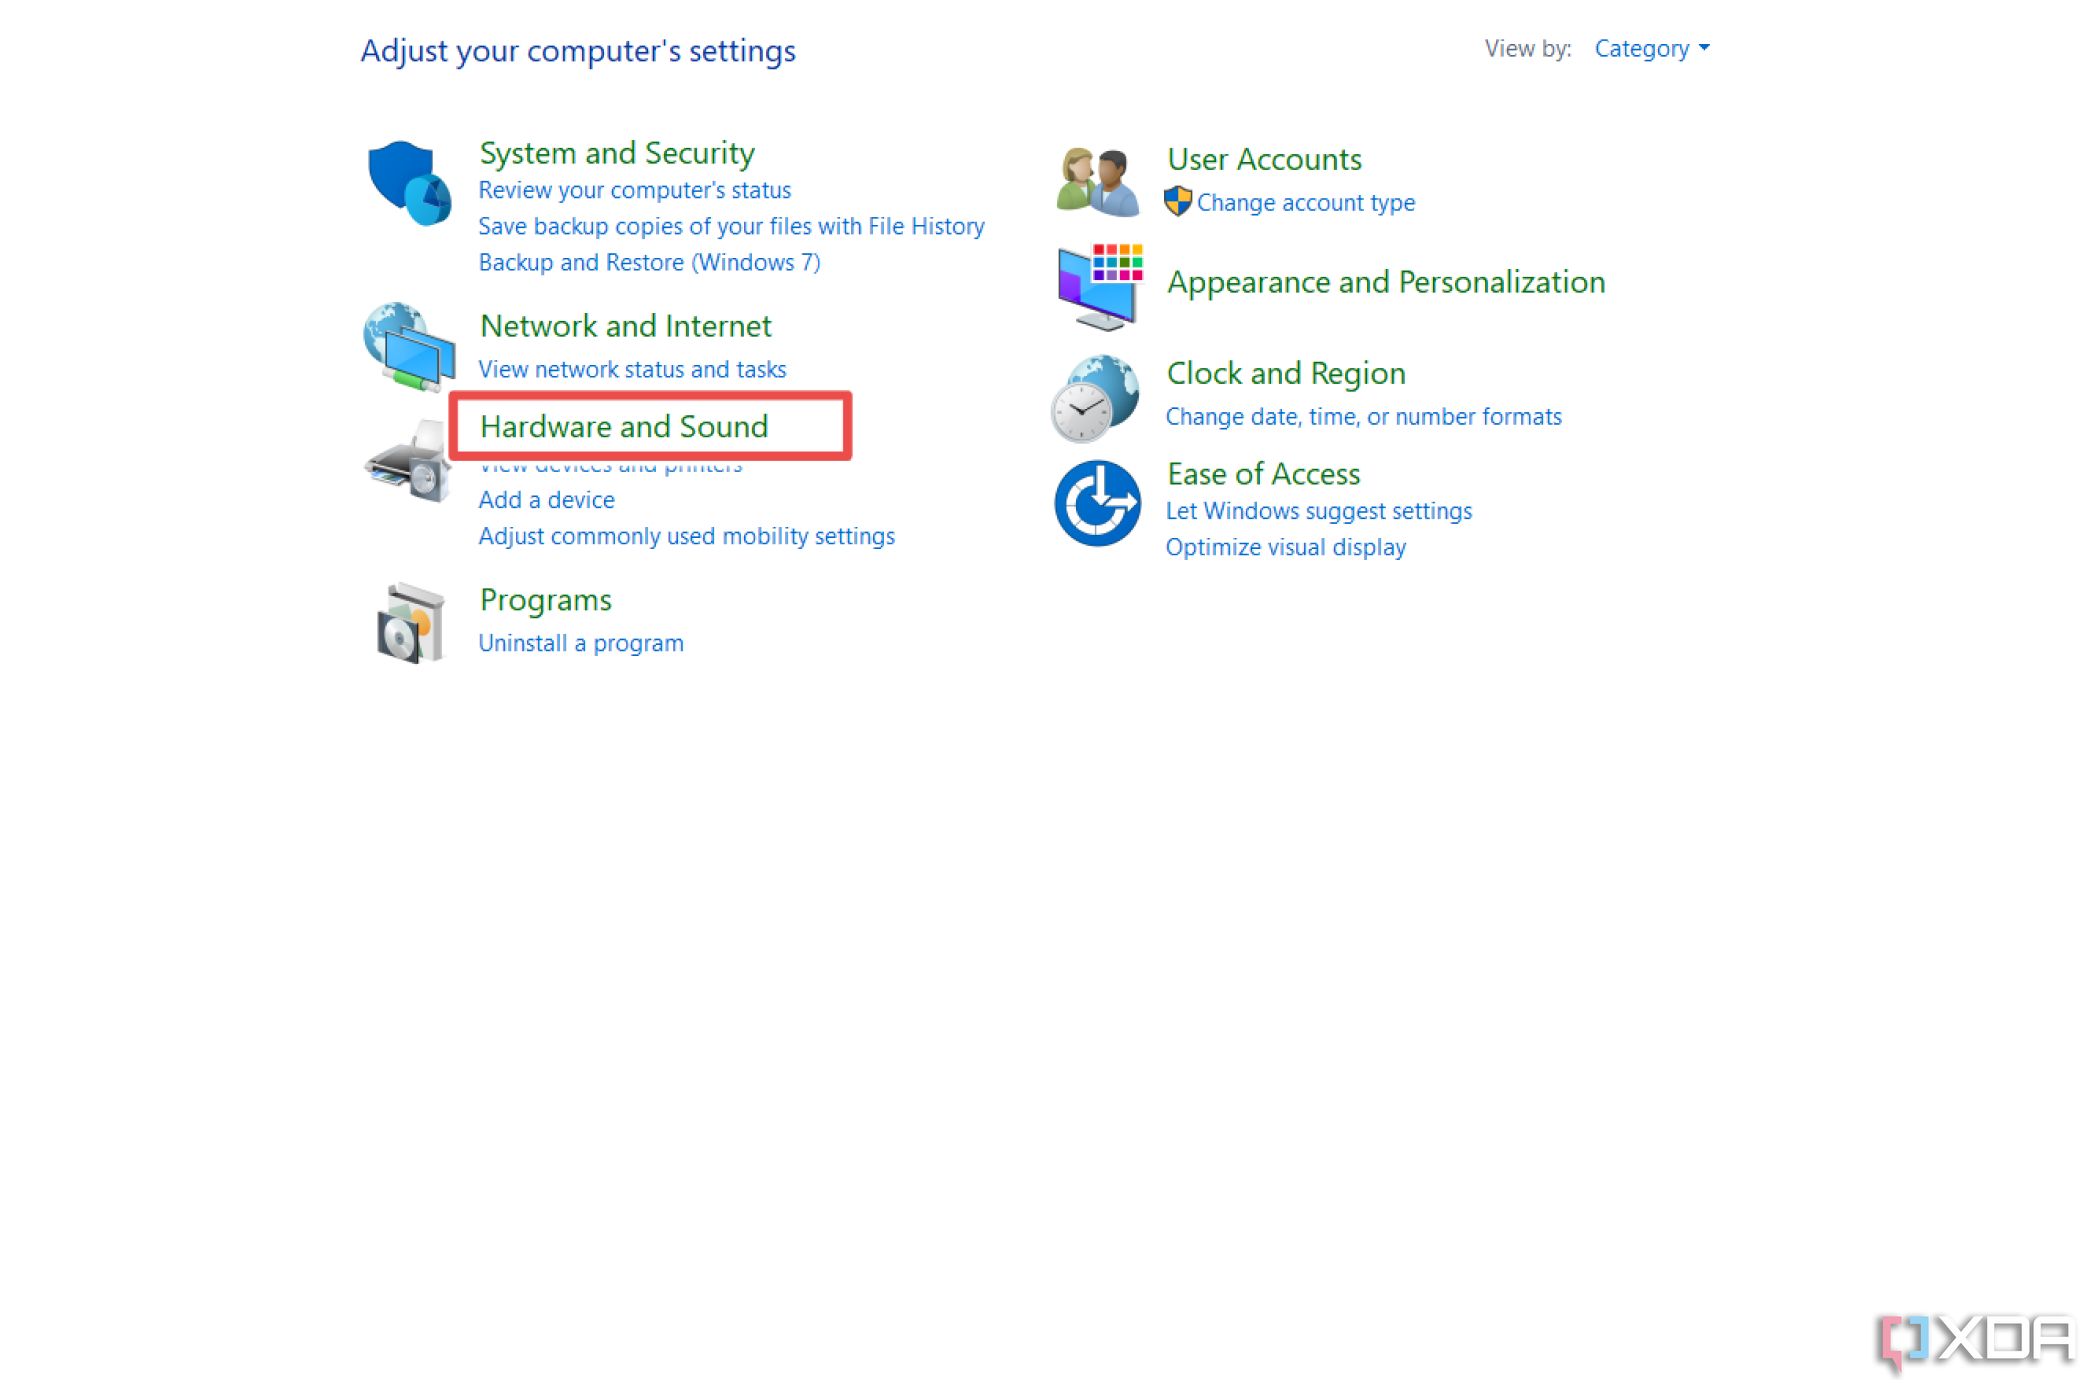
- Click Hardware and sound.
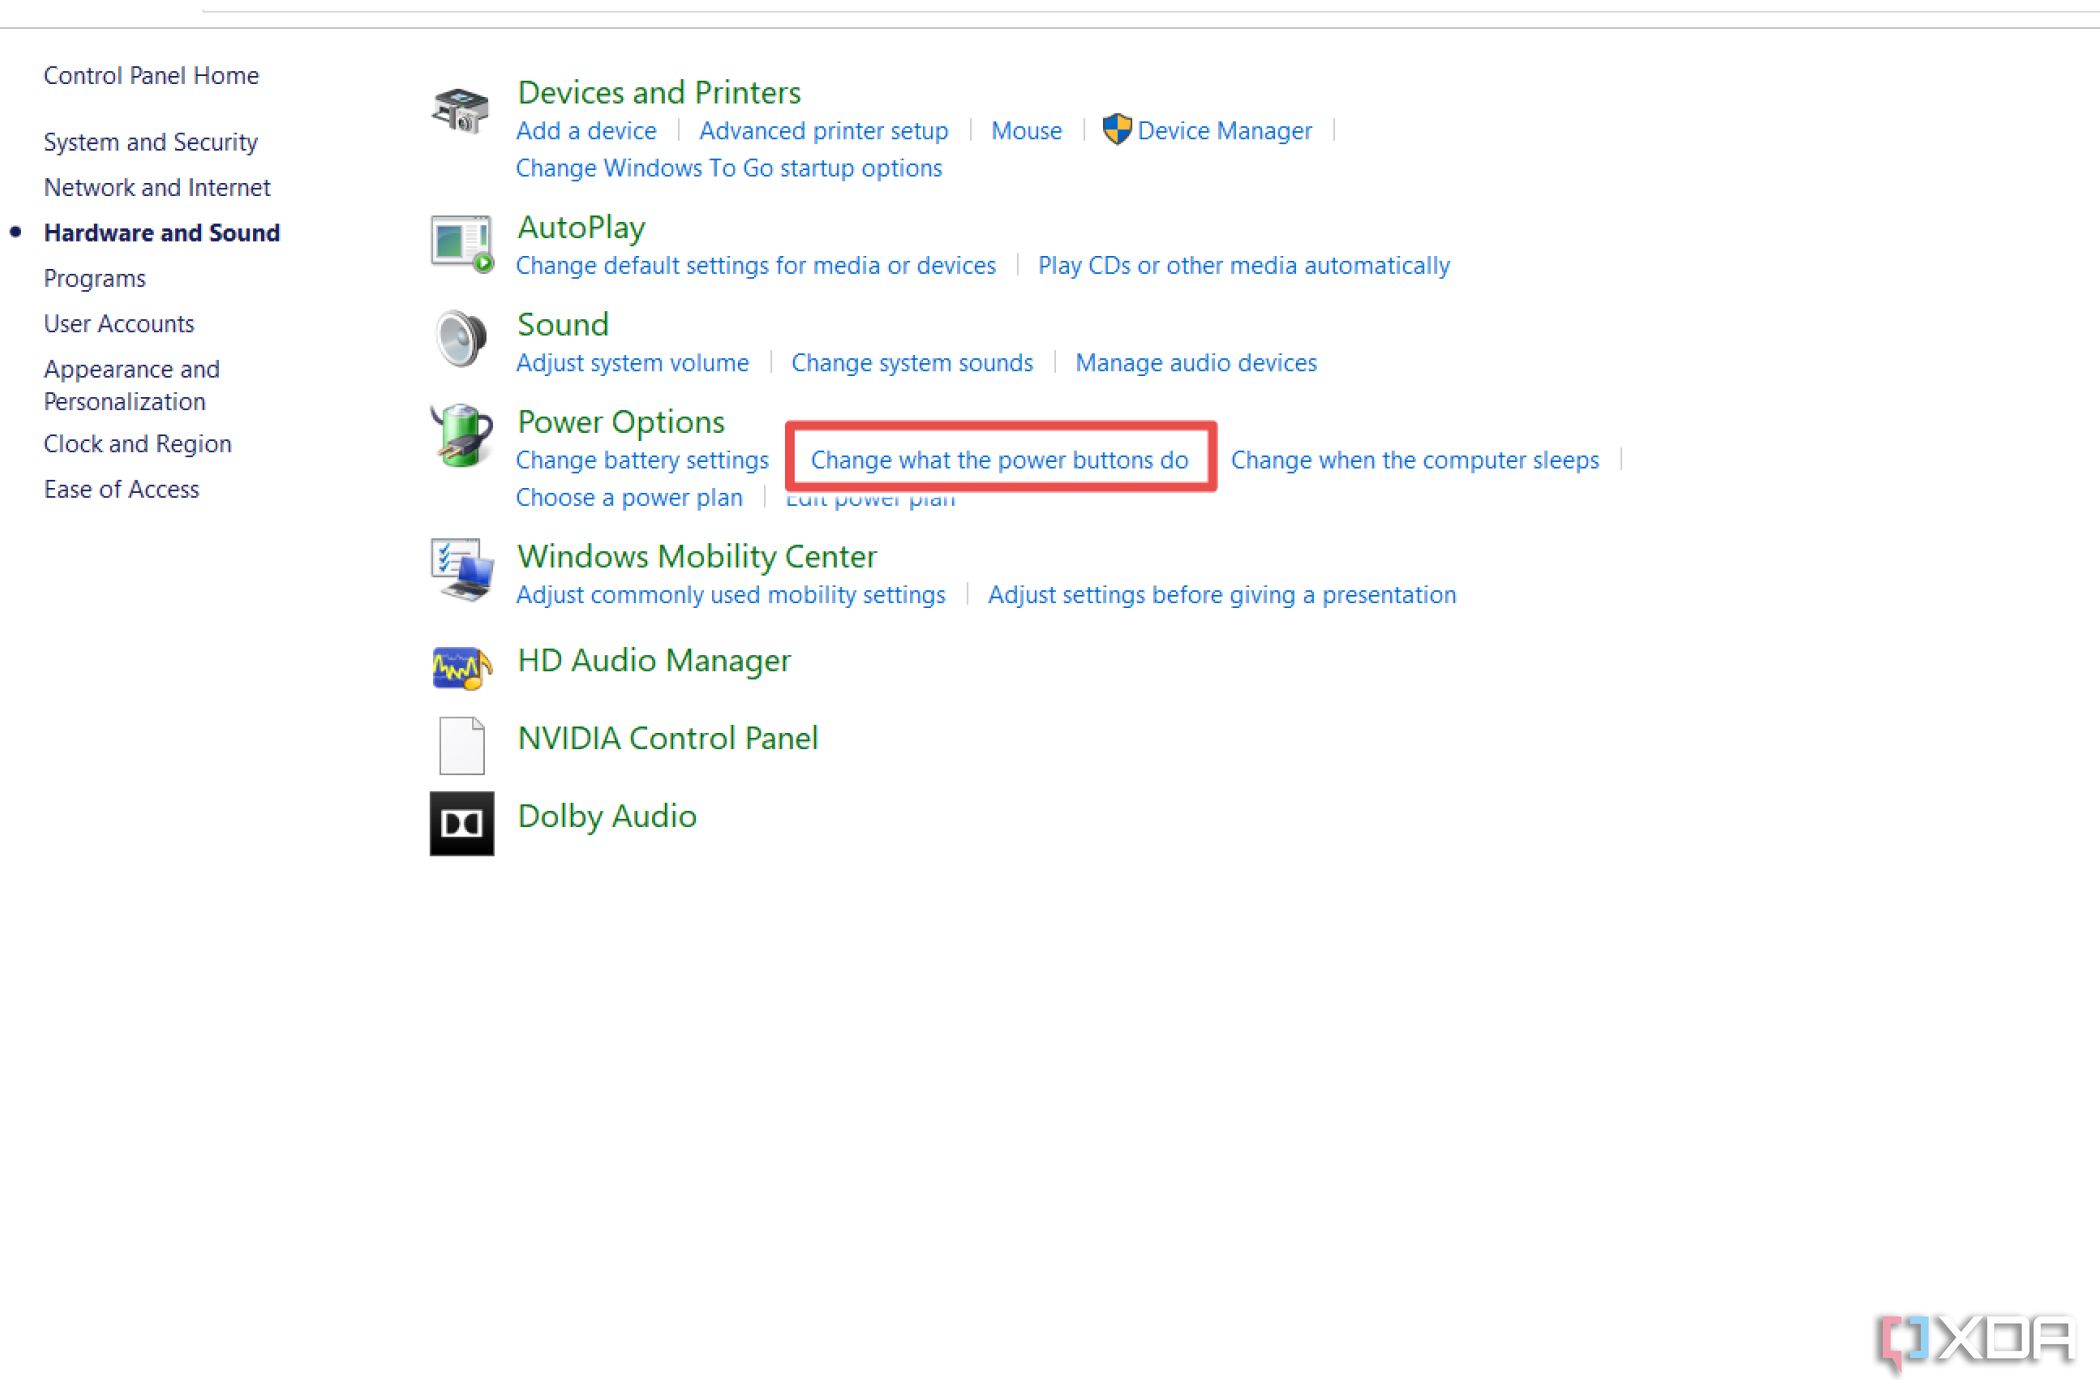
- Click Change what the power buttons do under Power options menu.
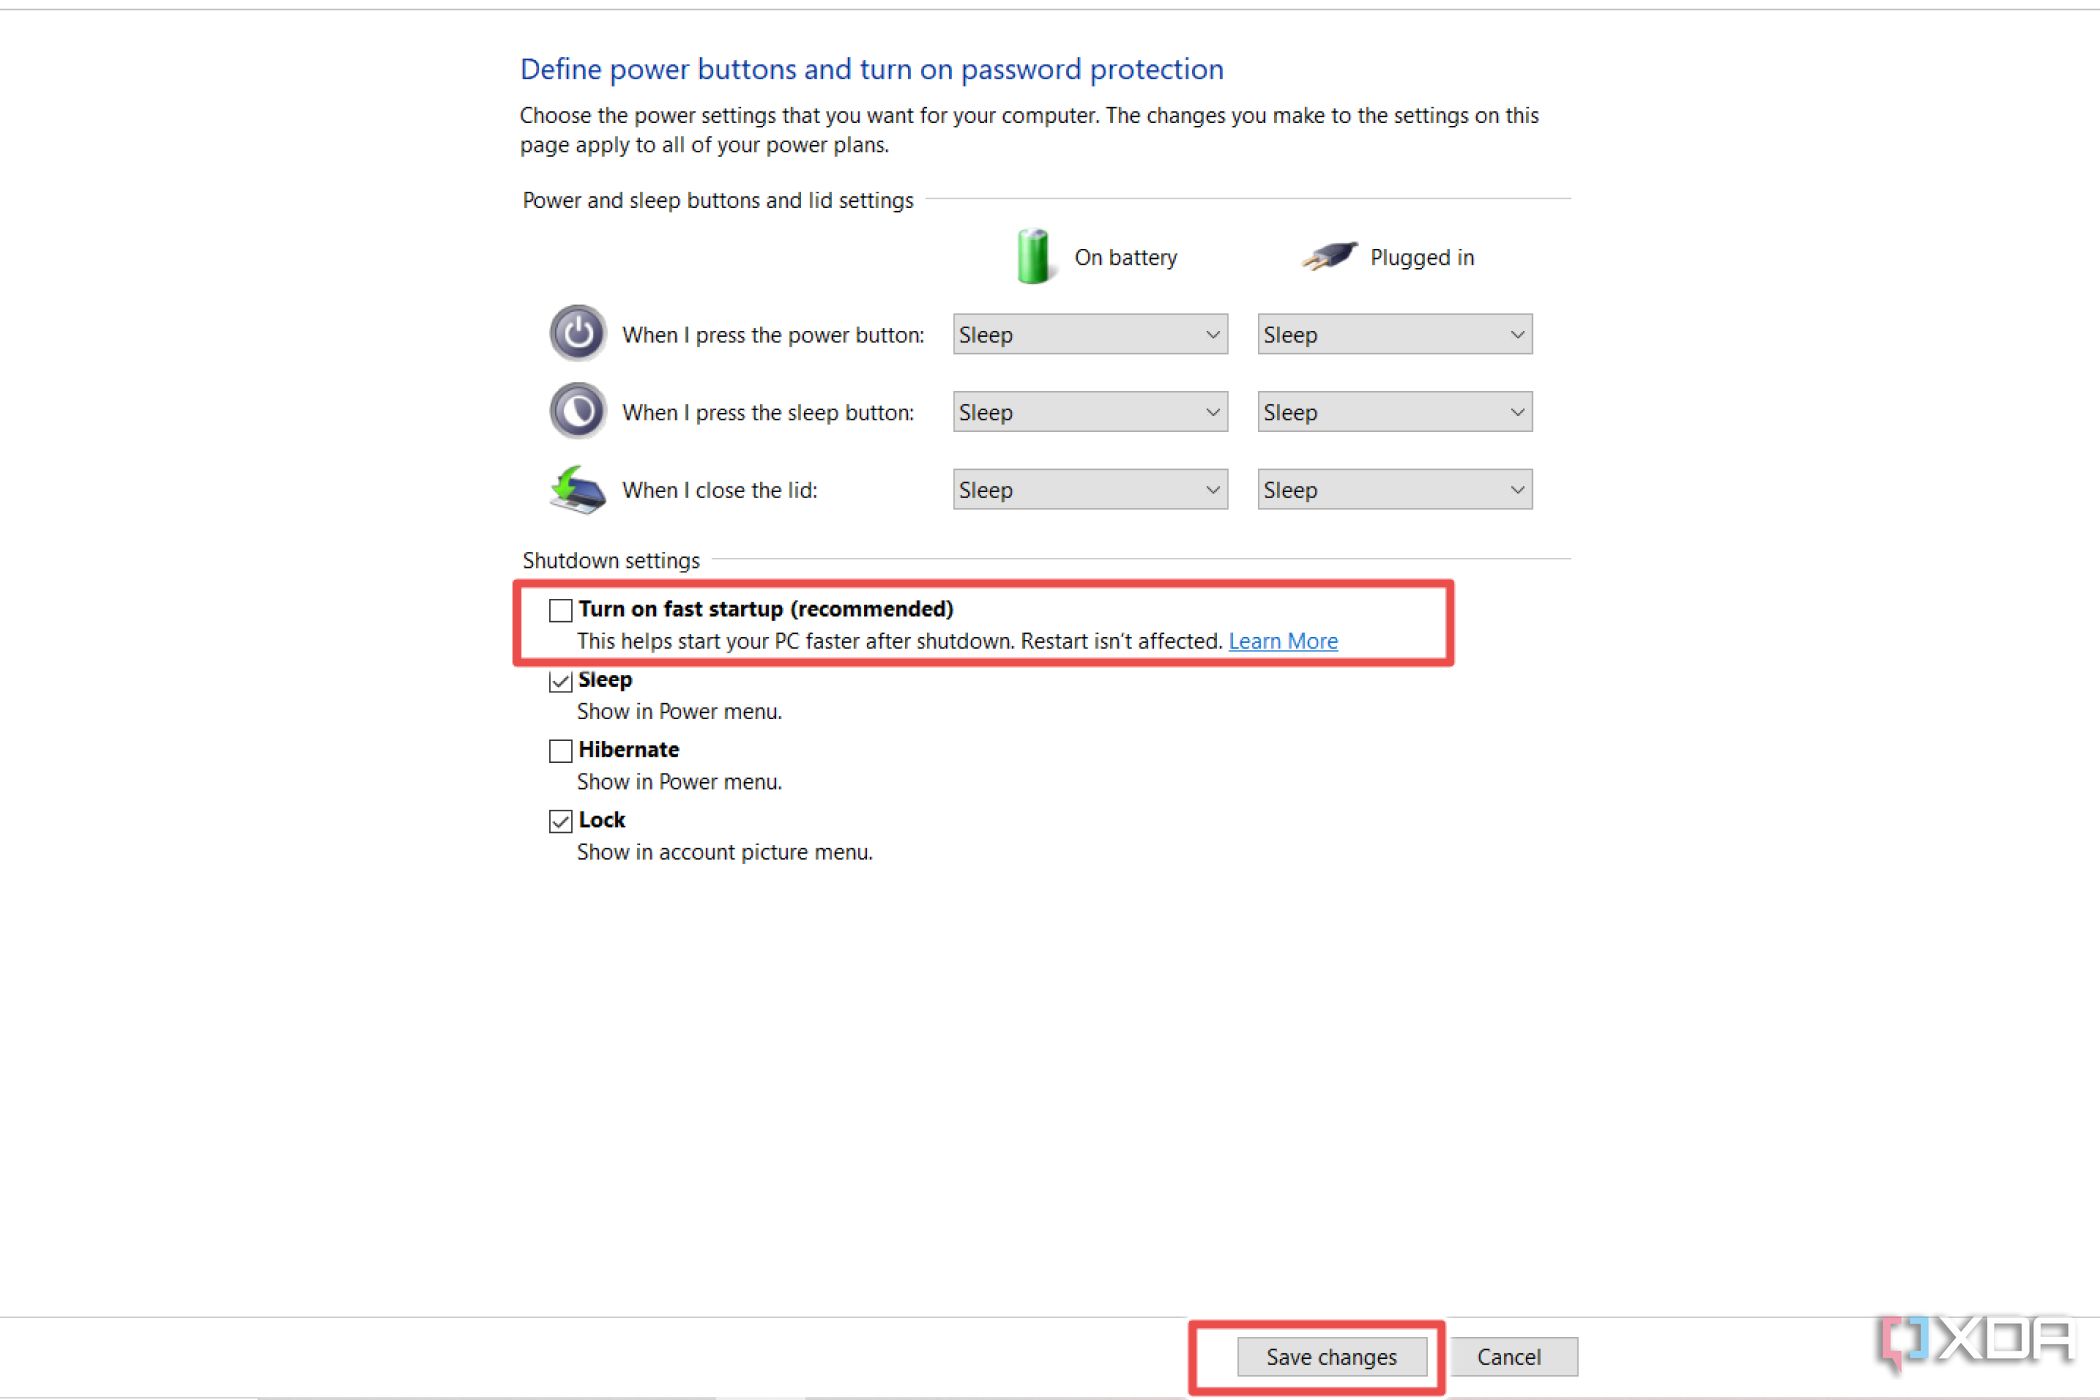
- Deselect a file Turn on fast startup Switch and click File Save Changes button.


Disable the built-in battery
Next, you will need to disable the built-in battery using the BIOS settings. Doing so will reduce the risk of damaging the residual current to your system.
- Reboot your system.
- Keep pressing F2 or Fn + F2 While your system is booting to open a BIOS settings.
- Go to configuration and click on power submenu.
- Click Disable the built-in battery and press Enters.
- He chooses Yes In the confirmation popup to disable the built-in battery.
Remove the nano-SIM card
Lenovo also suggests removing your laptop’s Nano SIM card along with the SIM card tray. To do this, simply locate the tray on the right side of your laptop and press Directed by button to eject it.

Source: Lenovo
Replacing the battery in a Lenovo ThinkPad X13 Gen 4
Once you’ve done all the preparations, it’s time to open up your system and replace the old battery.
- Turn off the laptop, unplug AC power adapterand put the laptop upside down.
- remove the Five screws Hold the base cover in place with a Phillips screwdriver.
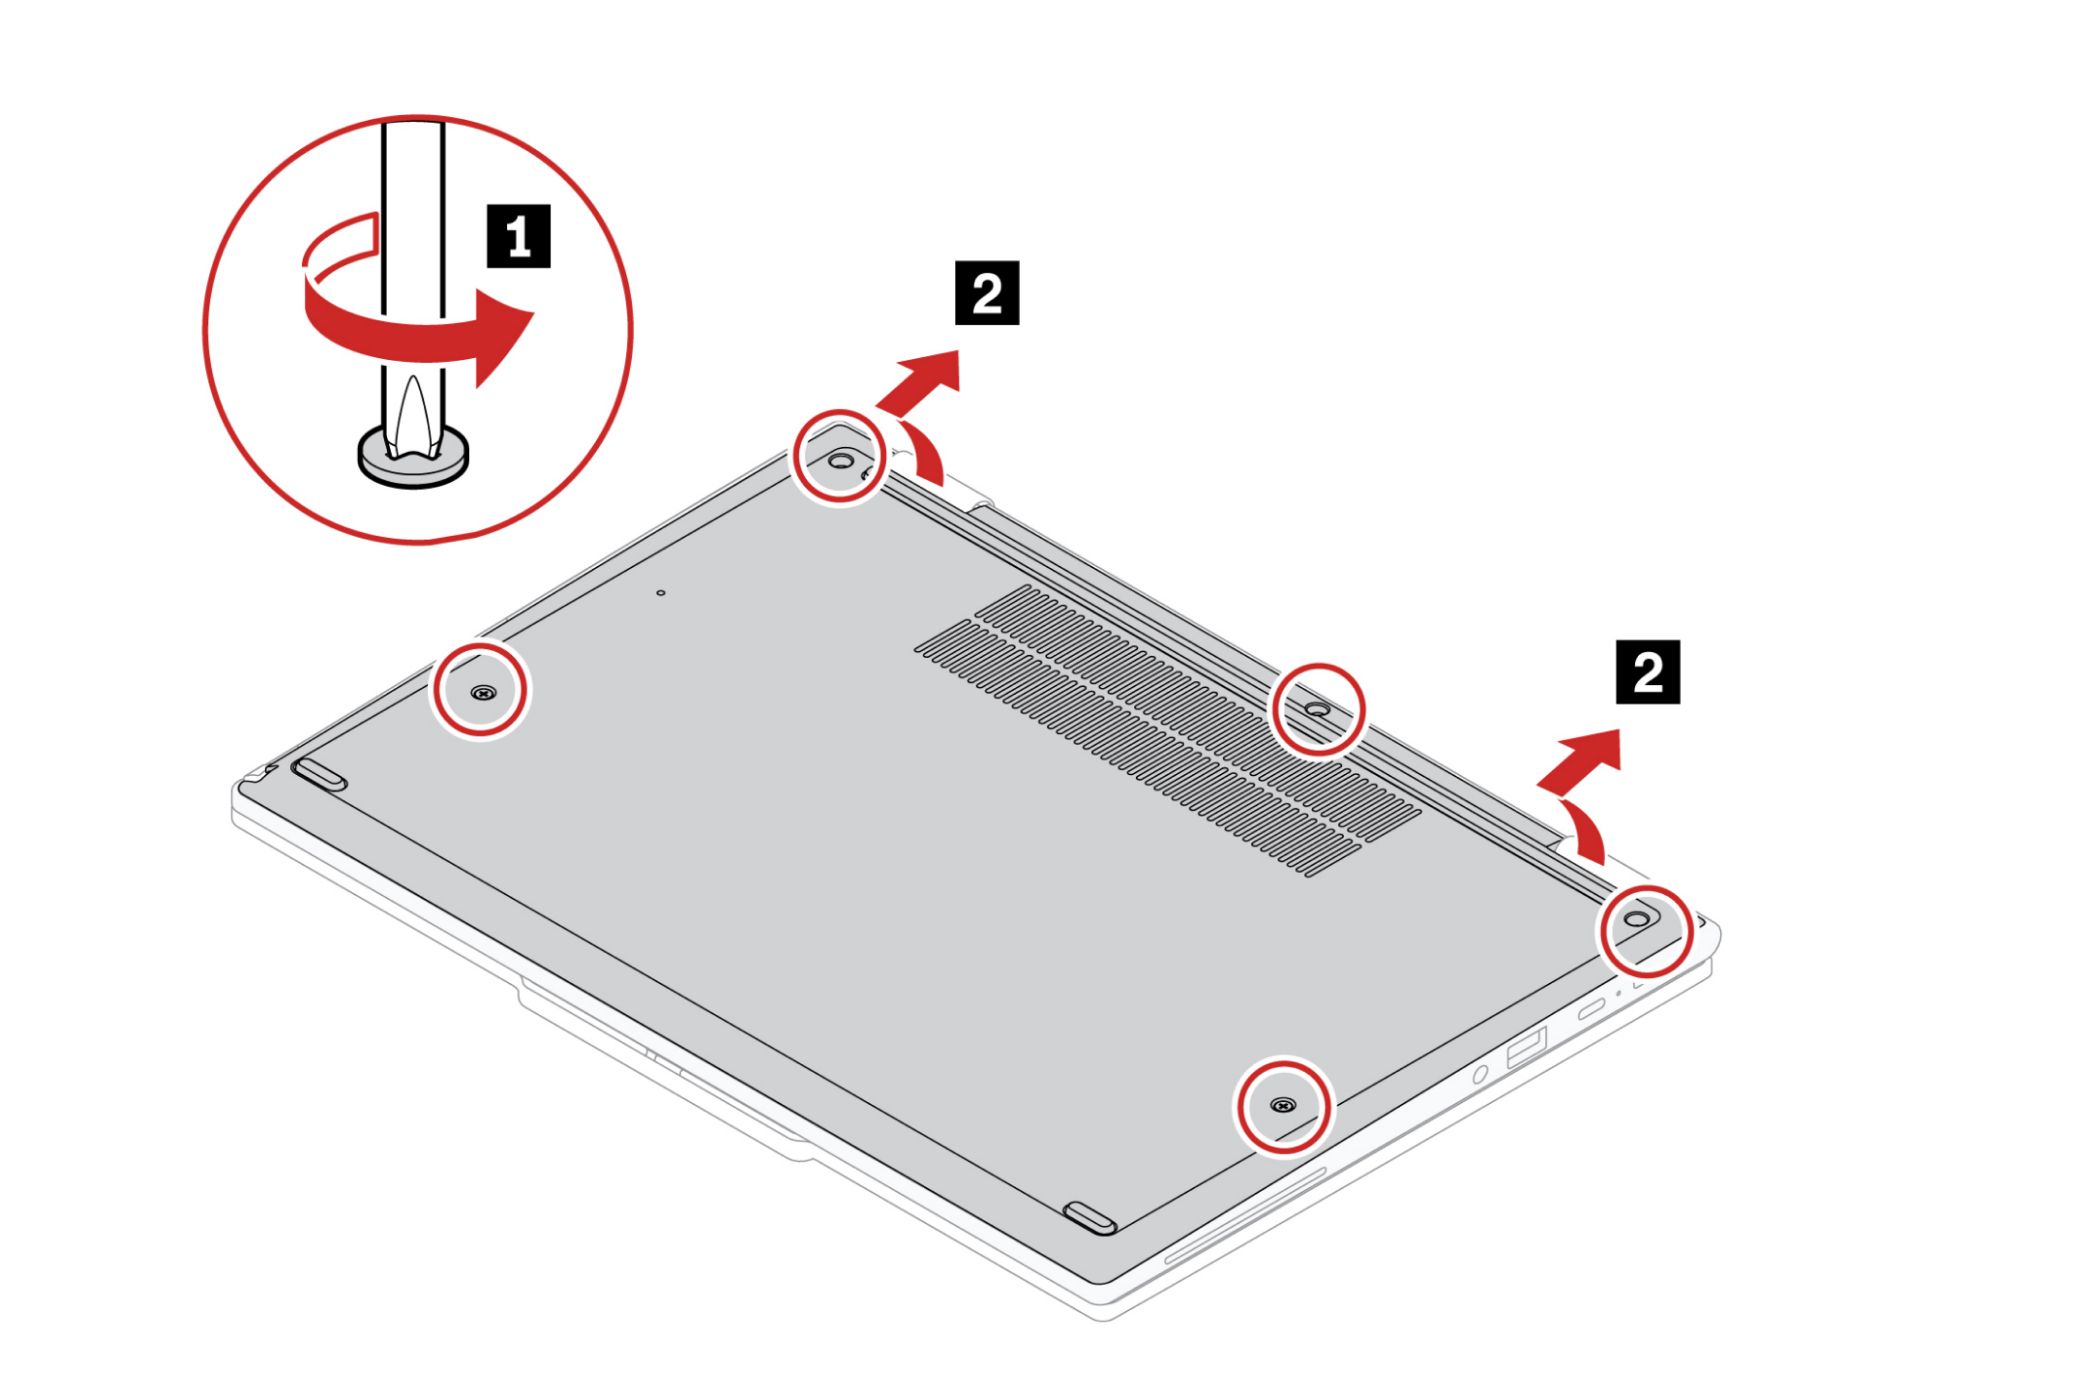
Source: Lenovo
- Use the prying tool to lift Base cover Starting from the edges.
- Disconnect the battery ribbon cable that connects it to the motherboard.
- decode Four M2 x 4.5mm screws Secure the battery and remove it from the laptop.
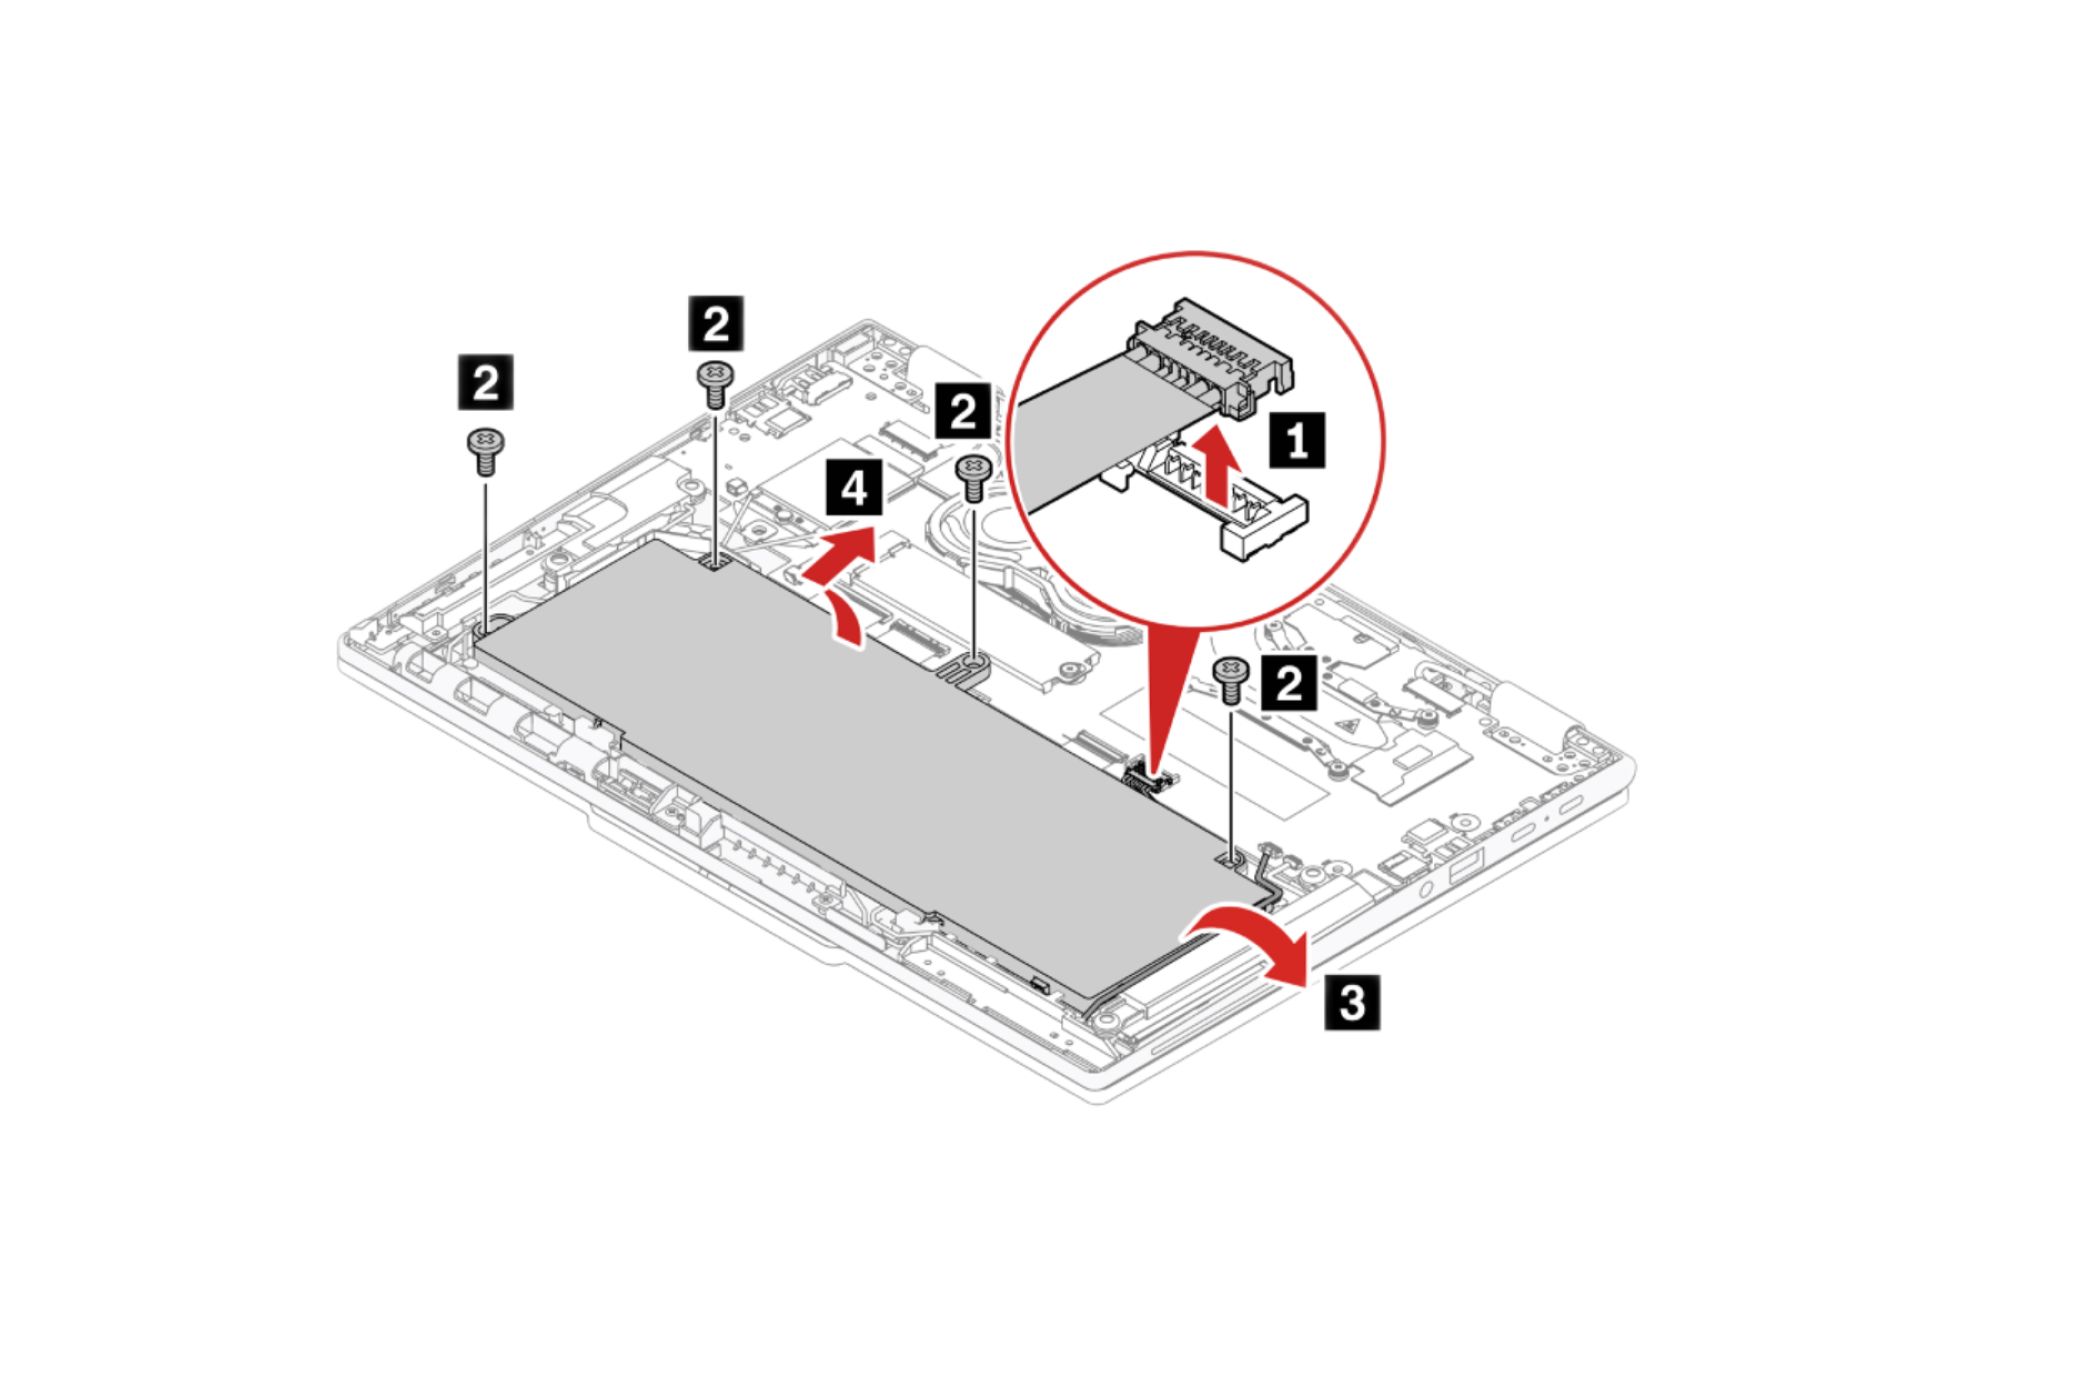
Source: Lenovo
- download this new battery in the same direction as the old one and plug it in tape connector in the motherboard.
- Secure the battery with Four m 2 x 4.5 mm The screws you removed earlier.
- Reconnect a file bottom cover And fasten it with the five Phillips screws.
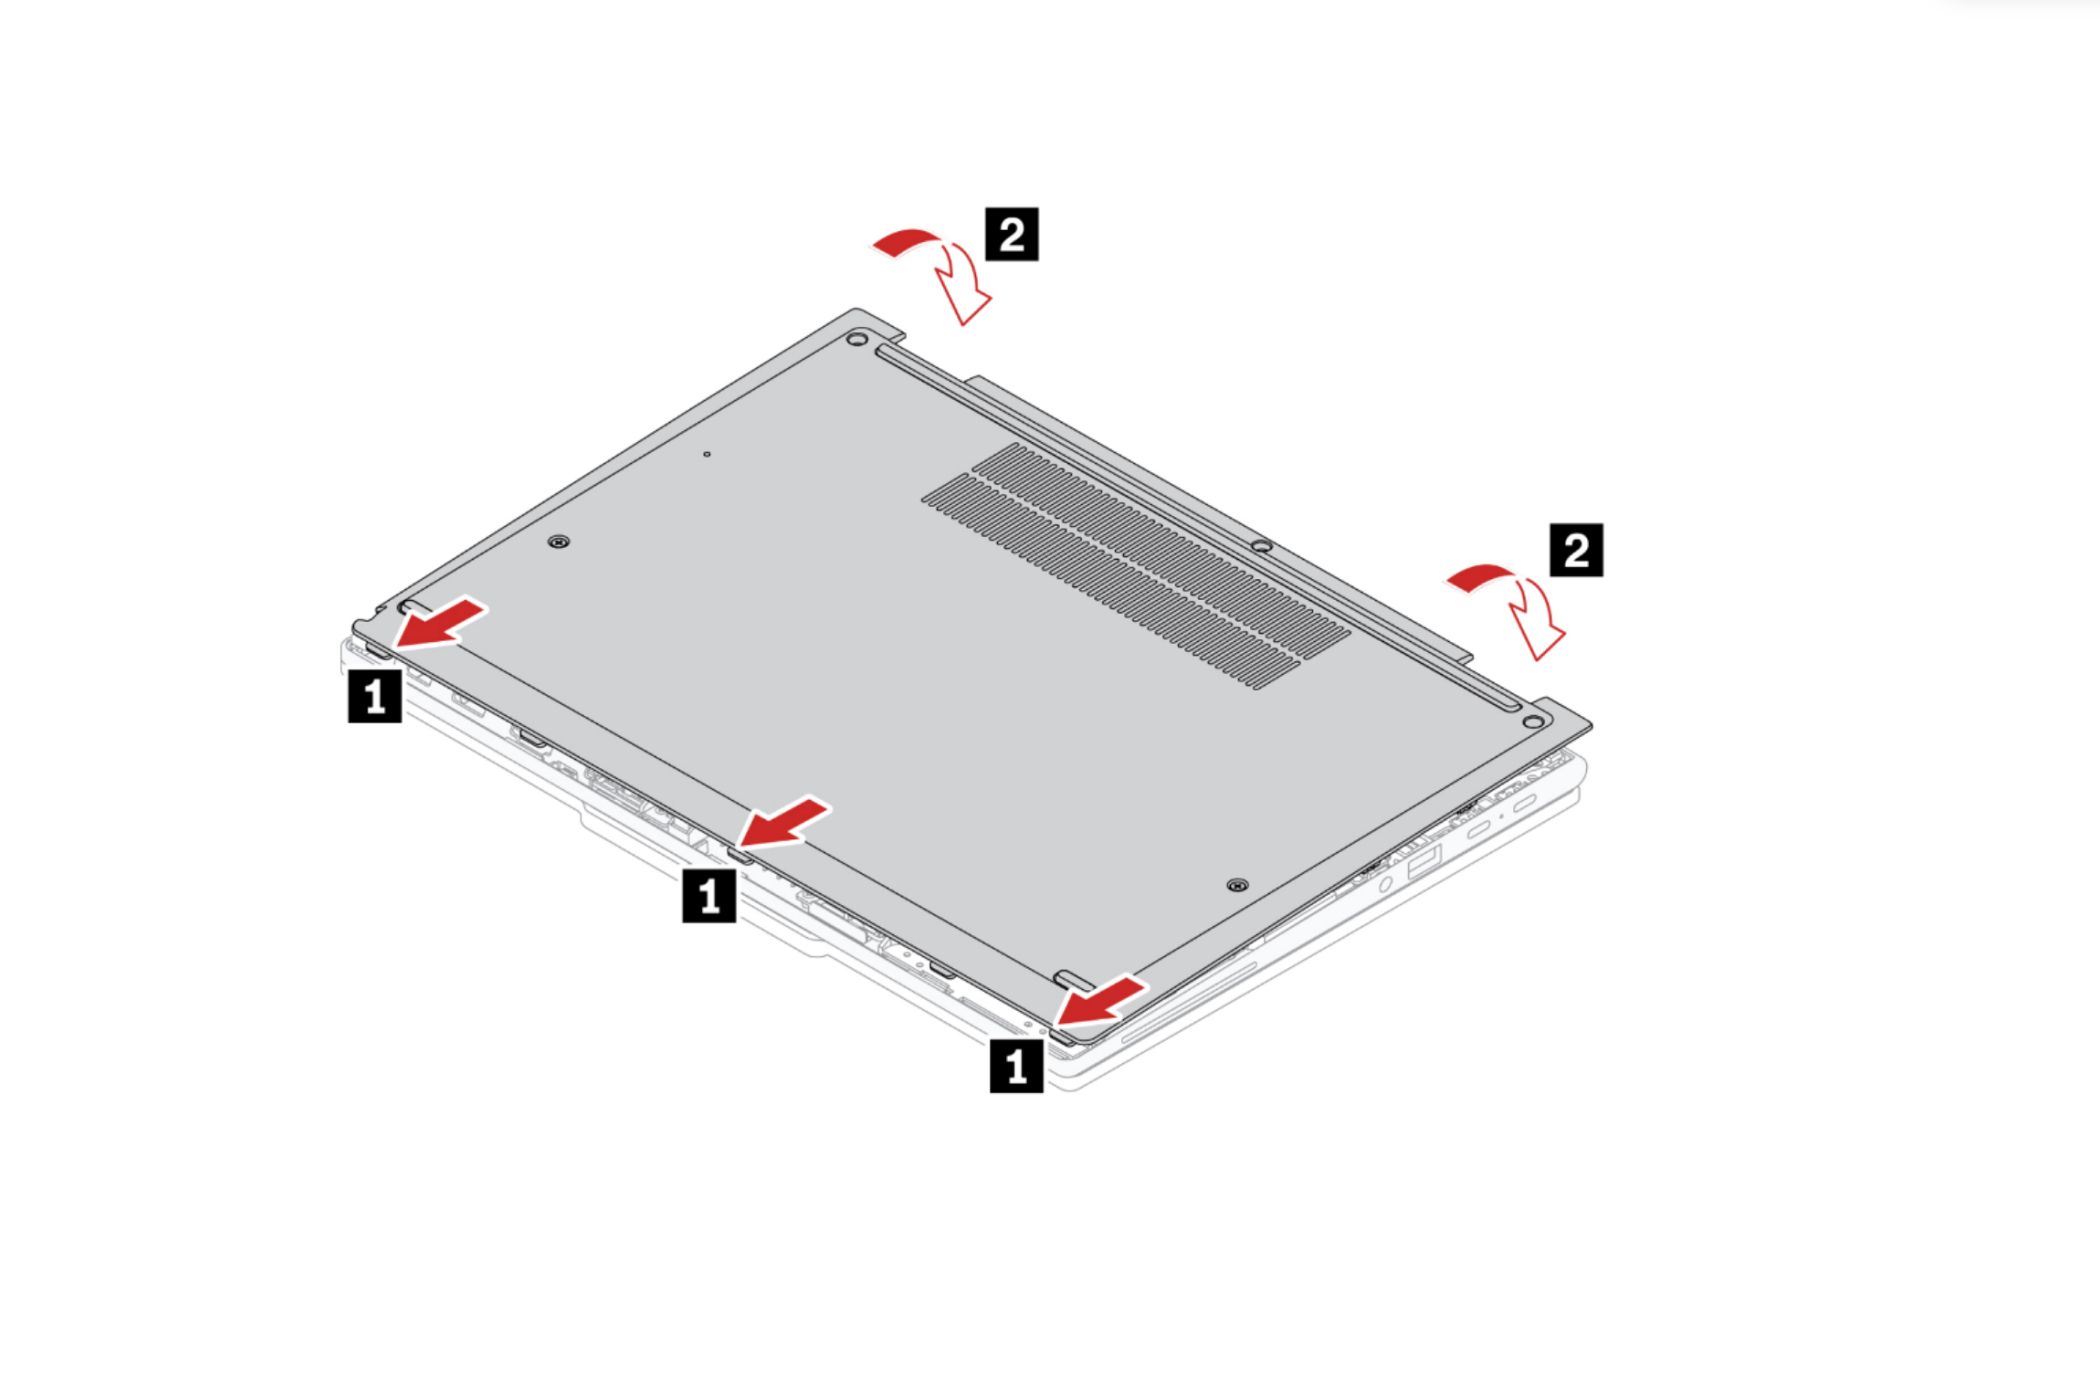
Source: Lenovo


These are all the steps you need to follow to replace your ThinkPad battery. Be sure to calibrate your new battery by fully charging it and then using your laptop until it runs out of power. If you haven’t purchased it yet, check out the Lenovo ThinkPad X13 Gen 4 at the link below. You can also browse the best laptops of 2023 if you need help choosing a new laptop.

Lenovo ThinkPad X13 Gen4
The ThinkPad X13 Gen 4 brings some big changes over previous models beyond just minor spec bumps. There are sleeker bezels, better user-facing speakers, a new optional 5MP webcam, and the option of a 2.8K OLED screen.
[ad_2]


