NAS stands for Network Attached Storage, but it’s a bit of a misnomer. Assuming you have a NAS, you’ve probably realized it can do more than just store files. Depending on how powerful it is, you could even use it to host a Minecraft server. That’s what I did with my old PC. It’s really easy to do, too.
This guide uses TrueNAS as the operating system, but the steps once MineOS are installed will be the same across all operating systems.
Hosting a Minecraft server on a NAS: What you need
- An internet connection: You need this to download the required files and to also share your server with other people if you want to
- A powerful enough CPU: Minecraft servers are pretty CPU-bound. You can get around this somewhat by using Spigot or Paper when setting up the server, but then you’ll end up slightly behind on updates.
Step 1: Install MineOS
MineOS is the software of choice that we’ll use, and on TrueNAS, it’s already in the default repository.
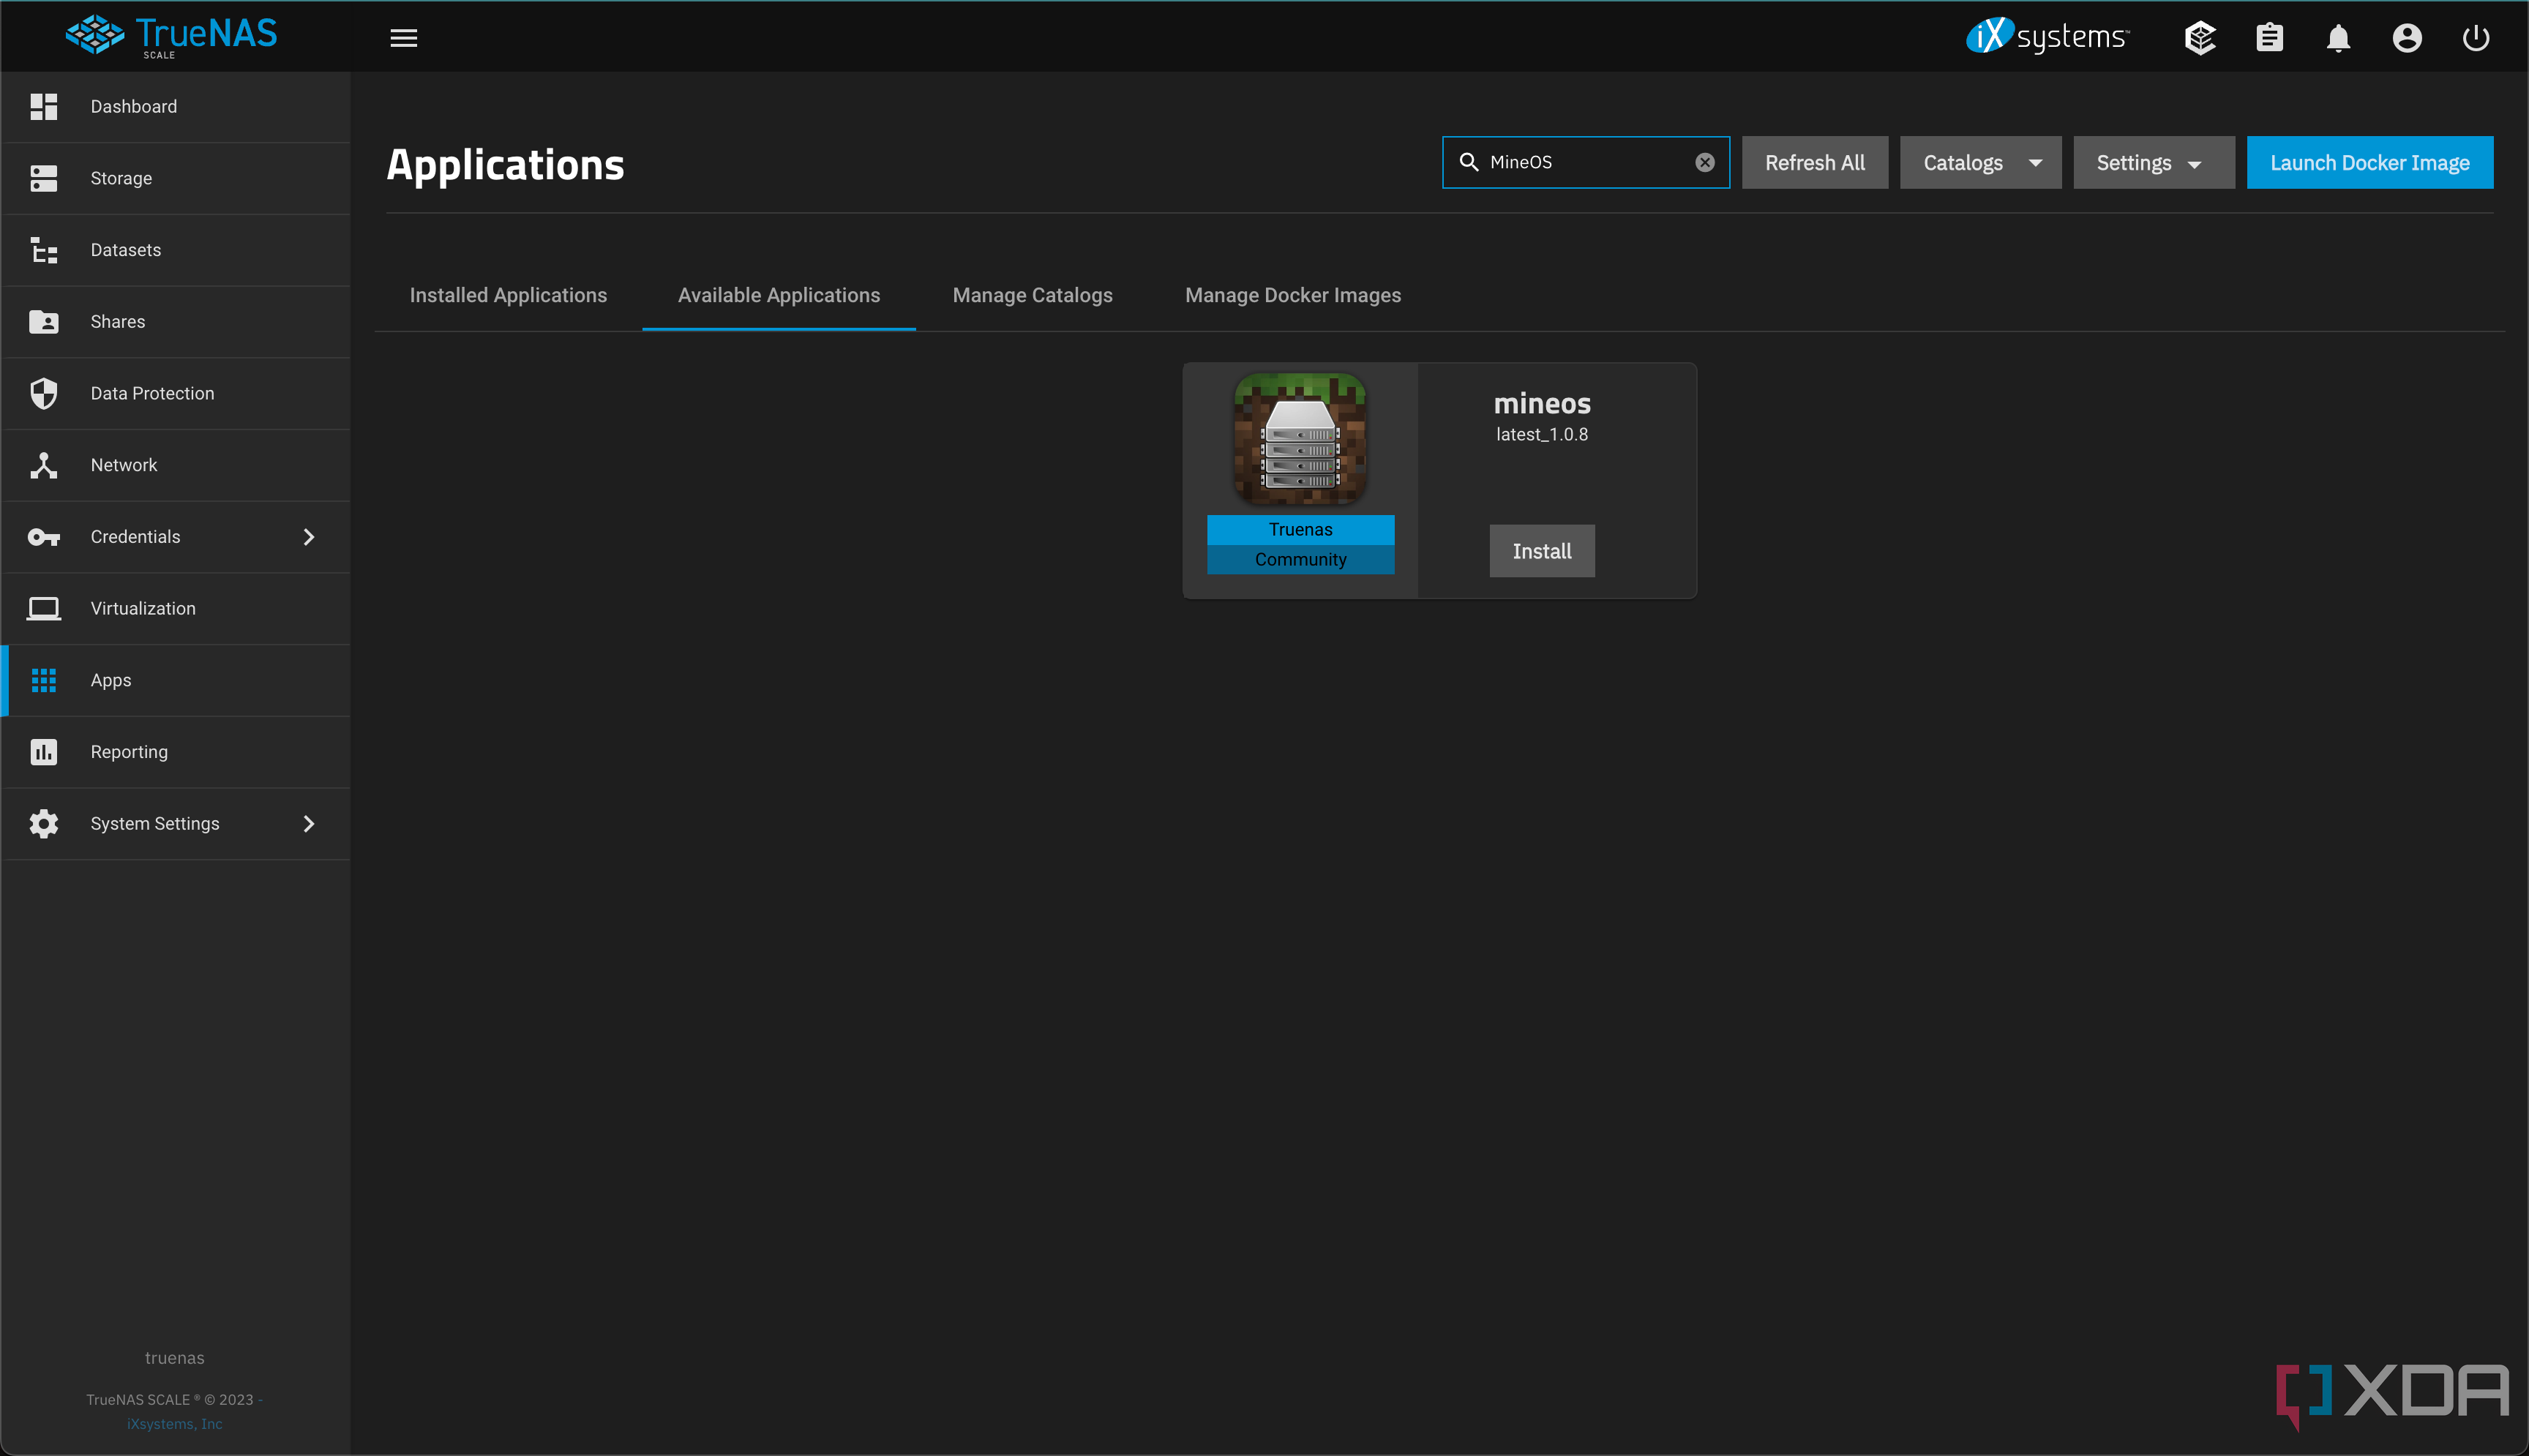
- Go to Apps on the left-hand side and select Available Applications.
- Search for MineOS at the top.
- Click Install.
Step 2: Configure MineOS
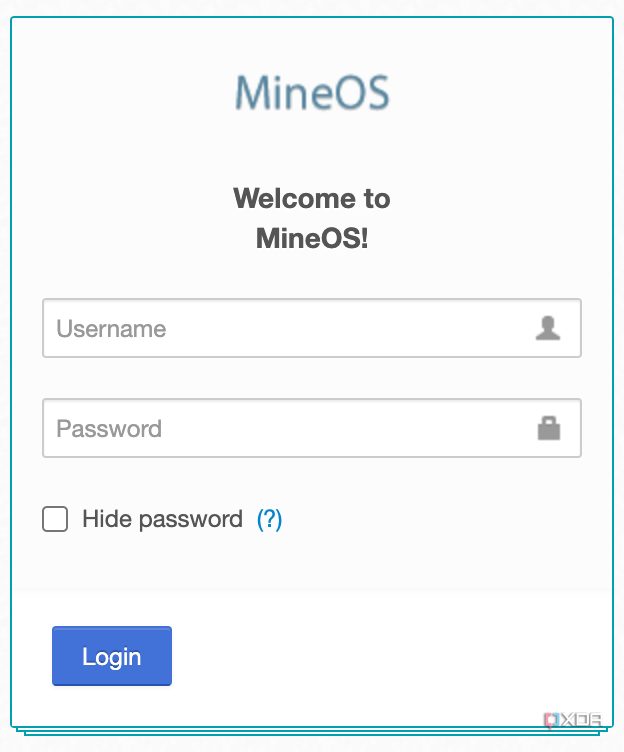
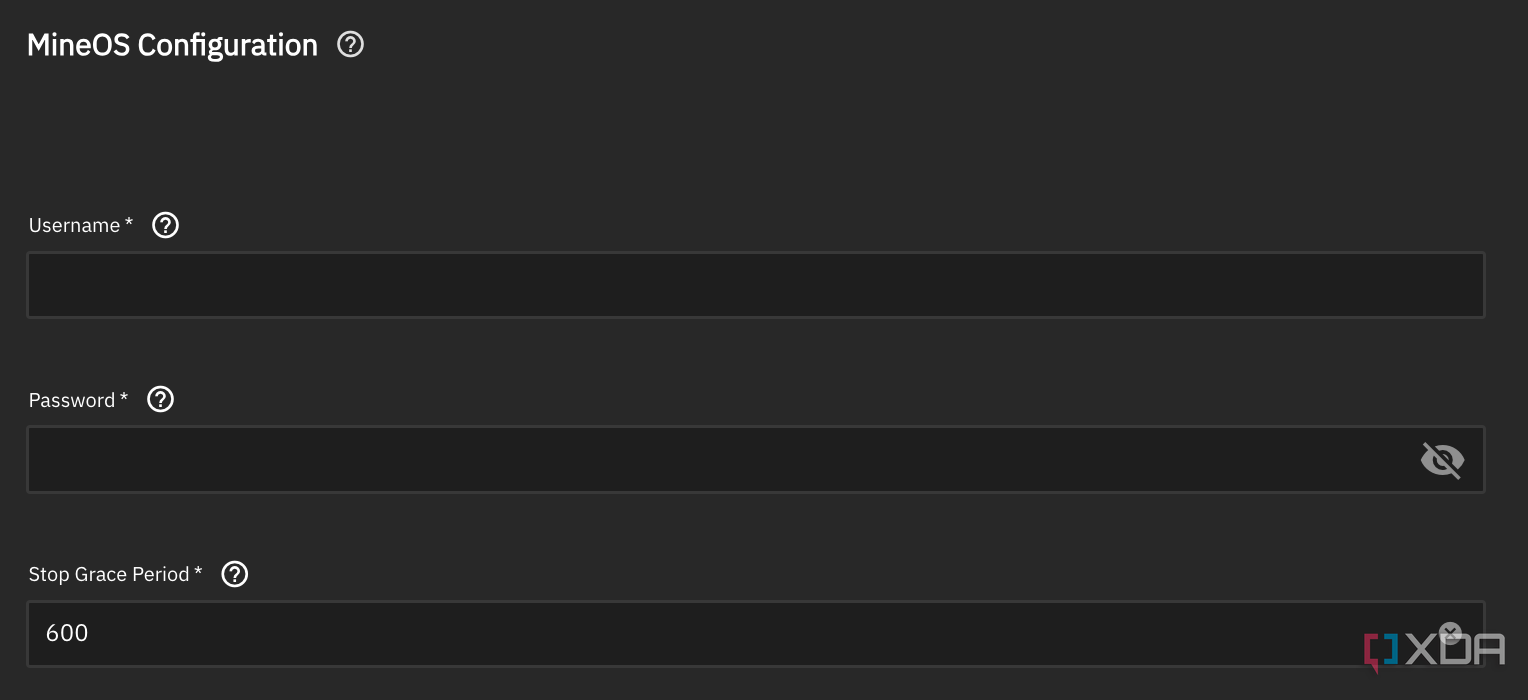
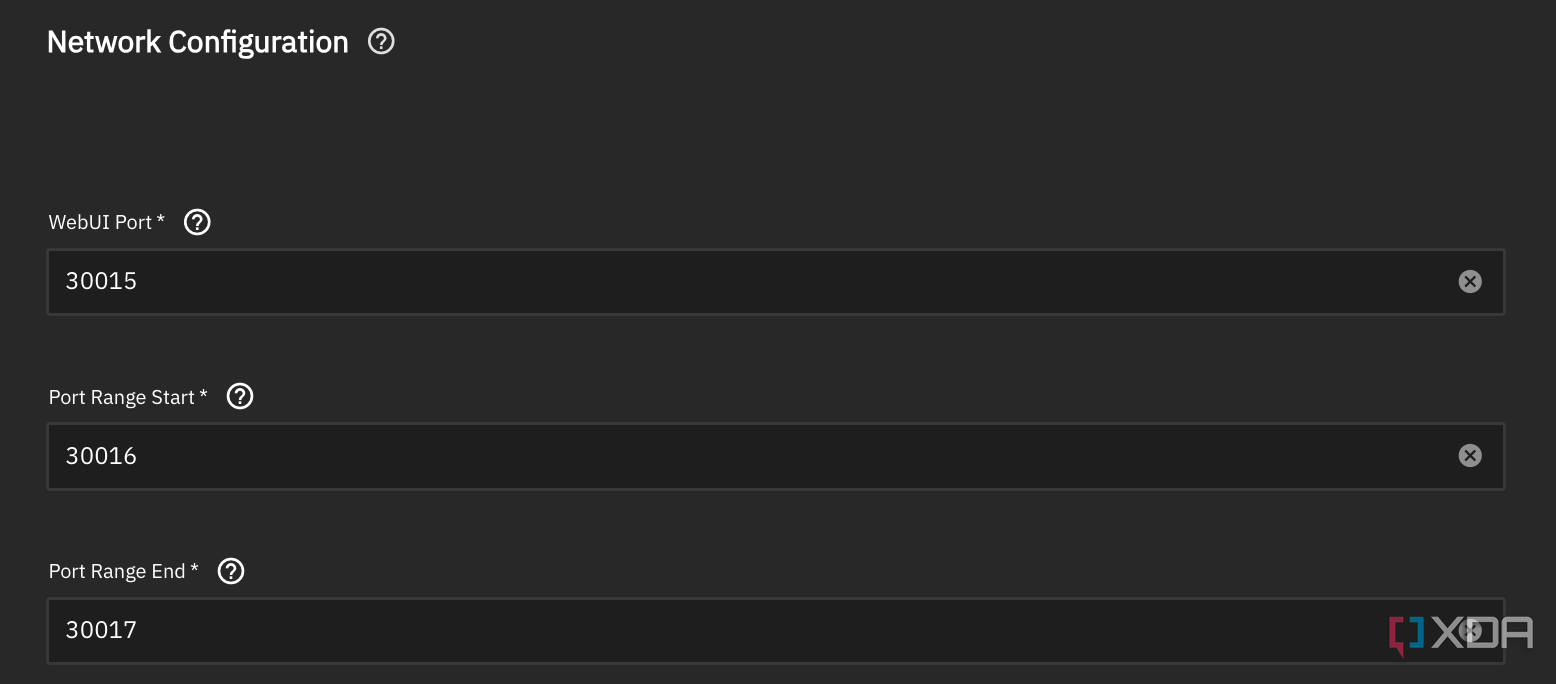
You’ll need to set a username and a password to access your MineOS configuration. You’ll also need to set a port range for the servers you would like to run. By default, Minecraft runs on port 25565.
Step 3: Log in to MineOS
Once installed, MineOS’s WebUI will now be running on the WebUI port above. To go to it, navigate to:
http://<serverIP>:<webuiPort>
In my case, I navigate to:
http://192.168.1.5:30015
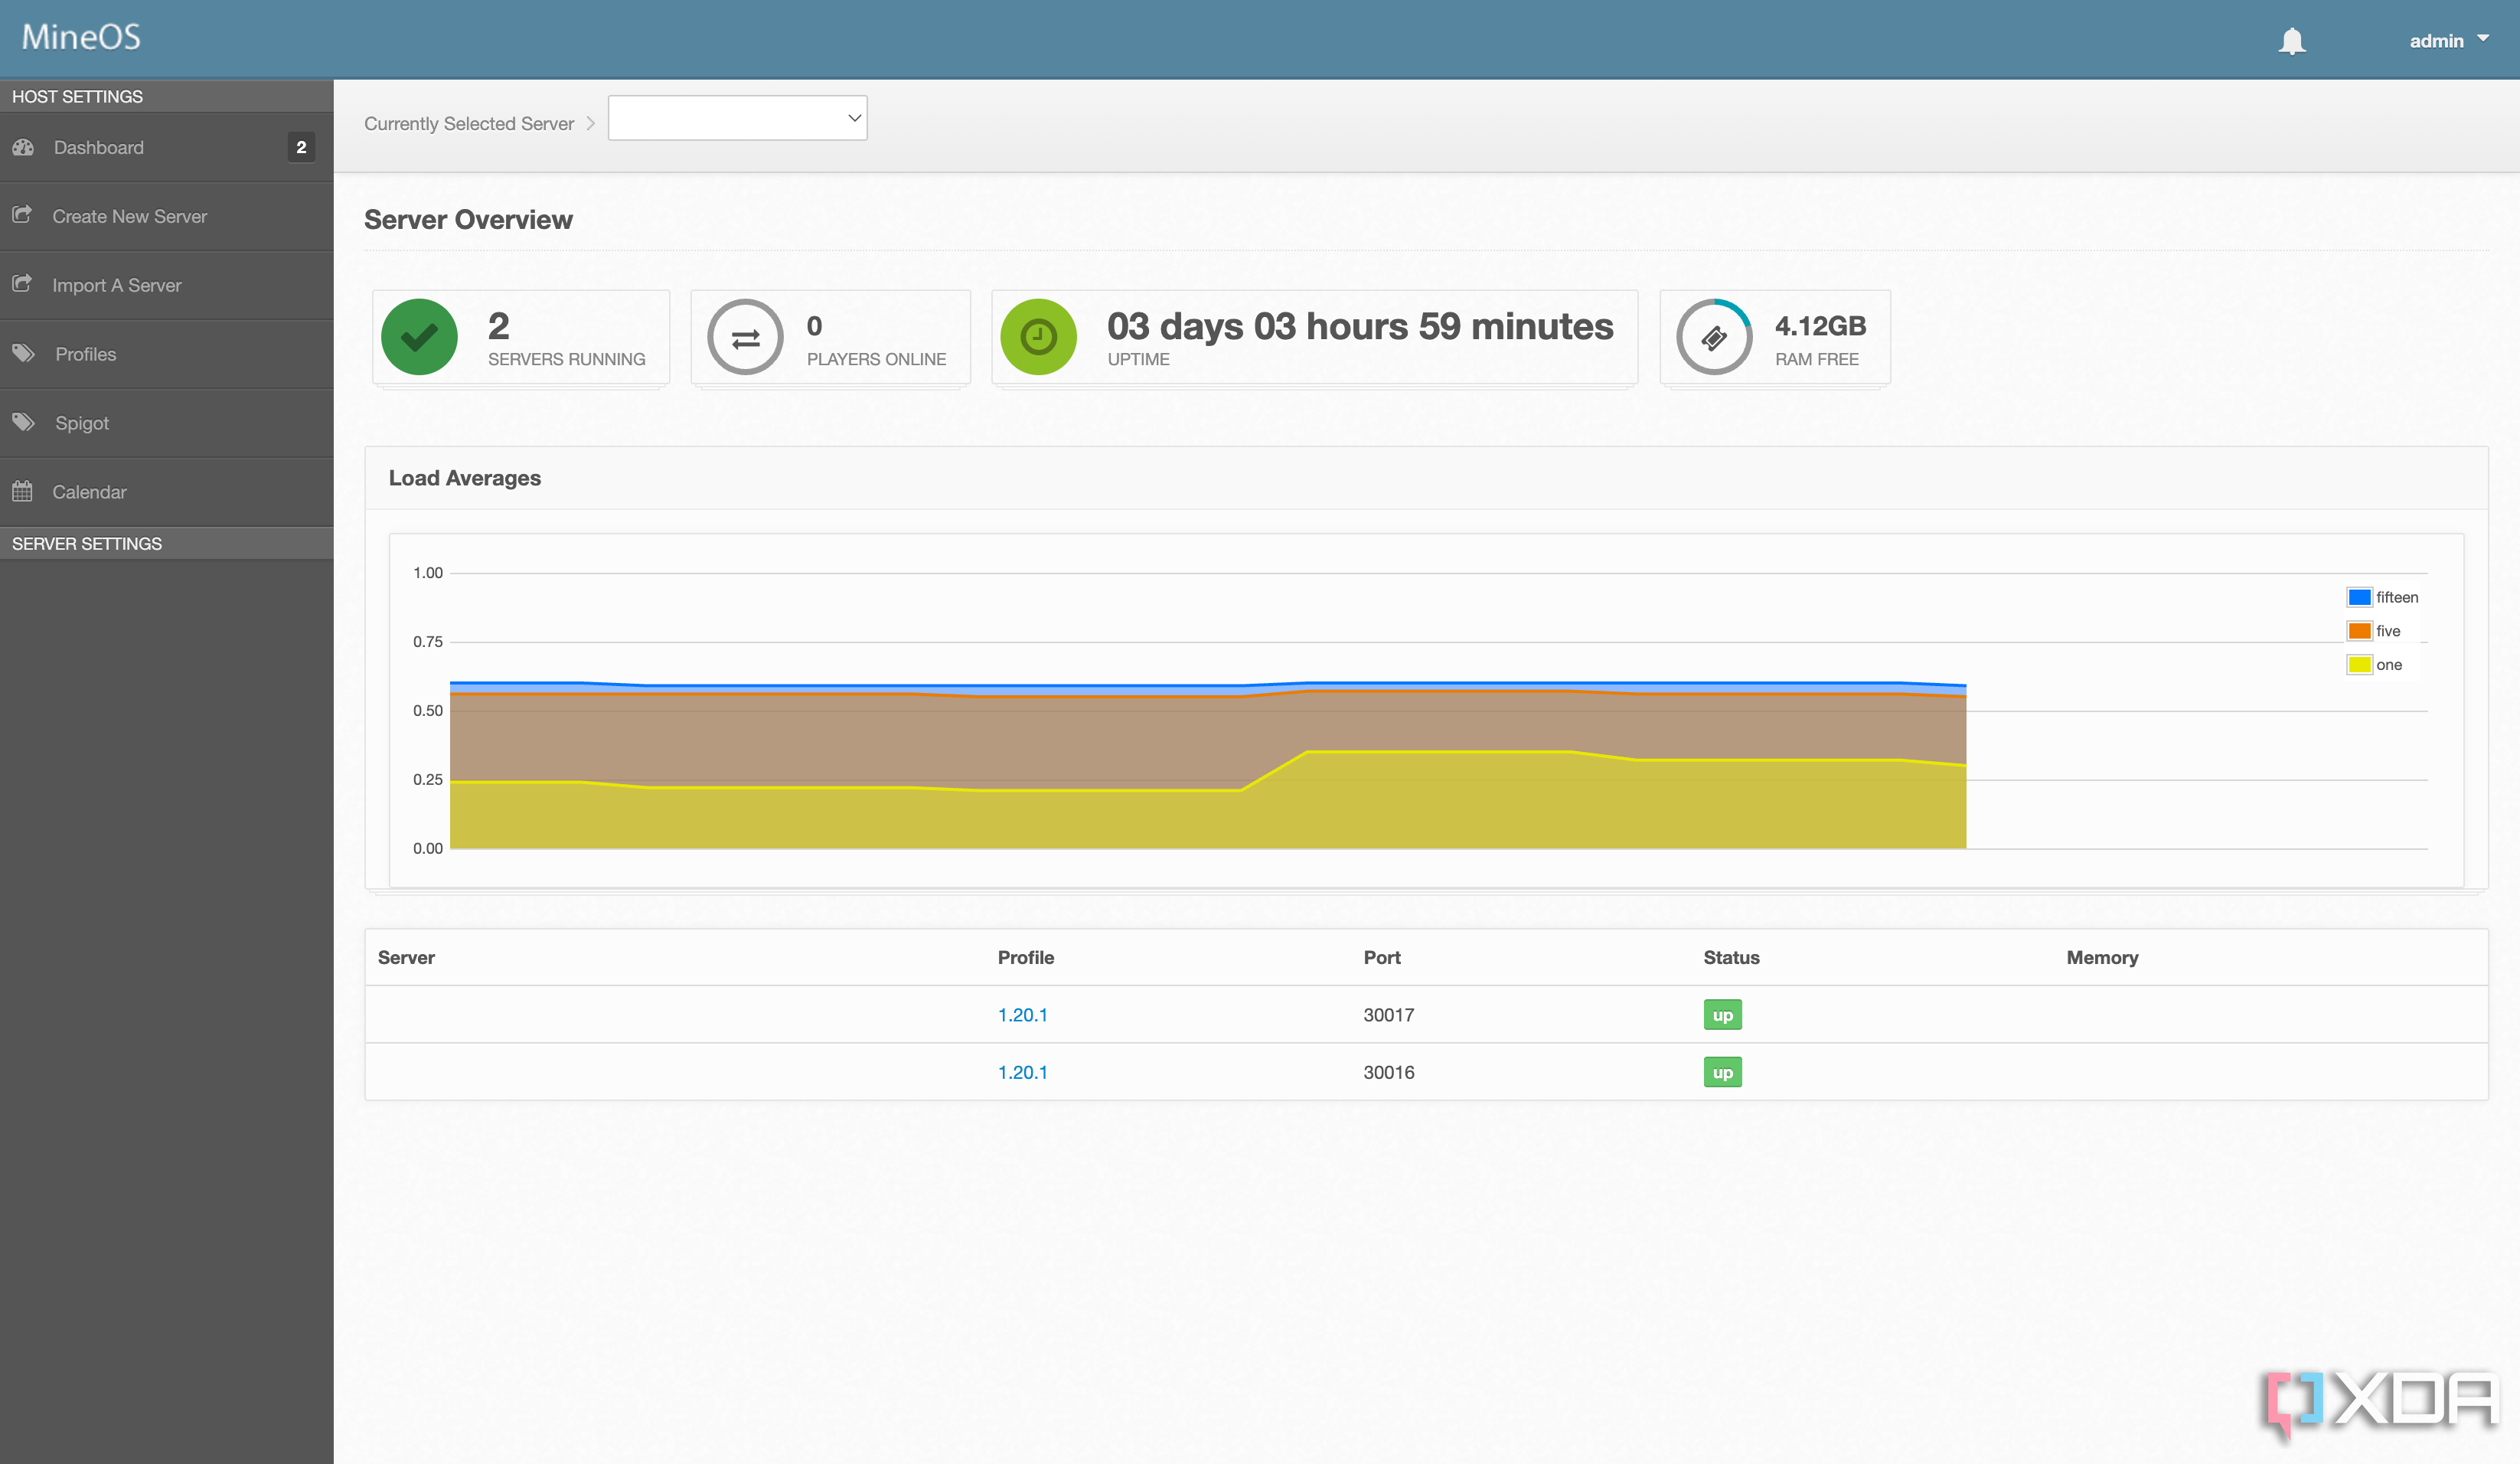
You should then be on the default web panel.
Step 4: Configure your server
Log in to MineOS, and then do the following to install and configure a Minecraft server:
- Click Create New Server on the left.
- Add a server name, server port (making sure it’s in the range of ports that you defined in step 2), and any other information that you would like.
- Click Create New Server at the bottom.
- After that, go to Profiles on the left, and click Download on the most recent JAR file.
Step 5: Start your server
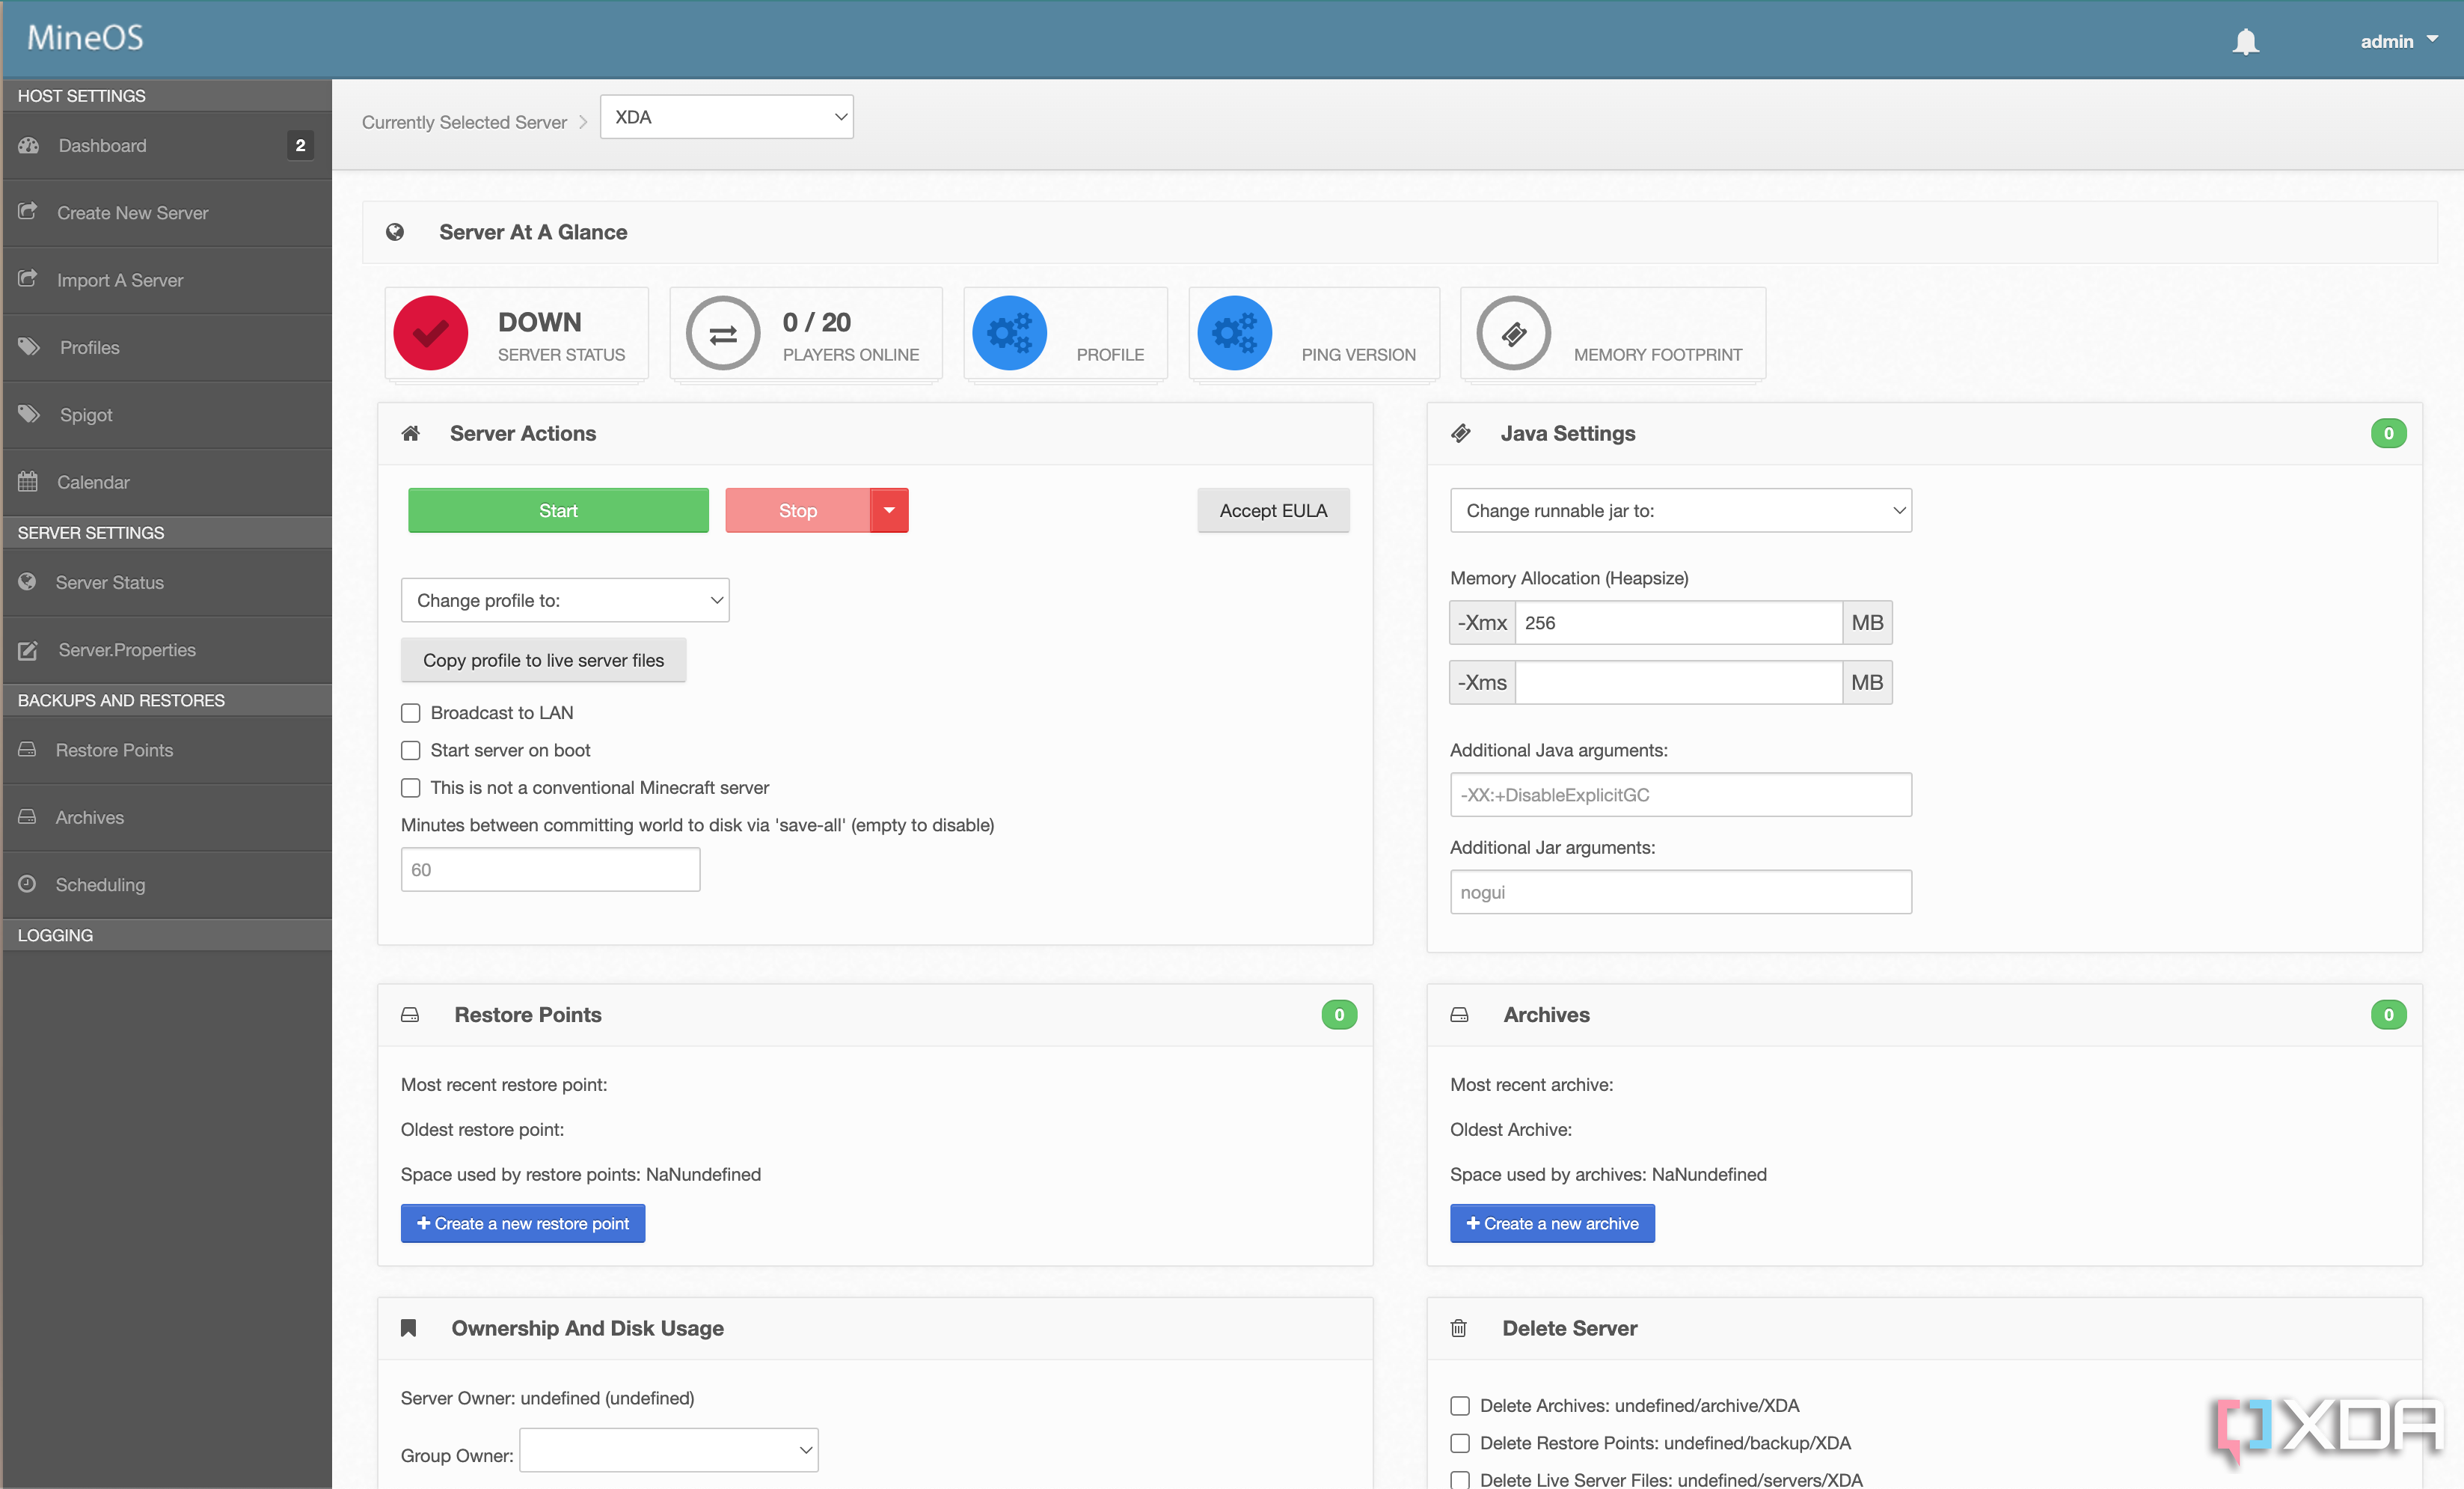
- On the left, go to Server status.
- Click Accept EULA.
- Click Start.
Step 6: Port forward and domain name access
You’ll now need to port forward your server so that people outside your connection can access the server. These instructions will differ depending on your router, so be sure to check the manufacturer’s instructions on how to do so.
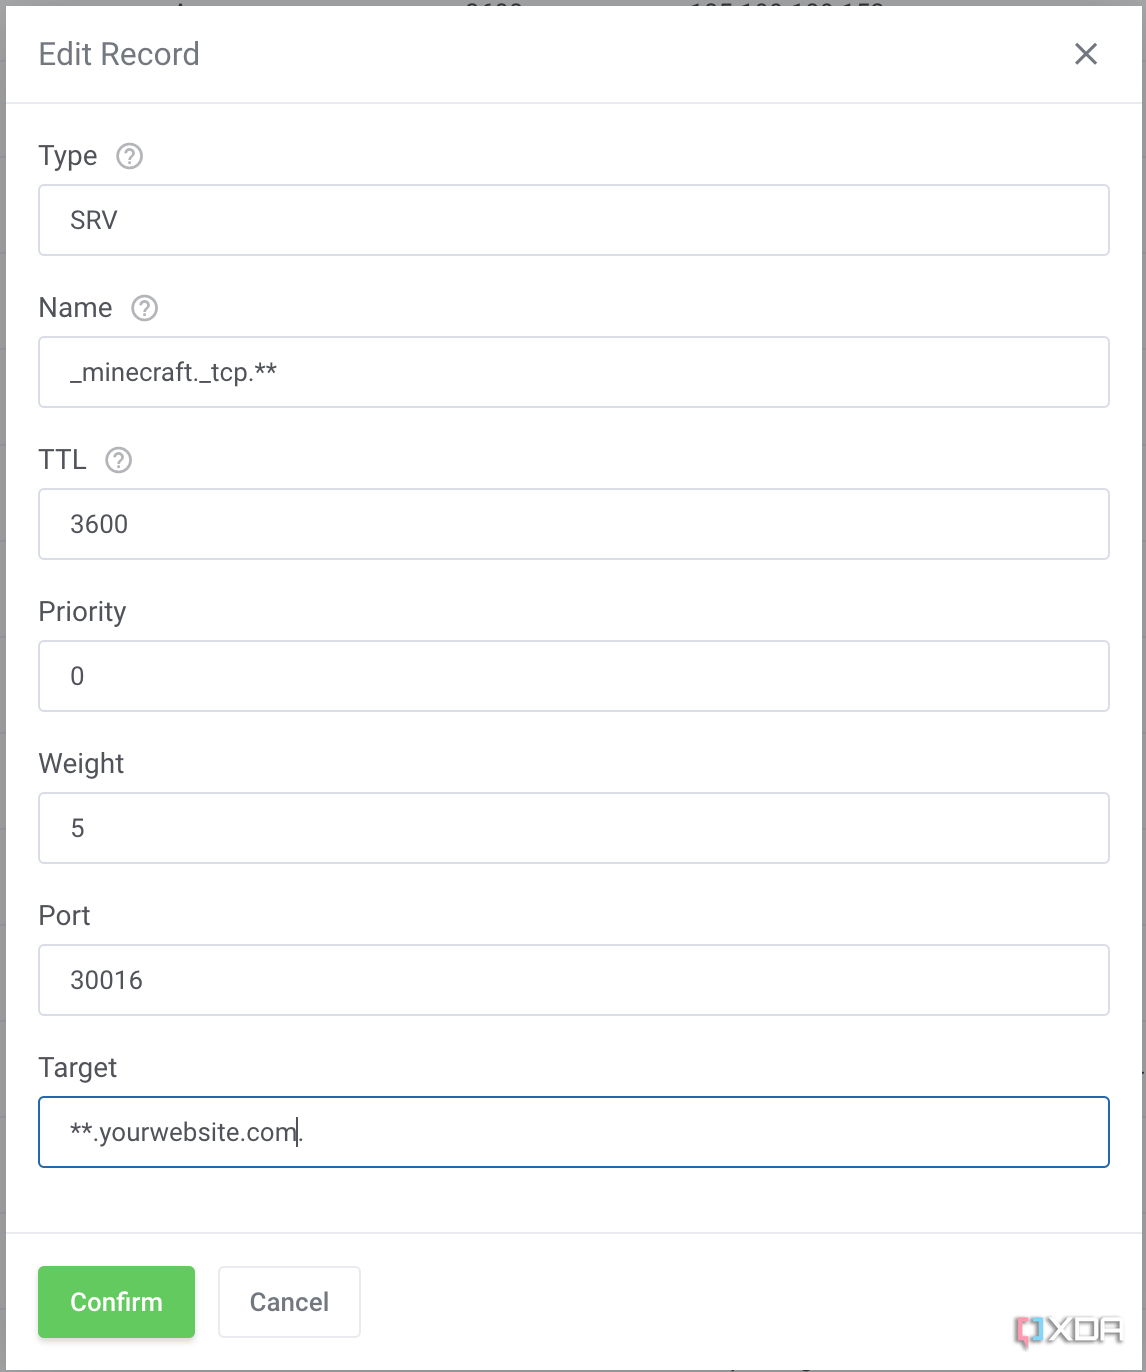
If you have a domain name that you would like to point your server toward, you can do so with a combination of A records and SRV records. This will only work if you have a static IP address. If you have a dynamic IP address, look into setting up a dynamic DNS.
- Create a subdomain on your website, with its A records pointing toward your IP address.
- Set up SRV records for this subdomain with the above parameters.
Make sure to replace the ** with your actual subdomain. What you replace the asterisks with needs to be the same in both places as well.
Enjoy your Minecraft server!
If all goes well, you’ll now have a Minecraft server that you can play on! You can connect to it with either the local IP address of your NAS or use the domain you created to play on it. You’ll be highly dependent on the power of the server, though, as to how well it works or not, but some of the best NAS devices available should be alright. As always, do some research before you buy if it’s the main reason you’re buying one.
[ad_2]


