

Photos can hold very special memories, and setting up a slideshow is a great way to relive them and look back at great times in your life. There’s no shortage of ways to set up a slideshow, and Windows 11 makes it easy to do it in a wide range of ways. Whether you want to actively display your photos or have them shown on the desktop, let’s take a look at some of the tools for creating photo slideshows on Windows 11.
If you haven’t yet, it’s a good idea to put your photos into the same folder. You can store them locally or on a OneDrive folder, if you have an internet connection.
View photos in a slideshow using the Windows 11 Photos app
If you’re actively trying to show off photos in a slideshow, the Windows 11 Photos is arguably the best way to do it. This app lets you choose the photos to view, adjust transitions, play music, and more. Here’s how to use it:
- Open the Photos app. You can find it in the Start menu.
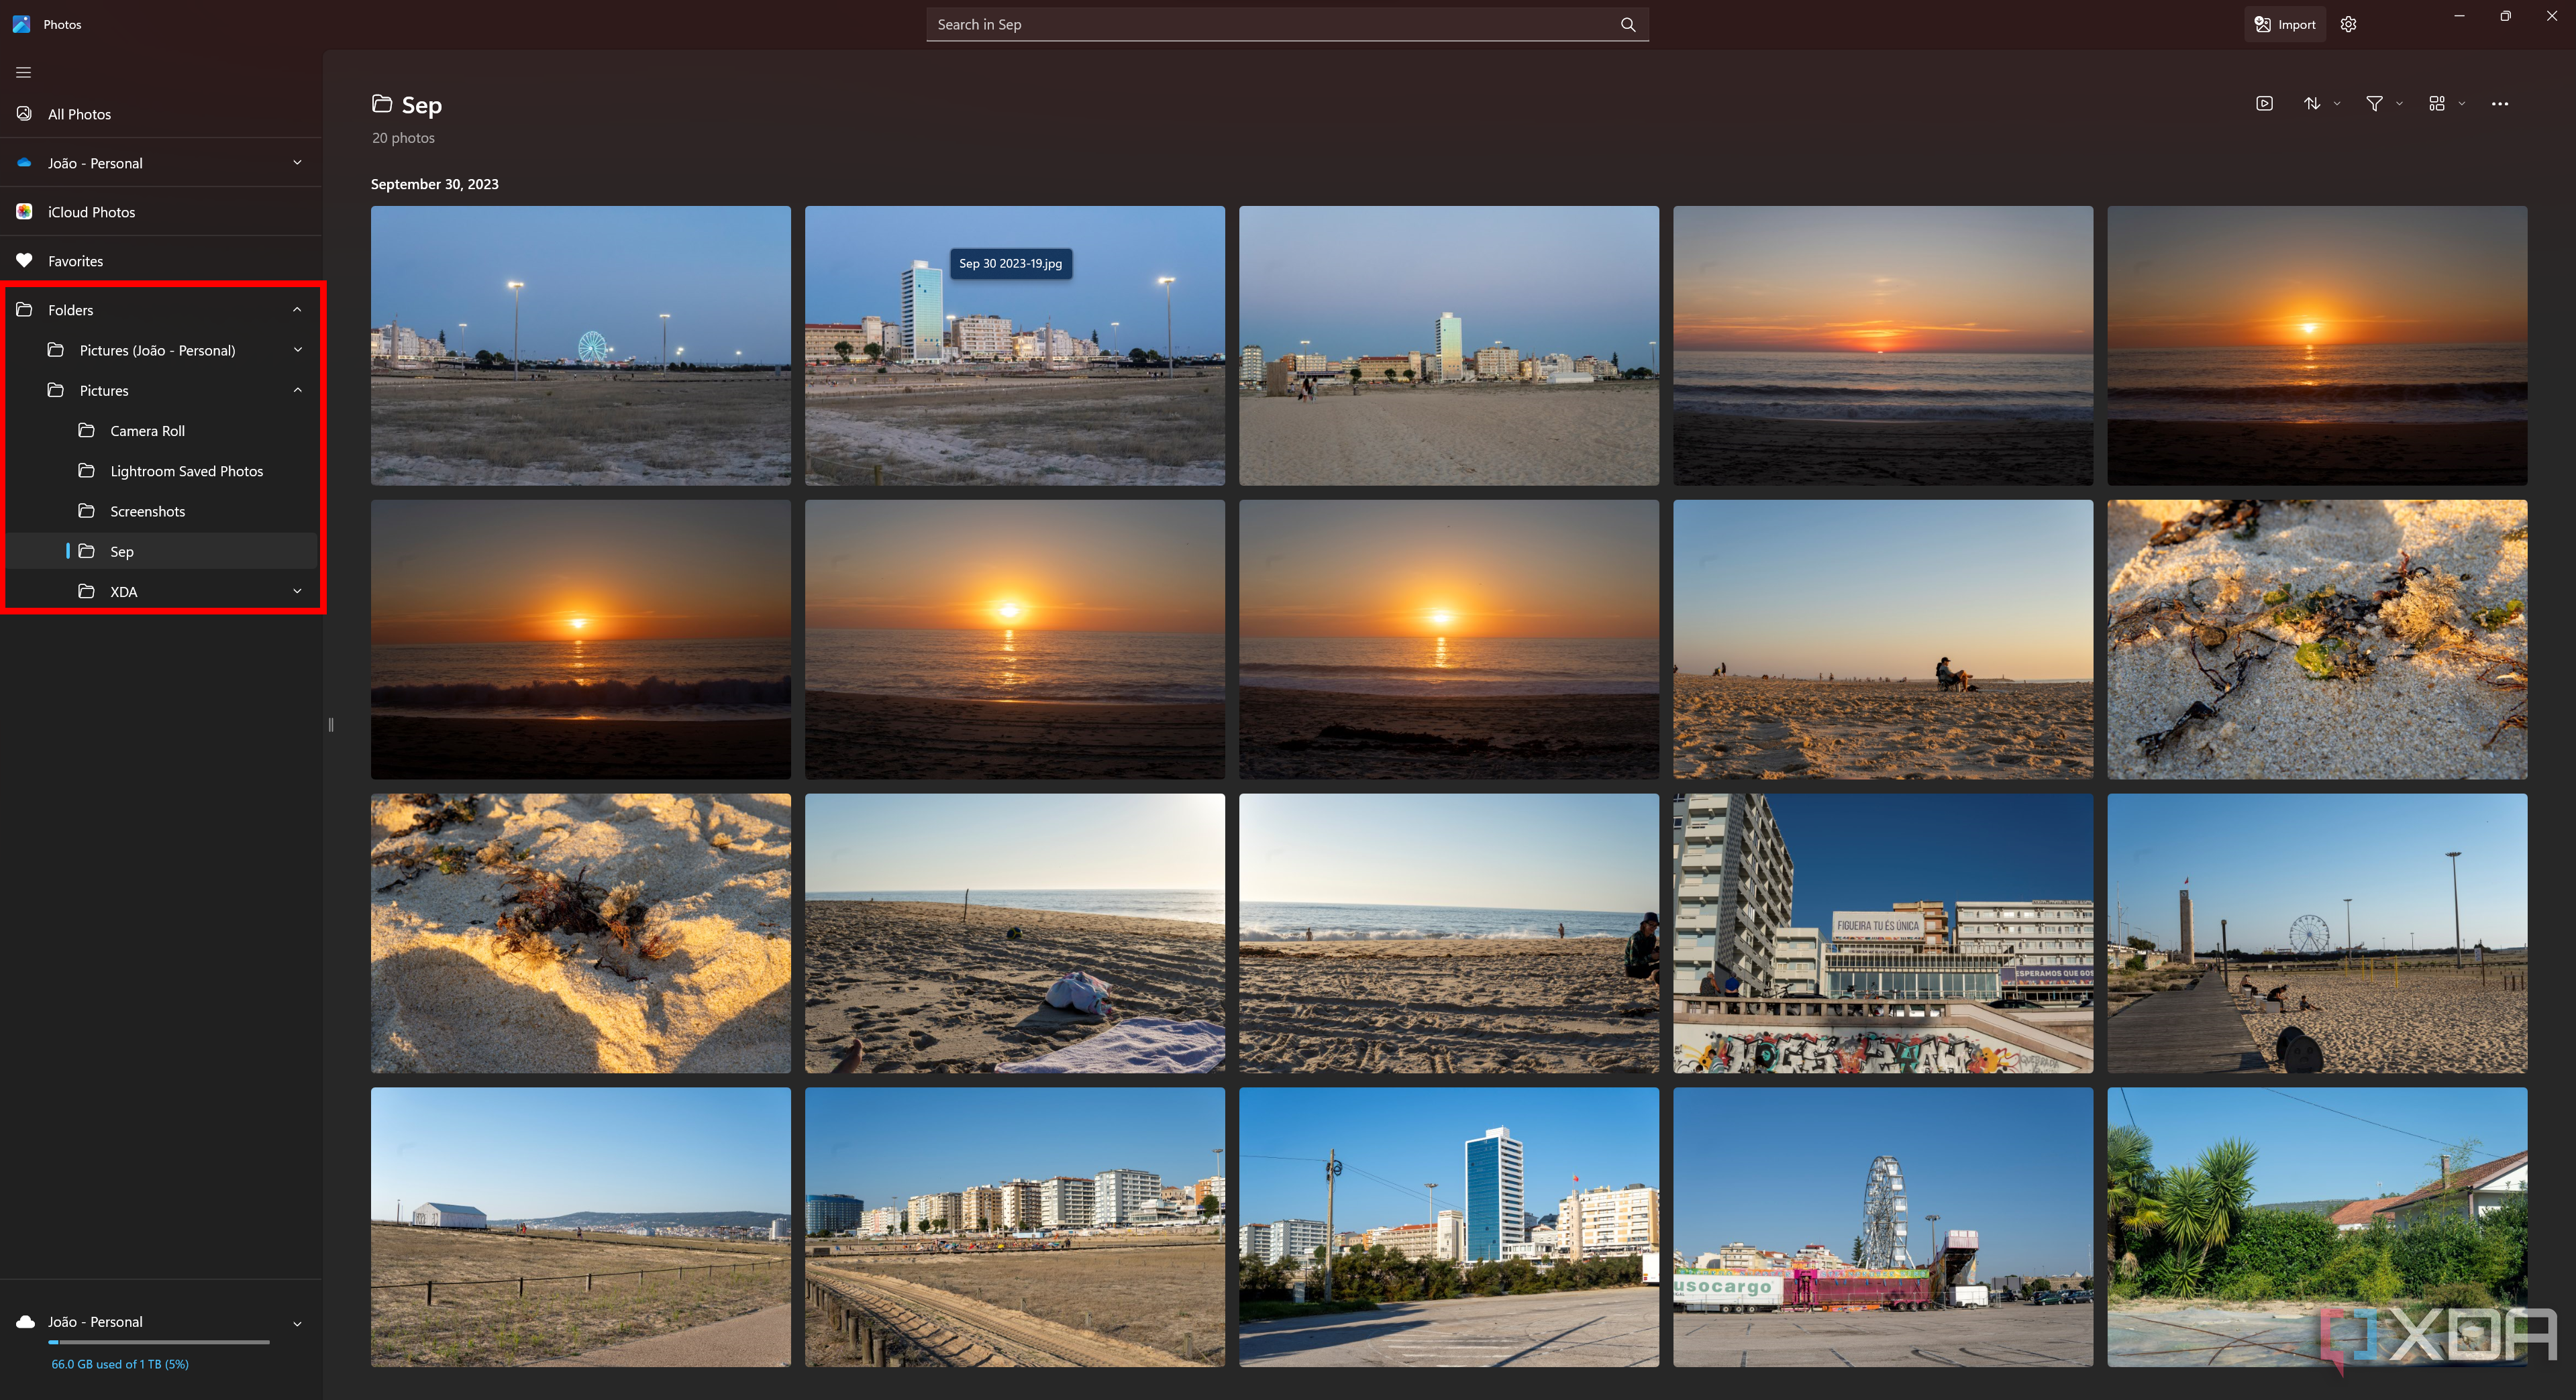
- If your pictures are in a specific folder, use the Folders option on the left to navigate to the photos you want to show off.
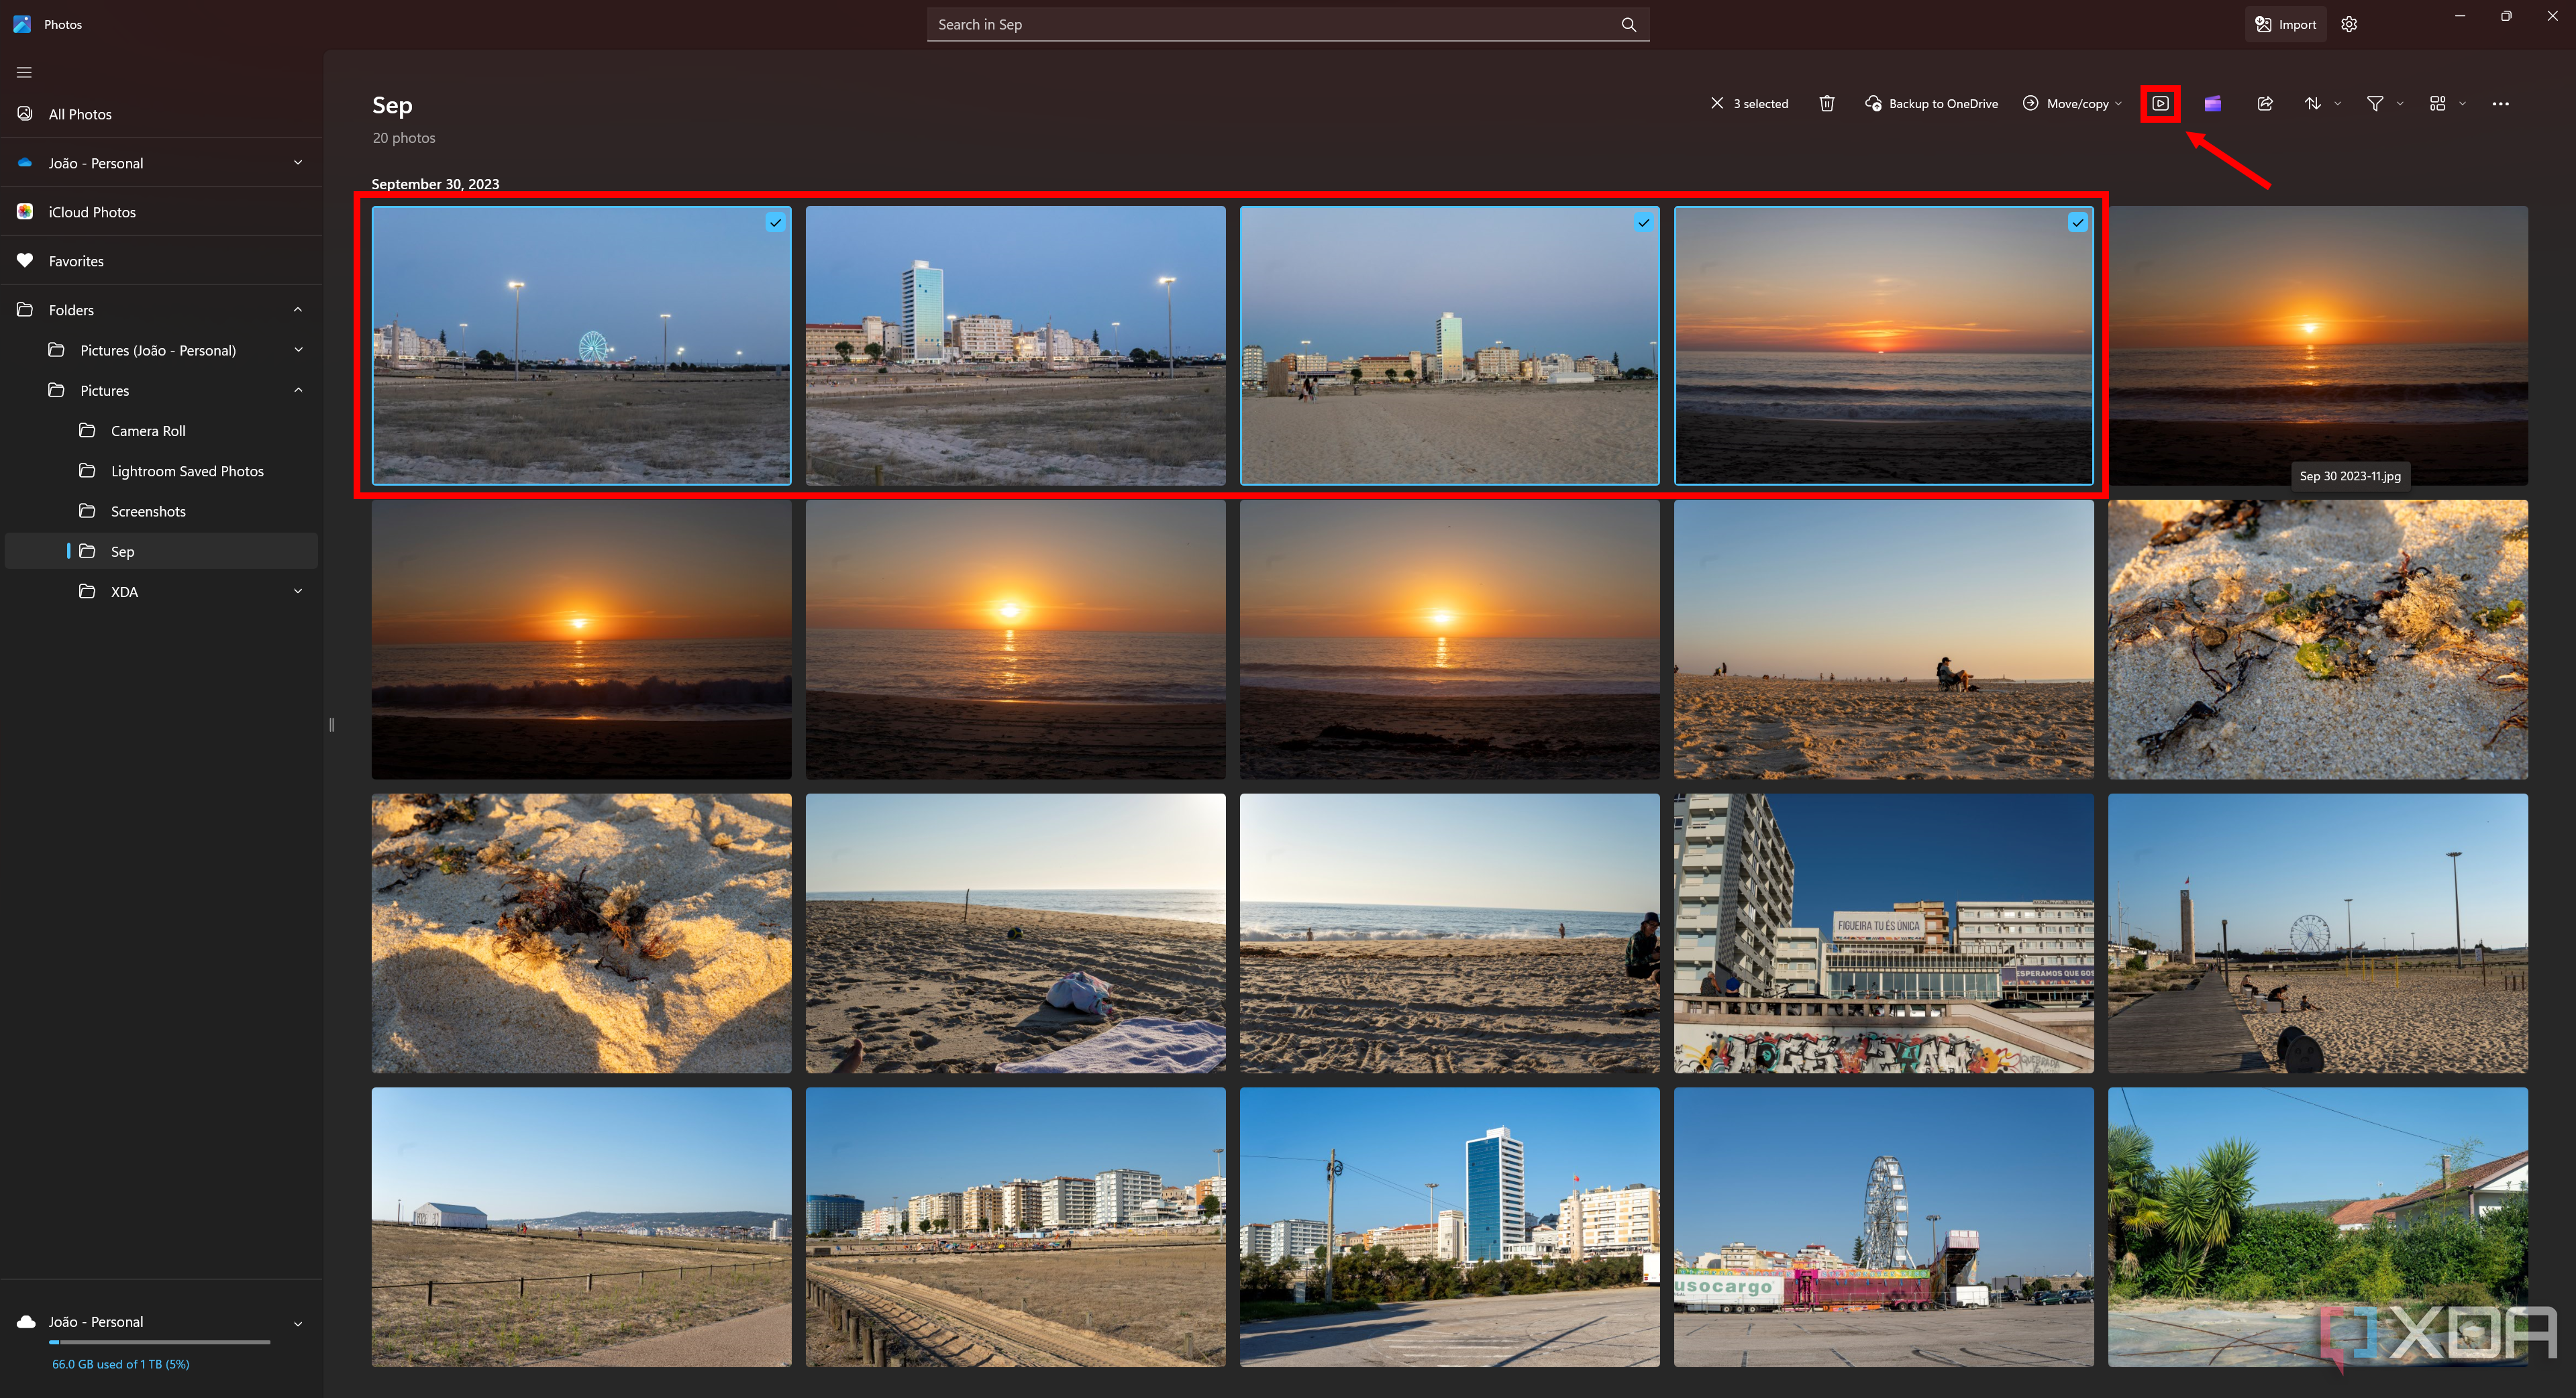
- To start a slideshow with all the pictures in a folder, click the Start slideshow in the menu bar at the top, or press F5 on your keyboard.
- To use only selected pictures for the slideshow, click the checkbox in the corner of each picture you want to use before starting the slideshow.
- To use only selected pictures for the slideshow, click the checkbox in the corner of each picture you want to use before starting the slideshow.
- Once the slideshow starts, click the Slideshow options button (it looks like a music note) to change the music, transitions, and whether the slideshow should loop after showing all the photos.
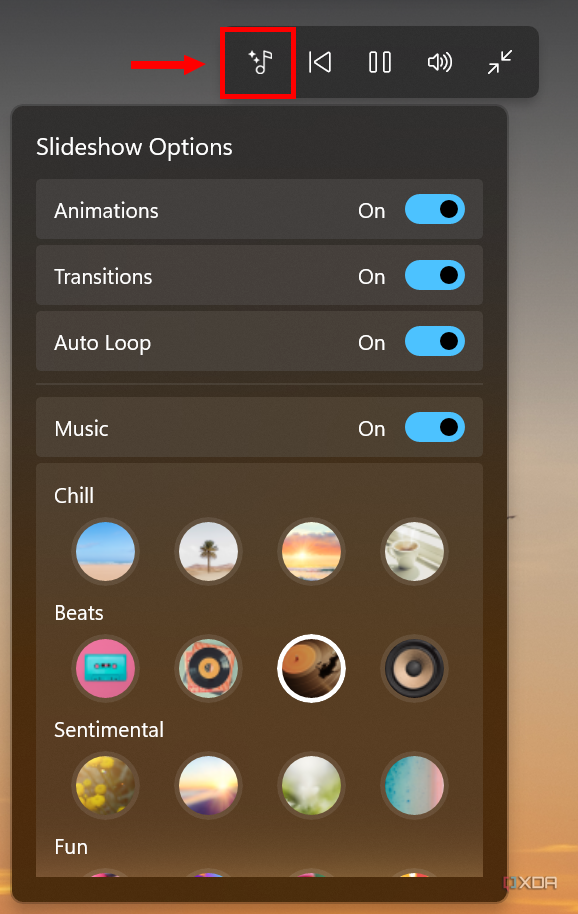
- The bar at the top can also be used to pause the slideshow, change the volume, or minimize the slideshow.
- To quit the slideshow, move the mouse over the top right corner of the screen to show the Close button.


View photos as a desktop slideshow
If you want photos to constantly display as a slideshow on your desktop background, you have that option, too. This makes it so your favorite pictures are always visible at a moment’s notice. Here’s how:
- Open the Settings app. You can find it in the Start menu.
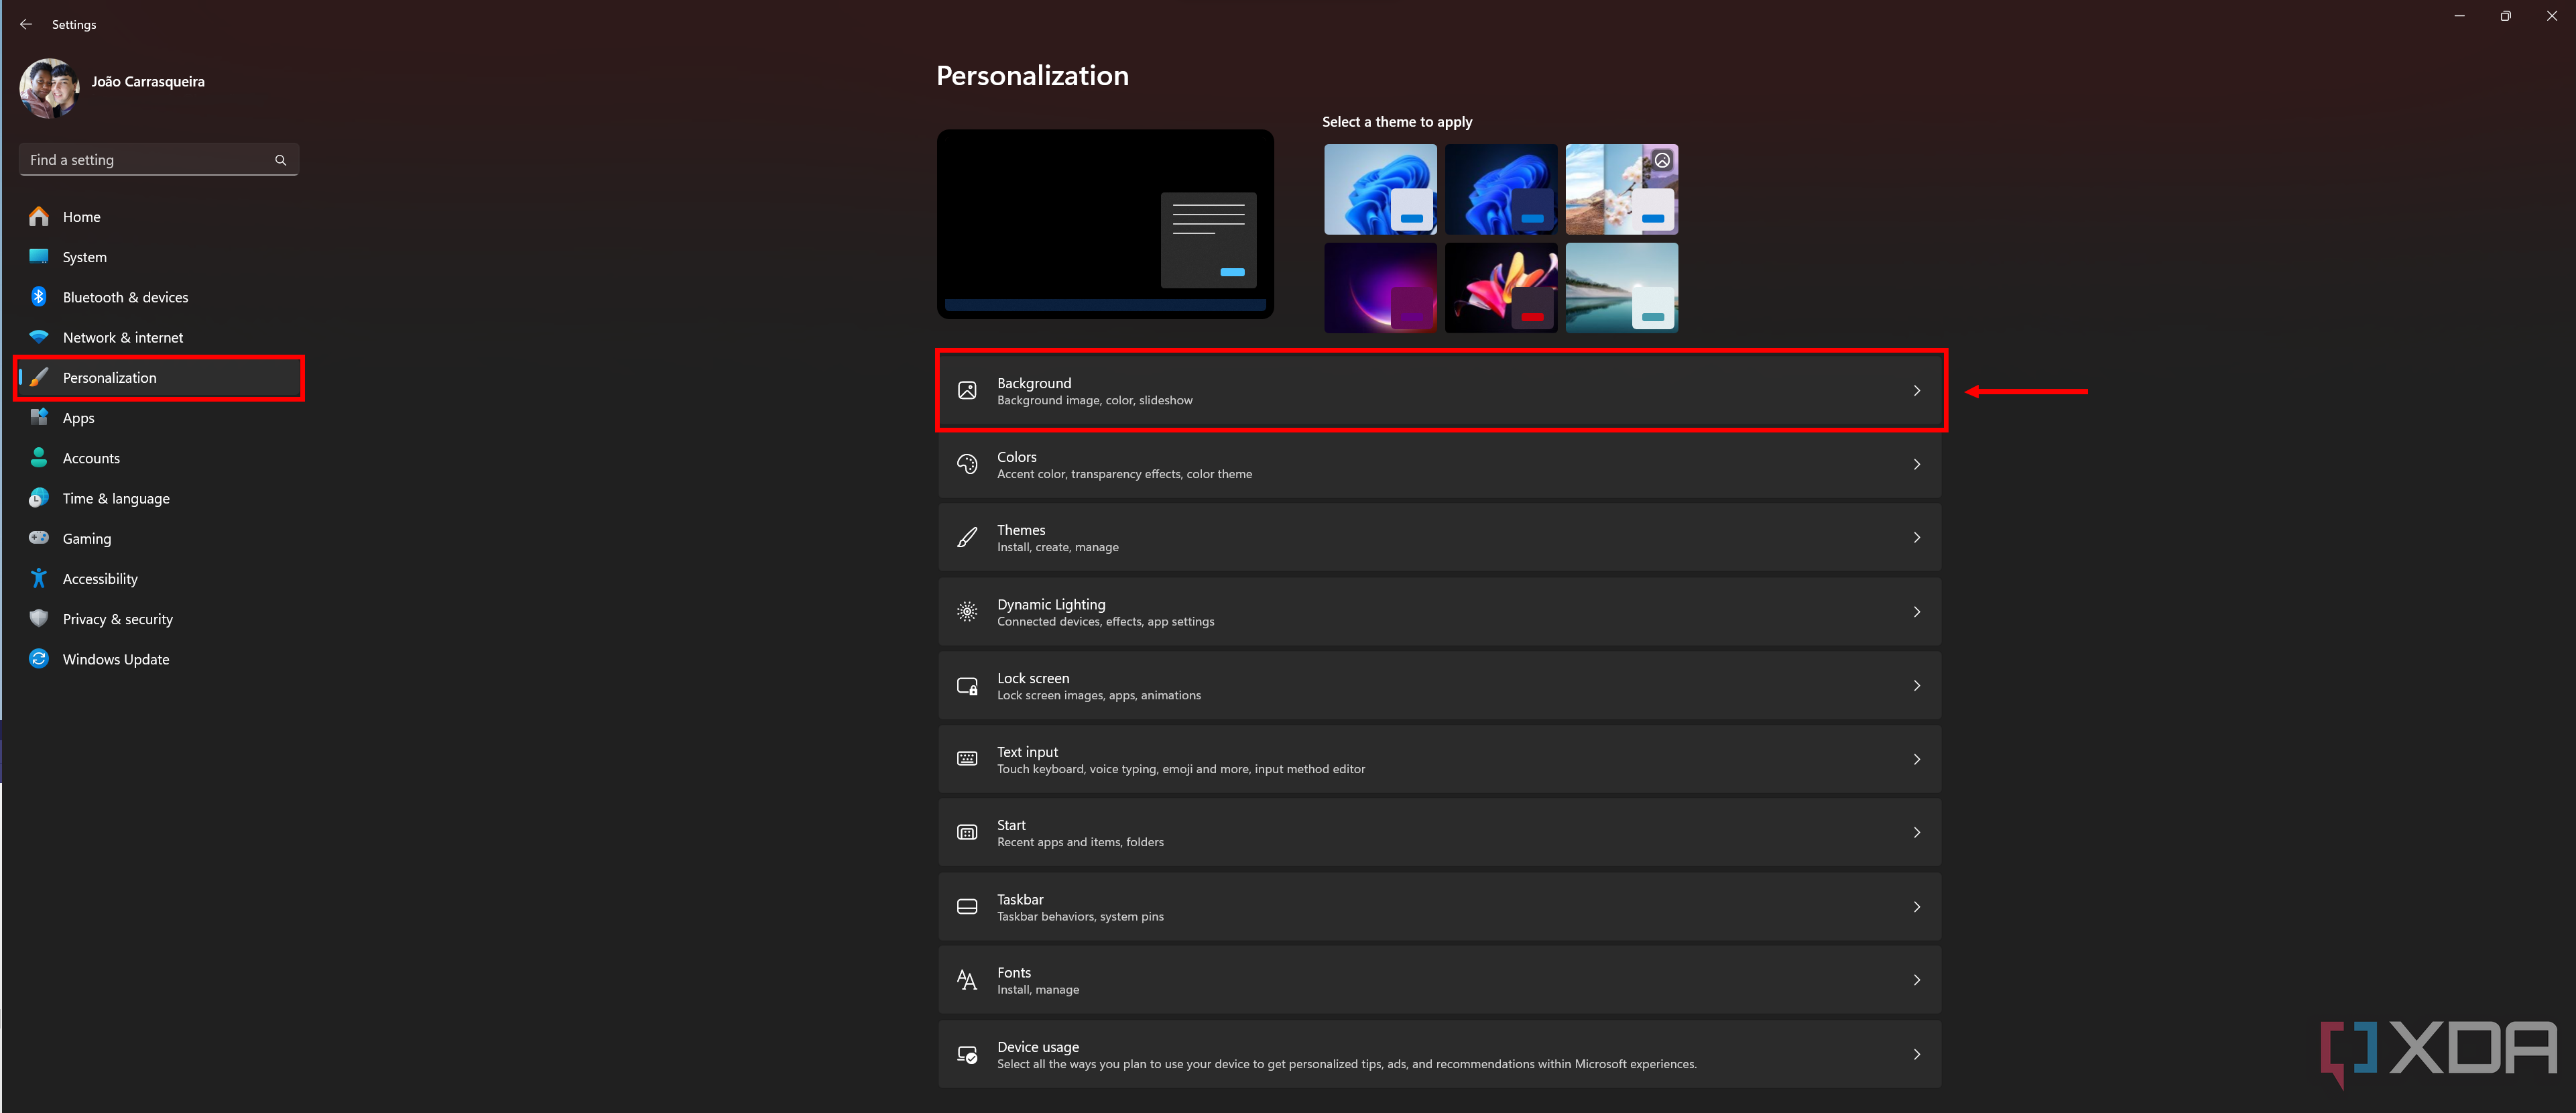
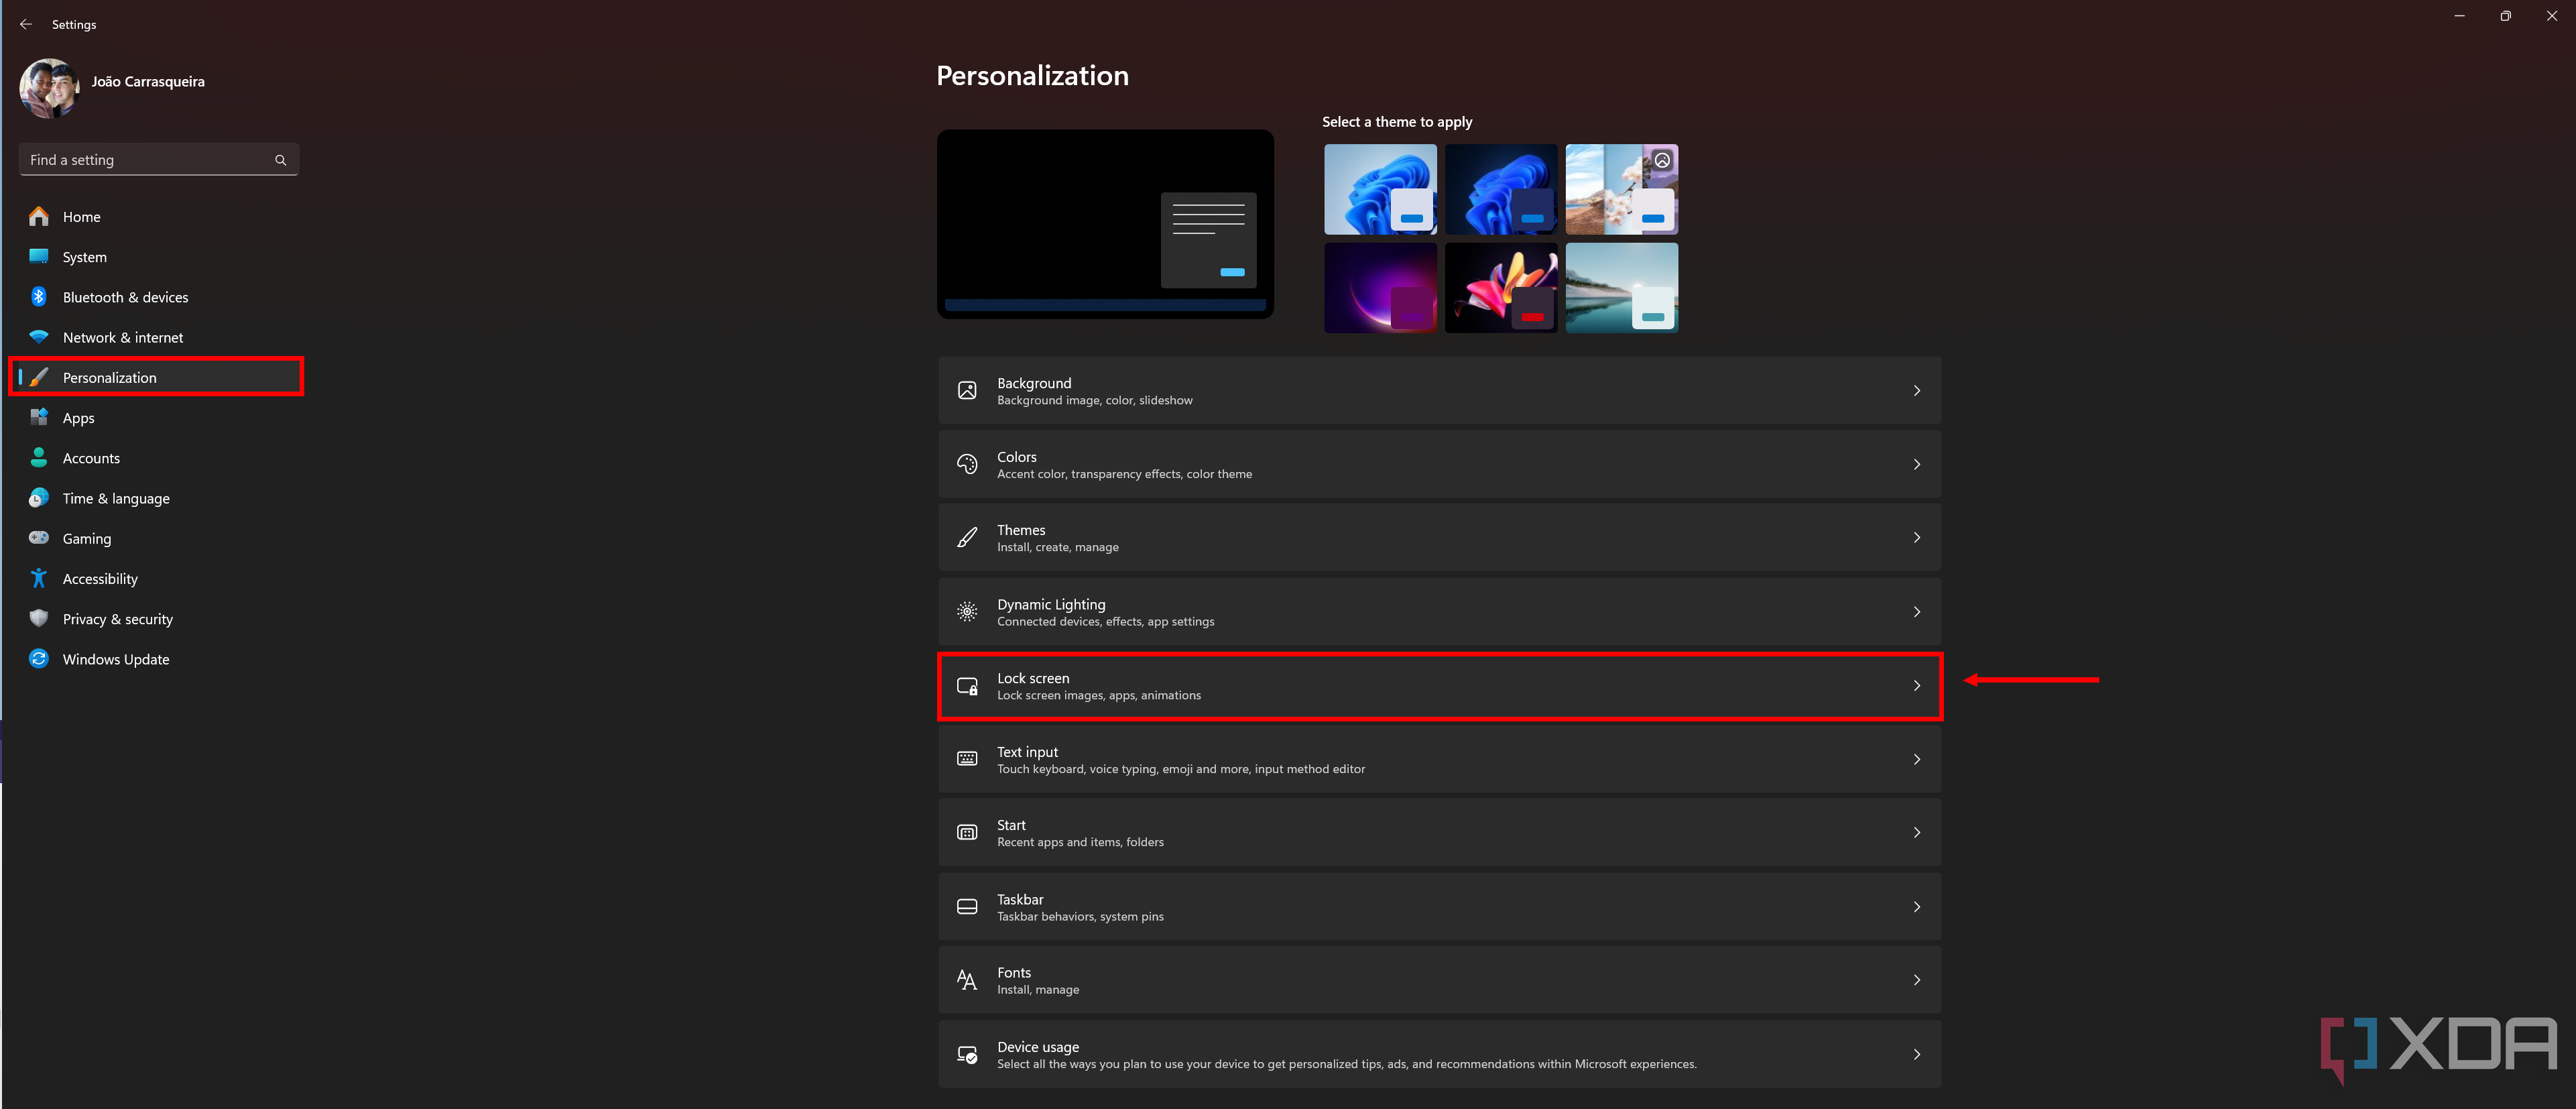
- Click Personalization in the menu bar on the left.
- Click Background.
- Next to Personalize your background, open the dropdown menu and choose Slideshow.

- Click the Browse button to find the folder you want to use for your slideshow.
- Click Choose this folder once you have the right one.
- You can use the Change picture every option to change how often pictures should cycle. You can choose from a few options from 1 minute to 1 day. The default is 30 minutes.
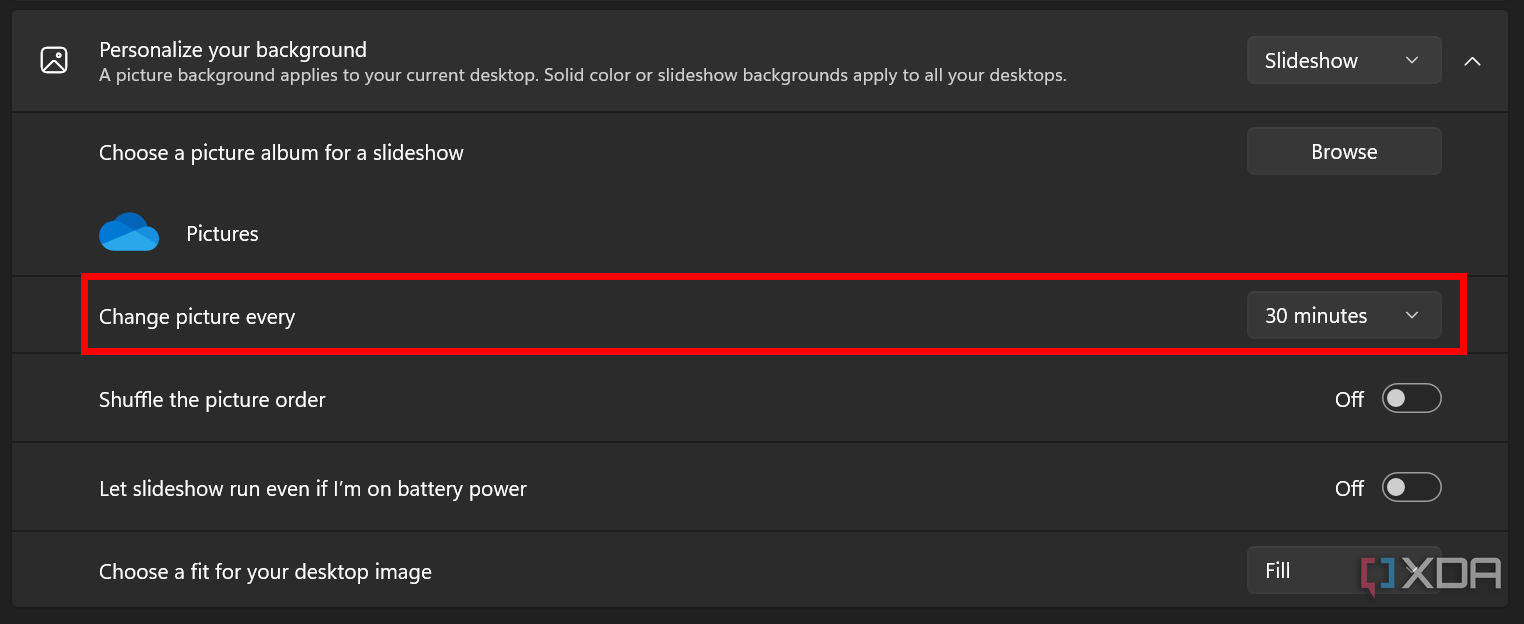
Changing the picture every minute may impact the performance of some PCs.
- You can change additional settings like shuffling the picture order or choose how images should behave to fit the desktop if the aspect ratio doesn’t match.


View photos as a lock screen slideshow
If you’d like to have a slideshow playing on the lock screen when your PC is inactive, or simply see a different picture whenever you turn on your PC, that’s also an option:
- Open the Settings app.
- Click Personalization in the left-side menu.
- Click Lock screen.
- Next to Personalize your lock screen, open the dropdown menu and choose Slideshow.
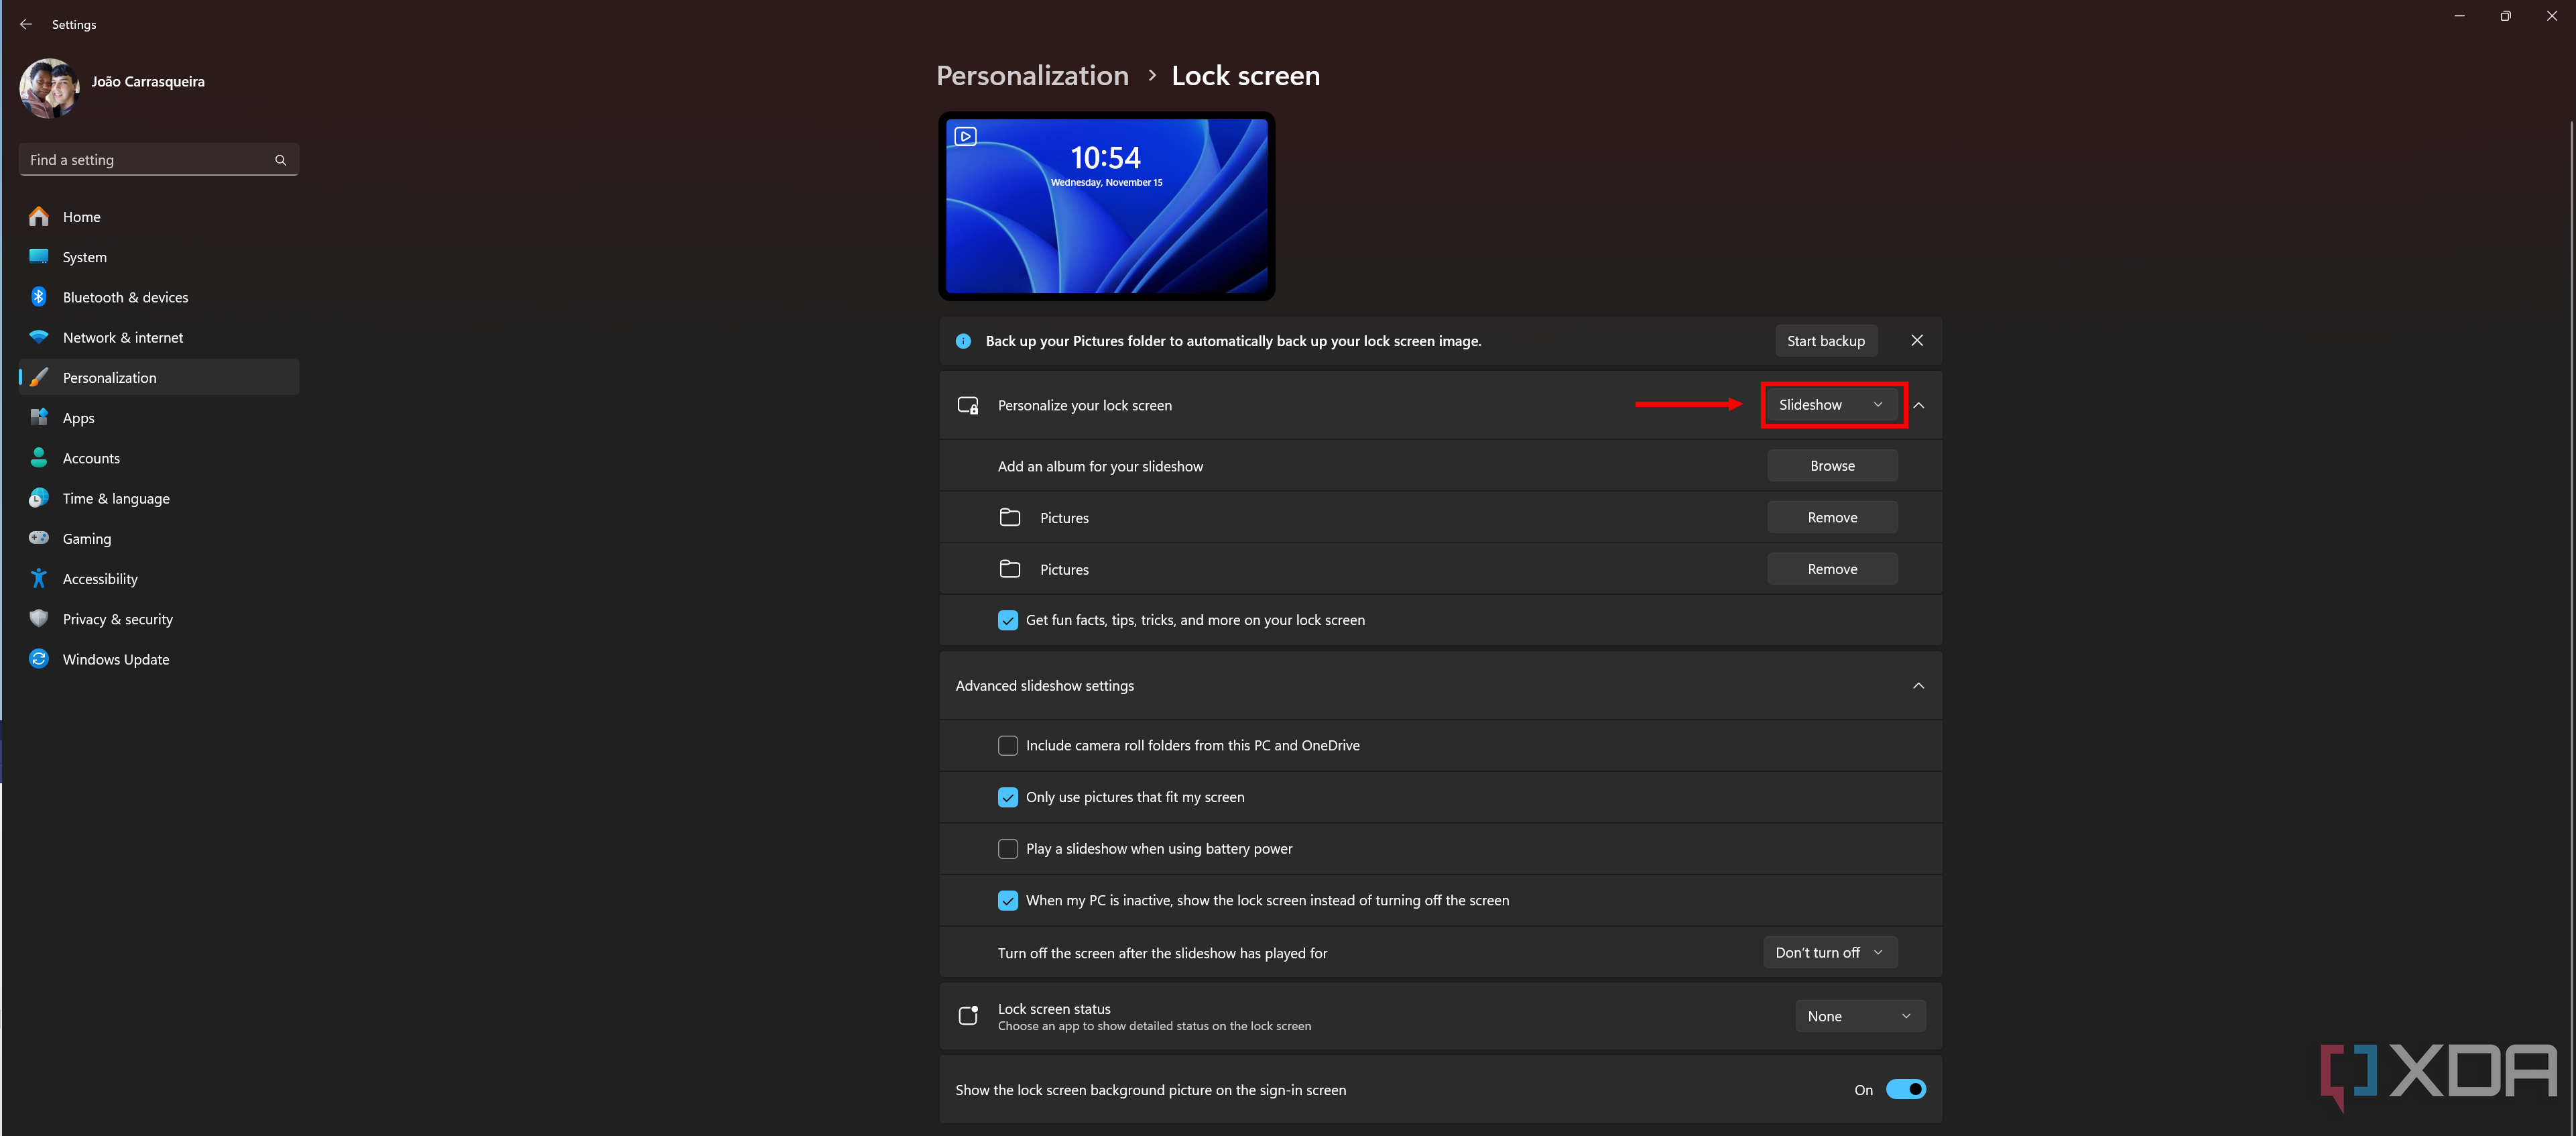
- Click Browse to find a folder to pull pictures from. You can add multiple folders, but only one at a time.
- If you want to remove a folder, click Remove next to its name.
- You can customize Advanced slideshow settings to further tweak the slideshow.

This includes the option to show the lock screen when your PC is inactive rather than turning off the screen, so the lock screen acts more like a screen saver.


View photos as a slideshow in Google Photos
If you have your photos stored in Google Photos, you can also view them as a slideshow online. The easiest way to do this is to create an album, if you haven’t already.
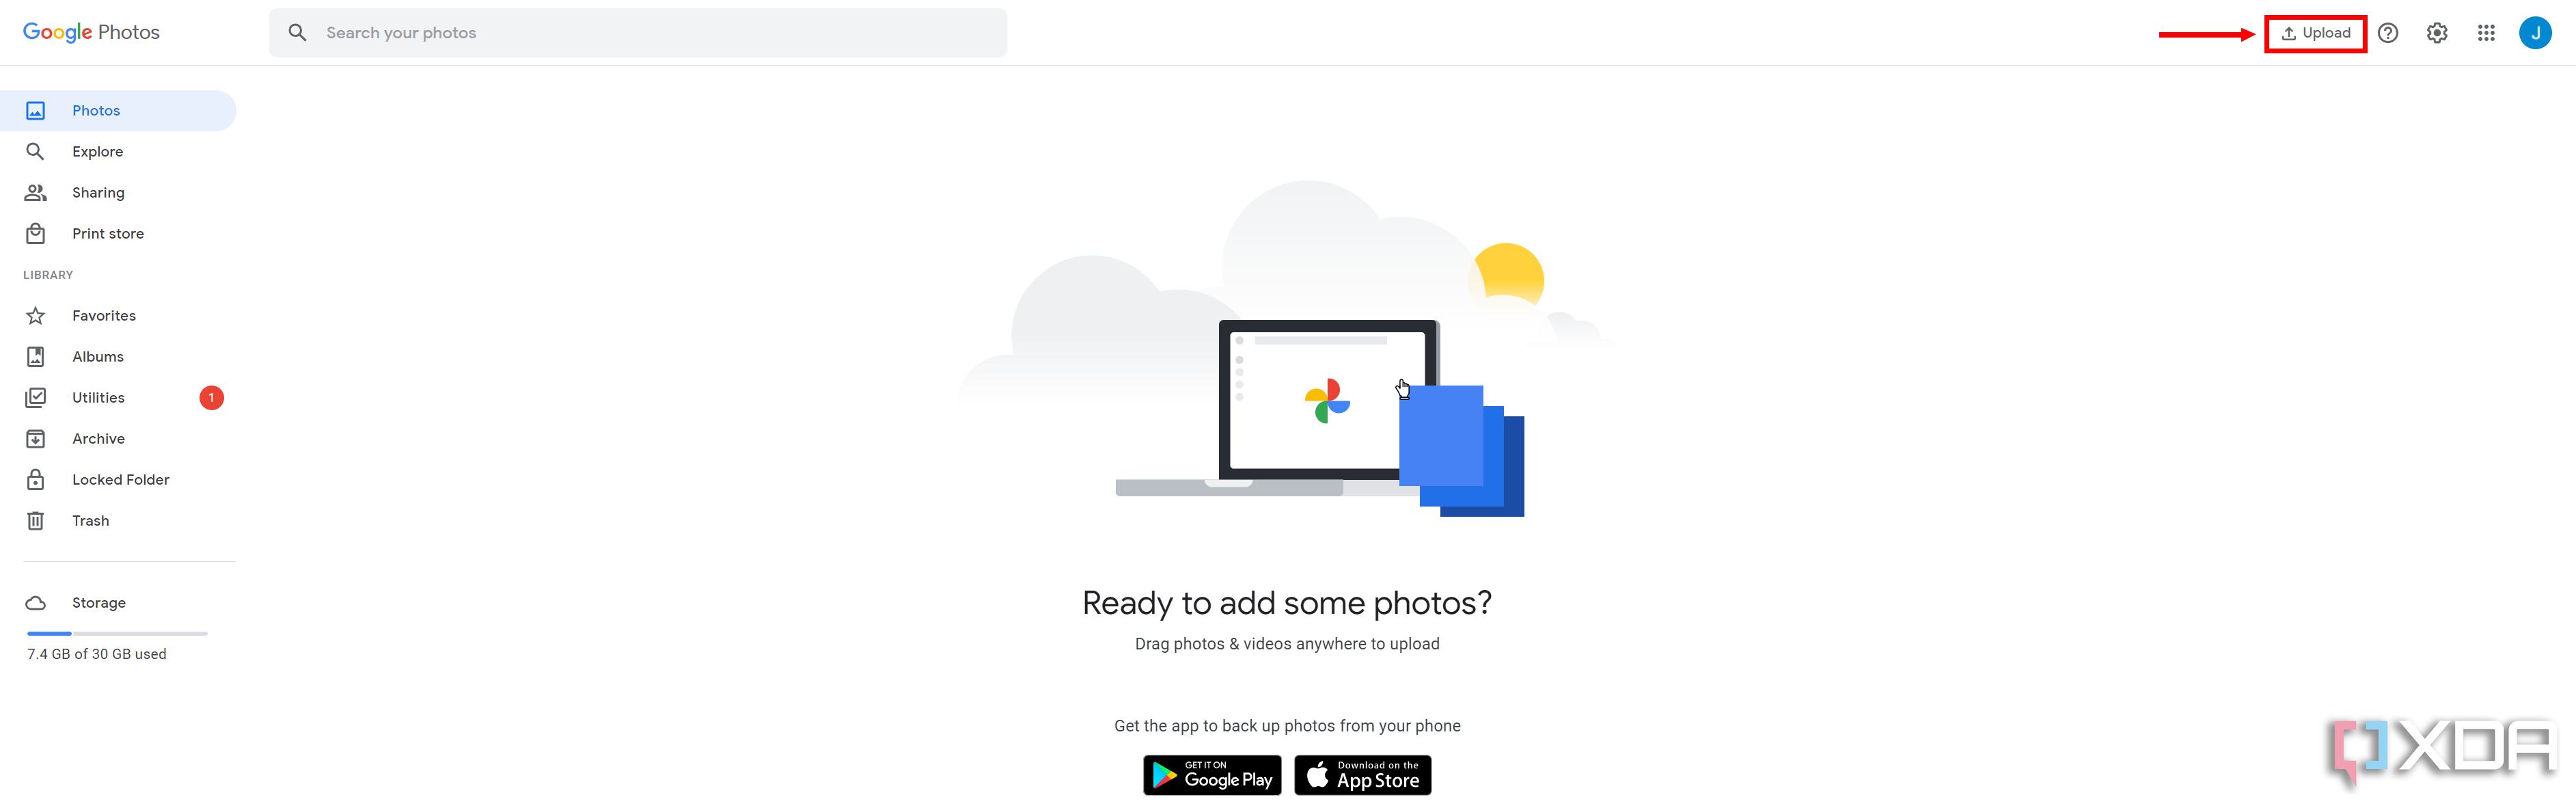
- Open Google Photos in your browser.
- Click the Upload button near the top right corner to choose pictures to upload (if they’re not already on Google Photos).
- Choose the pictures to upload and click Open.
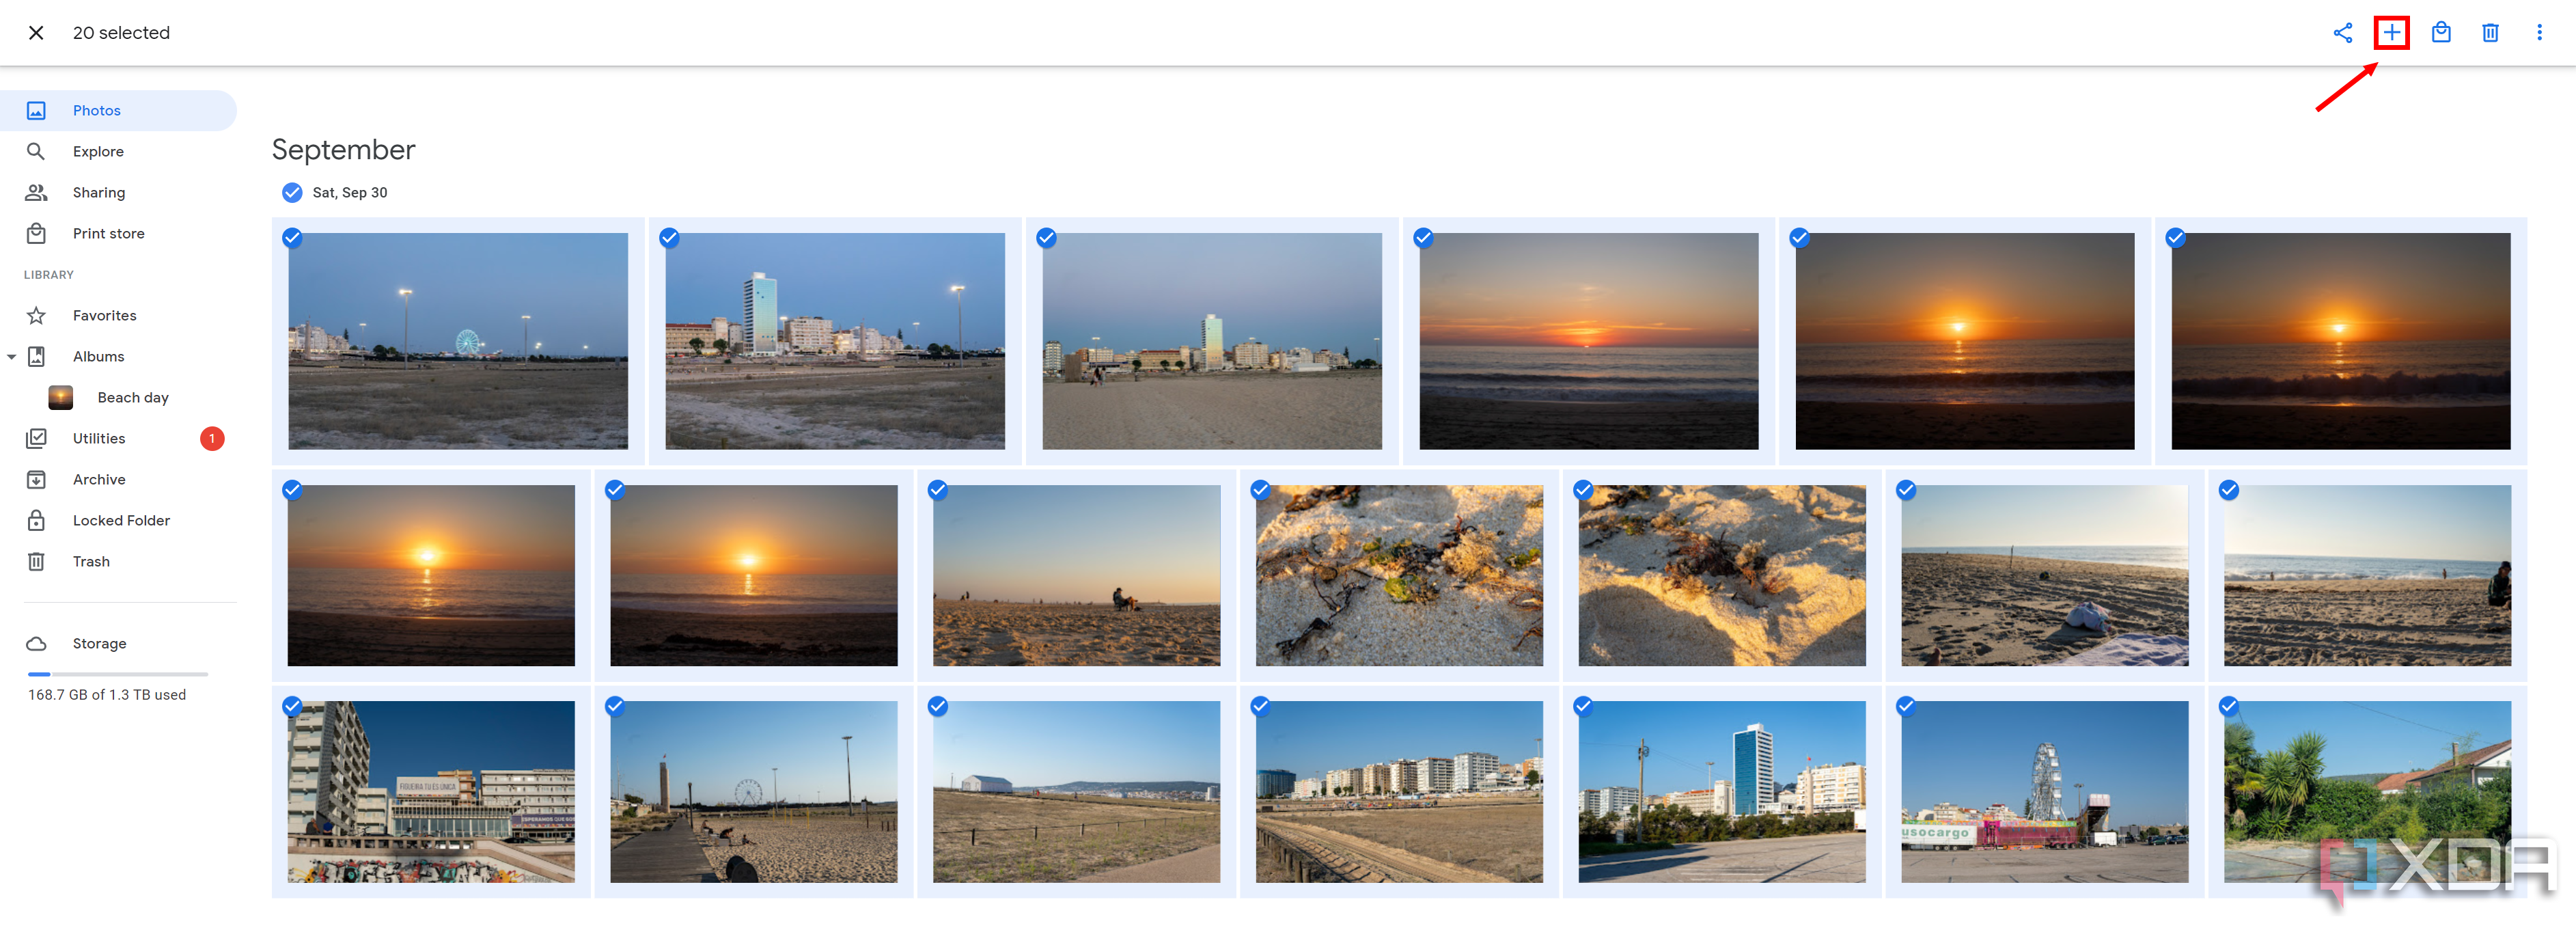
- Select the photos you uploaded by clicking the checkmark in the top left corner of each one. You can select all photos with the same date using the checkmark next to the date header.
- Click the + (plus) button and then click Album.
- Click New album to create a new album with your photos.
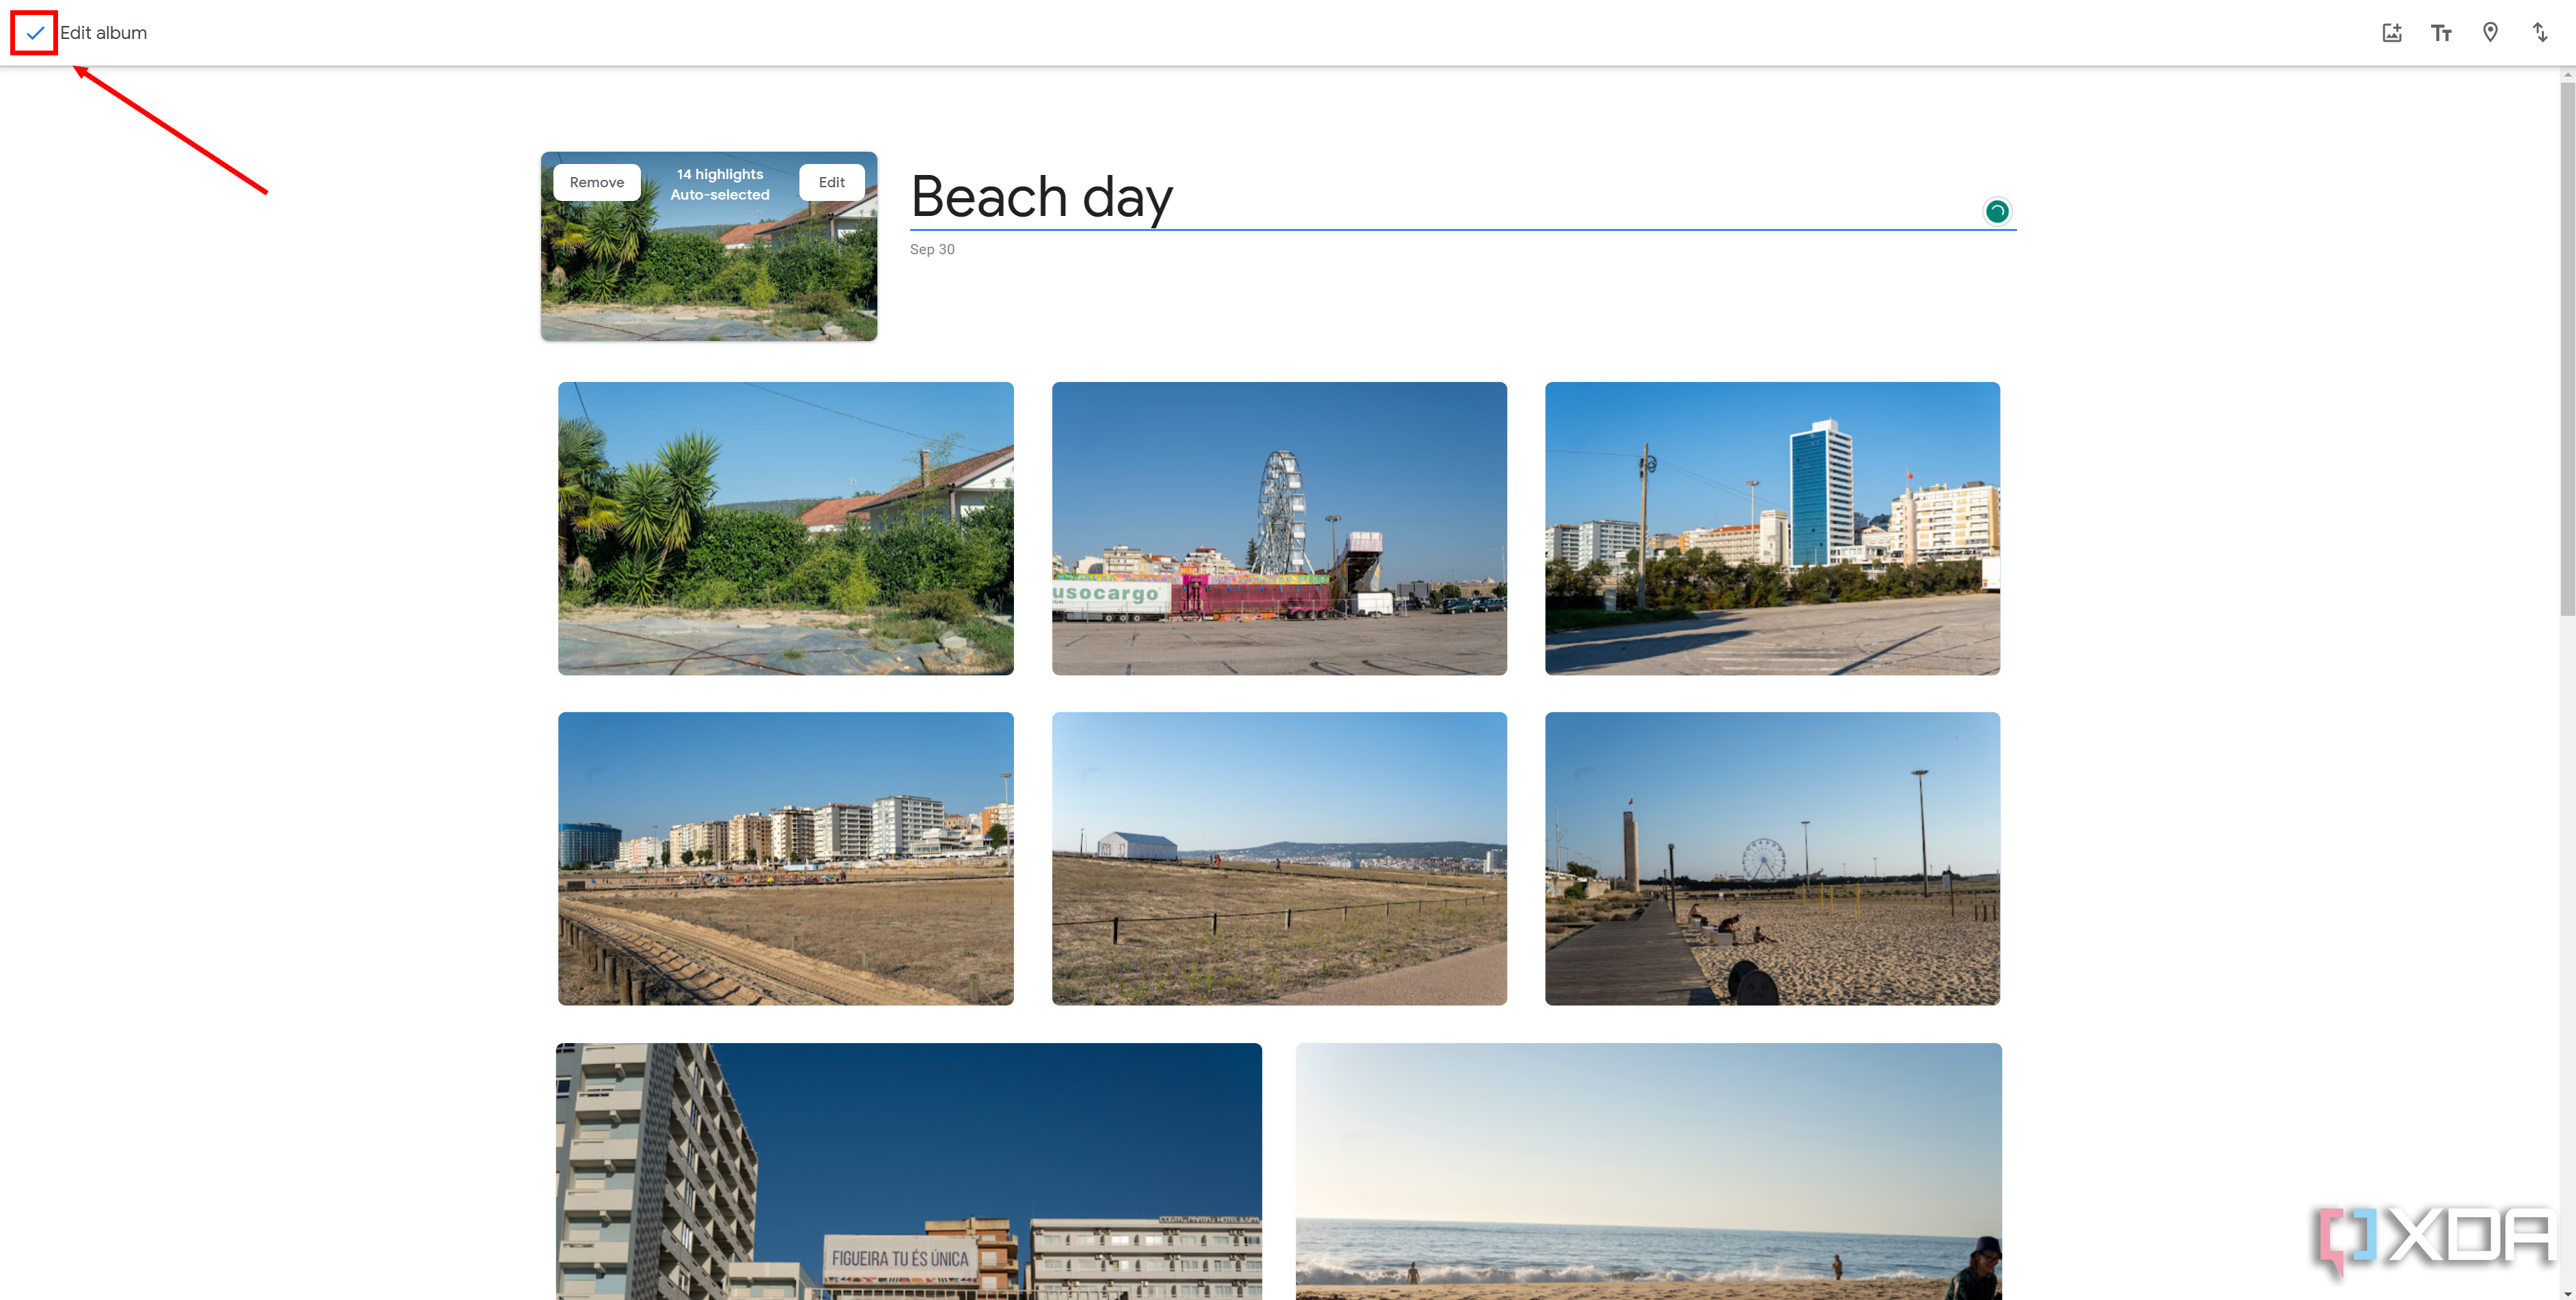
- Enter a name for the album.
- Click the checkmark next to Edit album to save your changes.
- To start a slideshow, click the three-dot button in the top right corner then choose Slideshow.
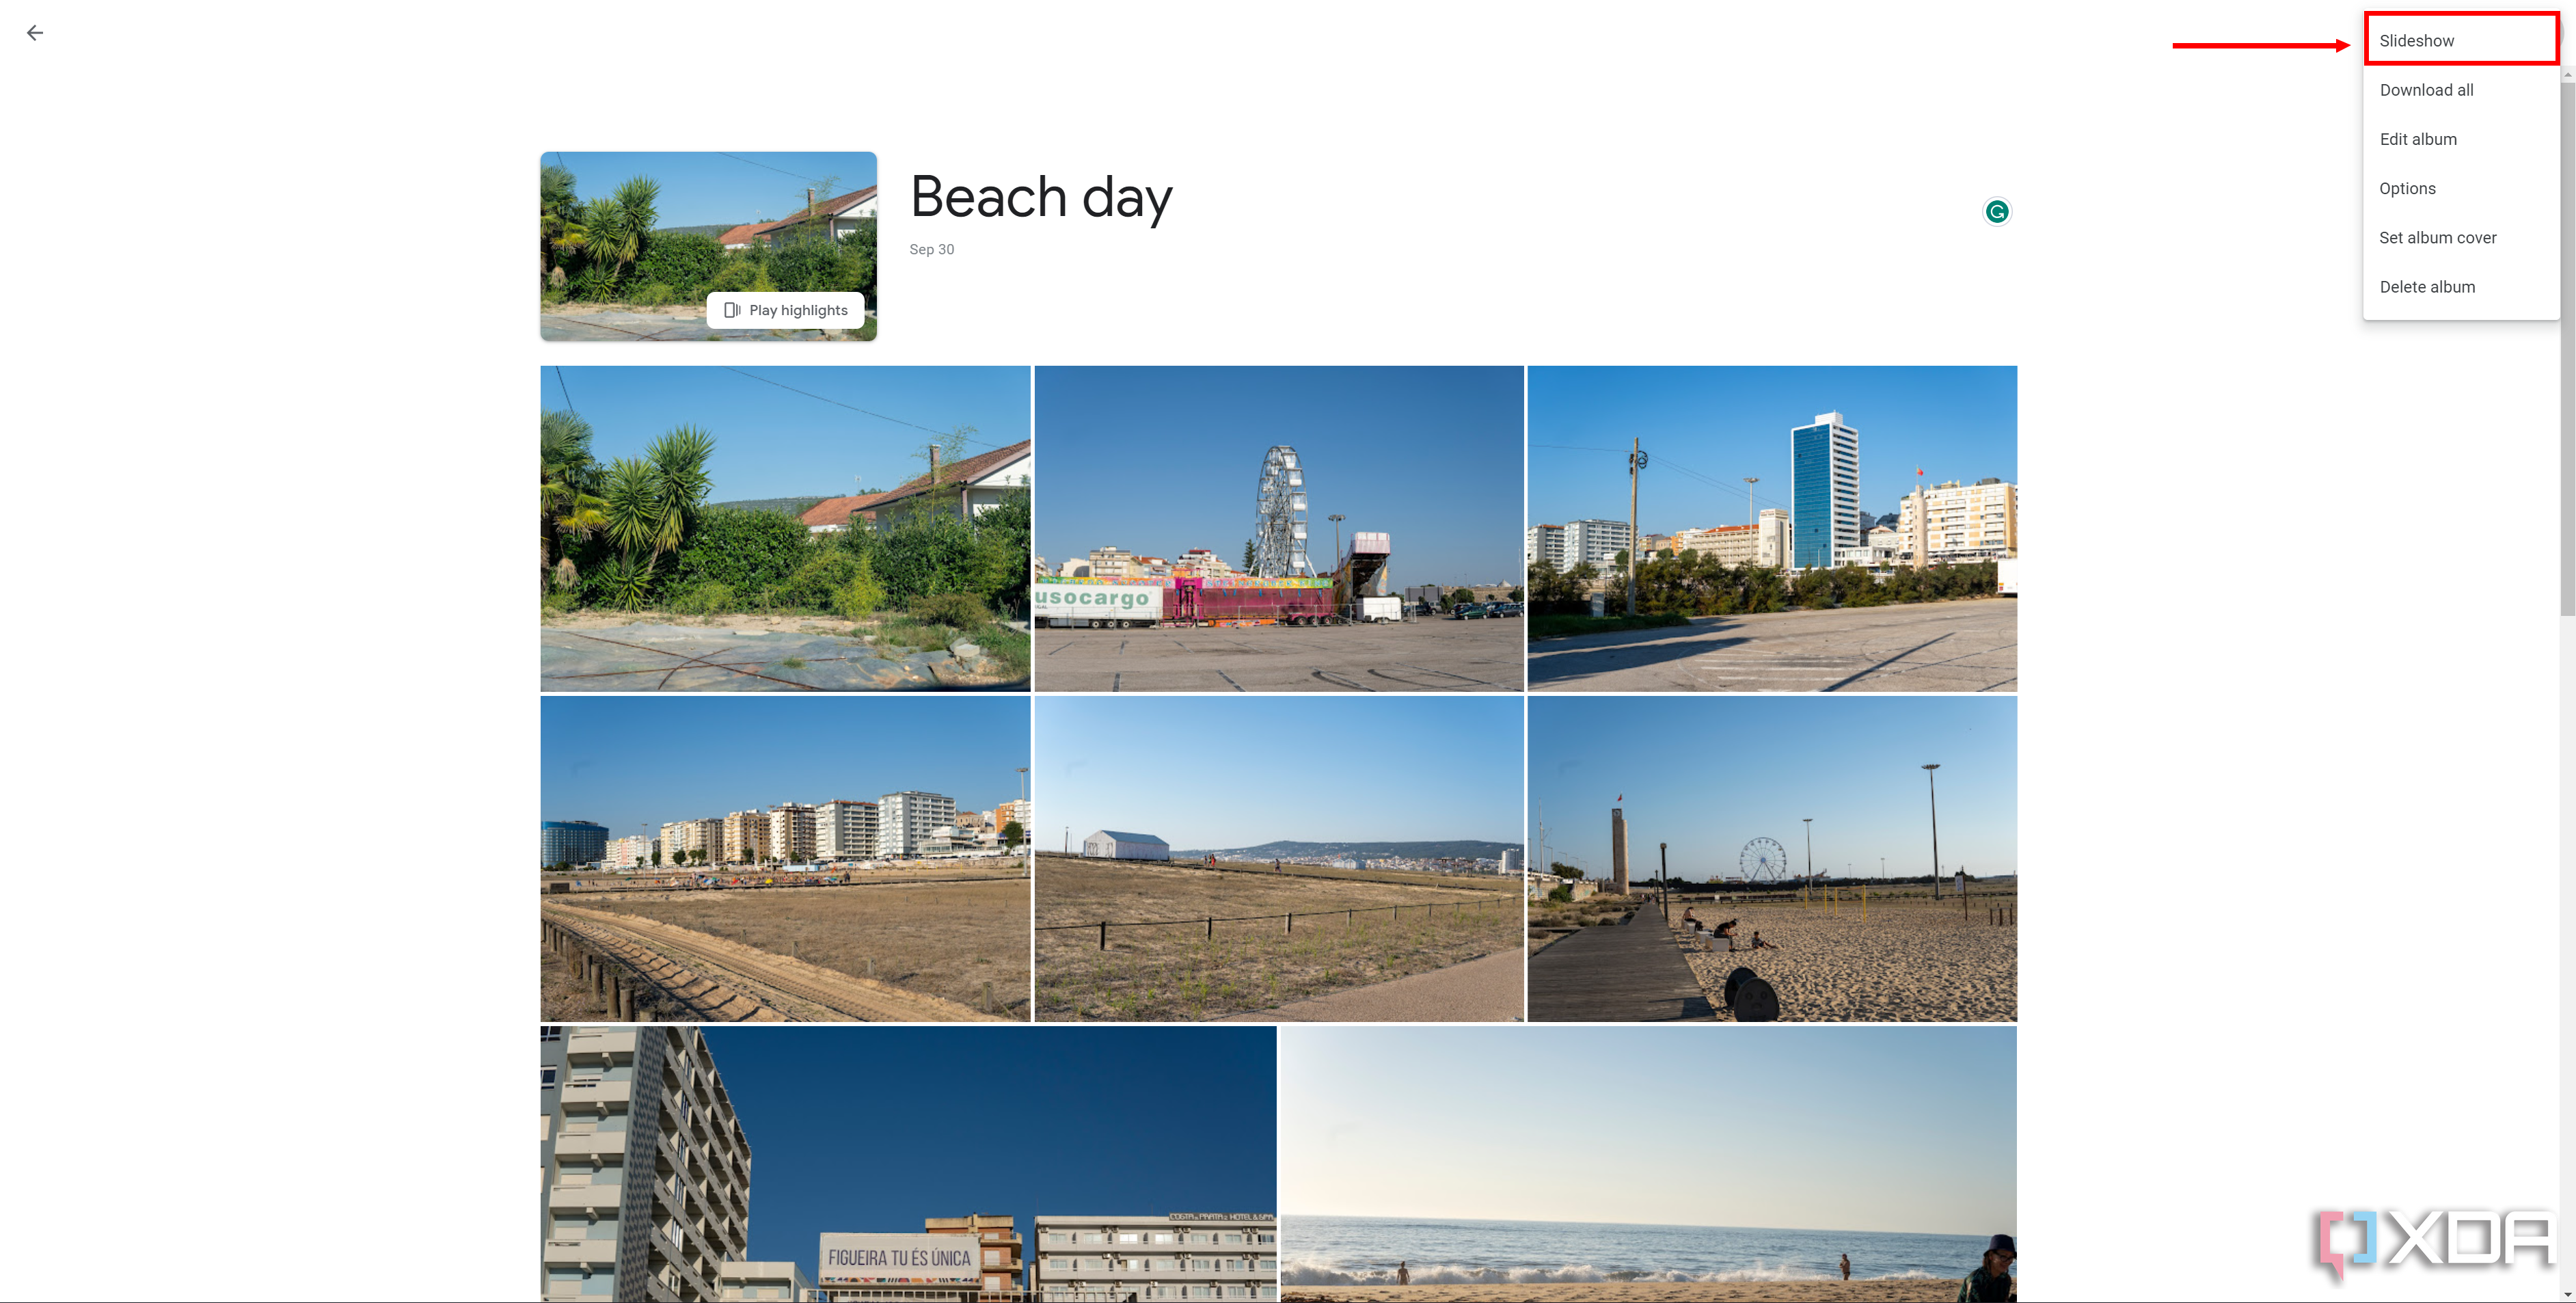
- The slideshow will begin.


Make a video slideshow with Clipchamp
If you want to get deeper into it and make a video slideshow you can share with others as a file, you can use Clipchamp to create a video from your photos. Here’s how it works:
- Open Clipchamp on your PC. It should be in the Start menu, but you can also use it in your browser.
- If you haven’t yet, log in or create an account.
- Click Create a new video.
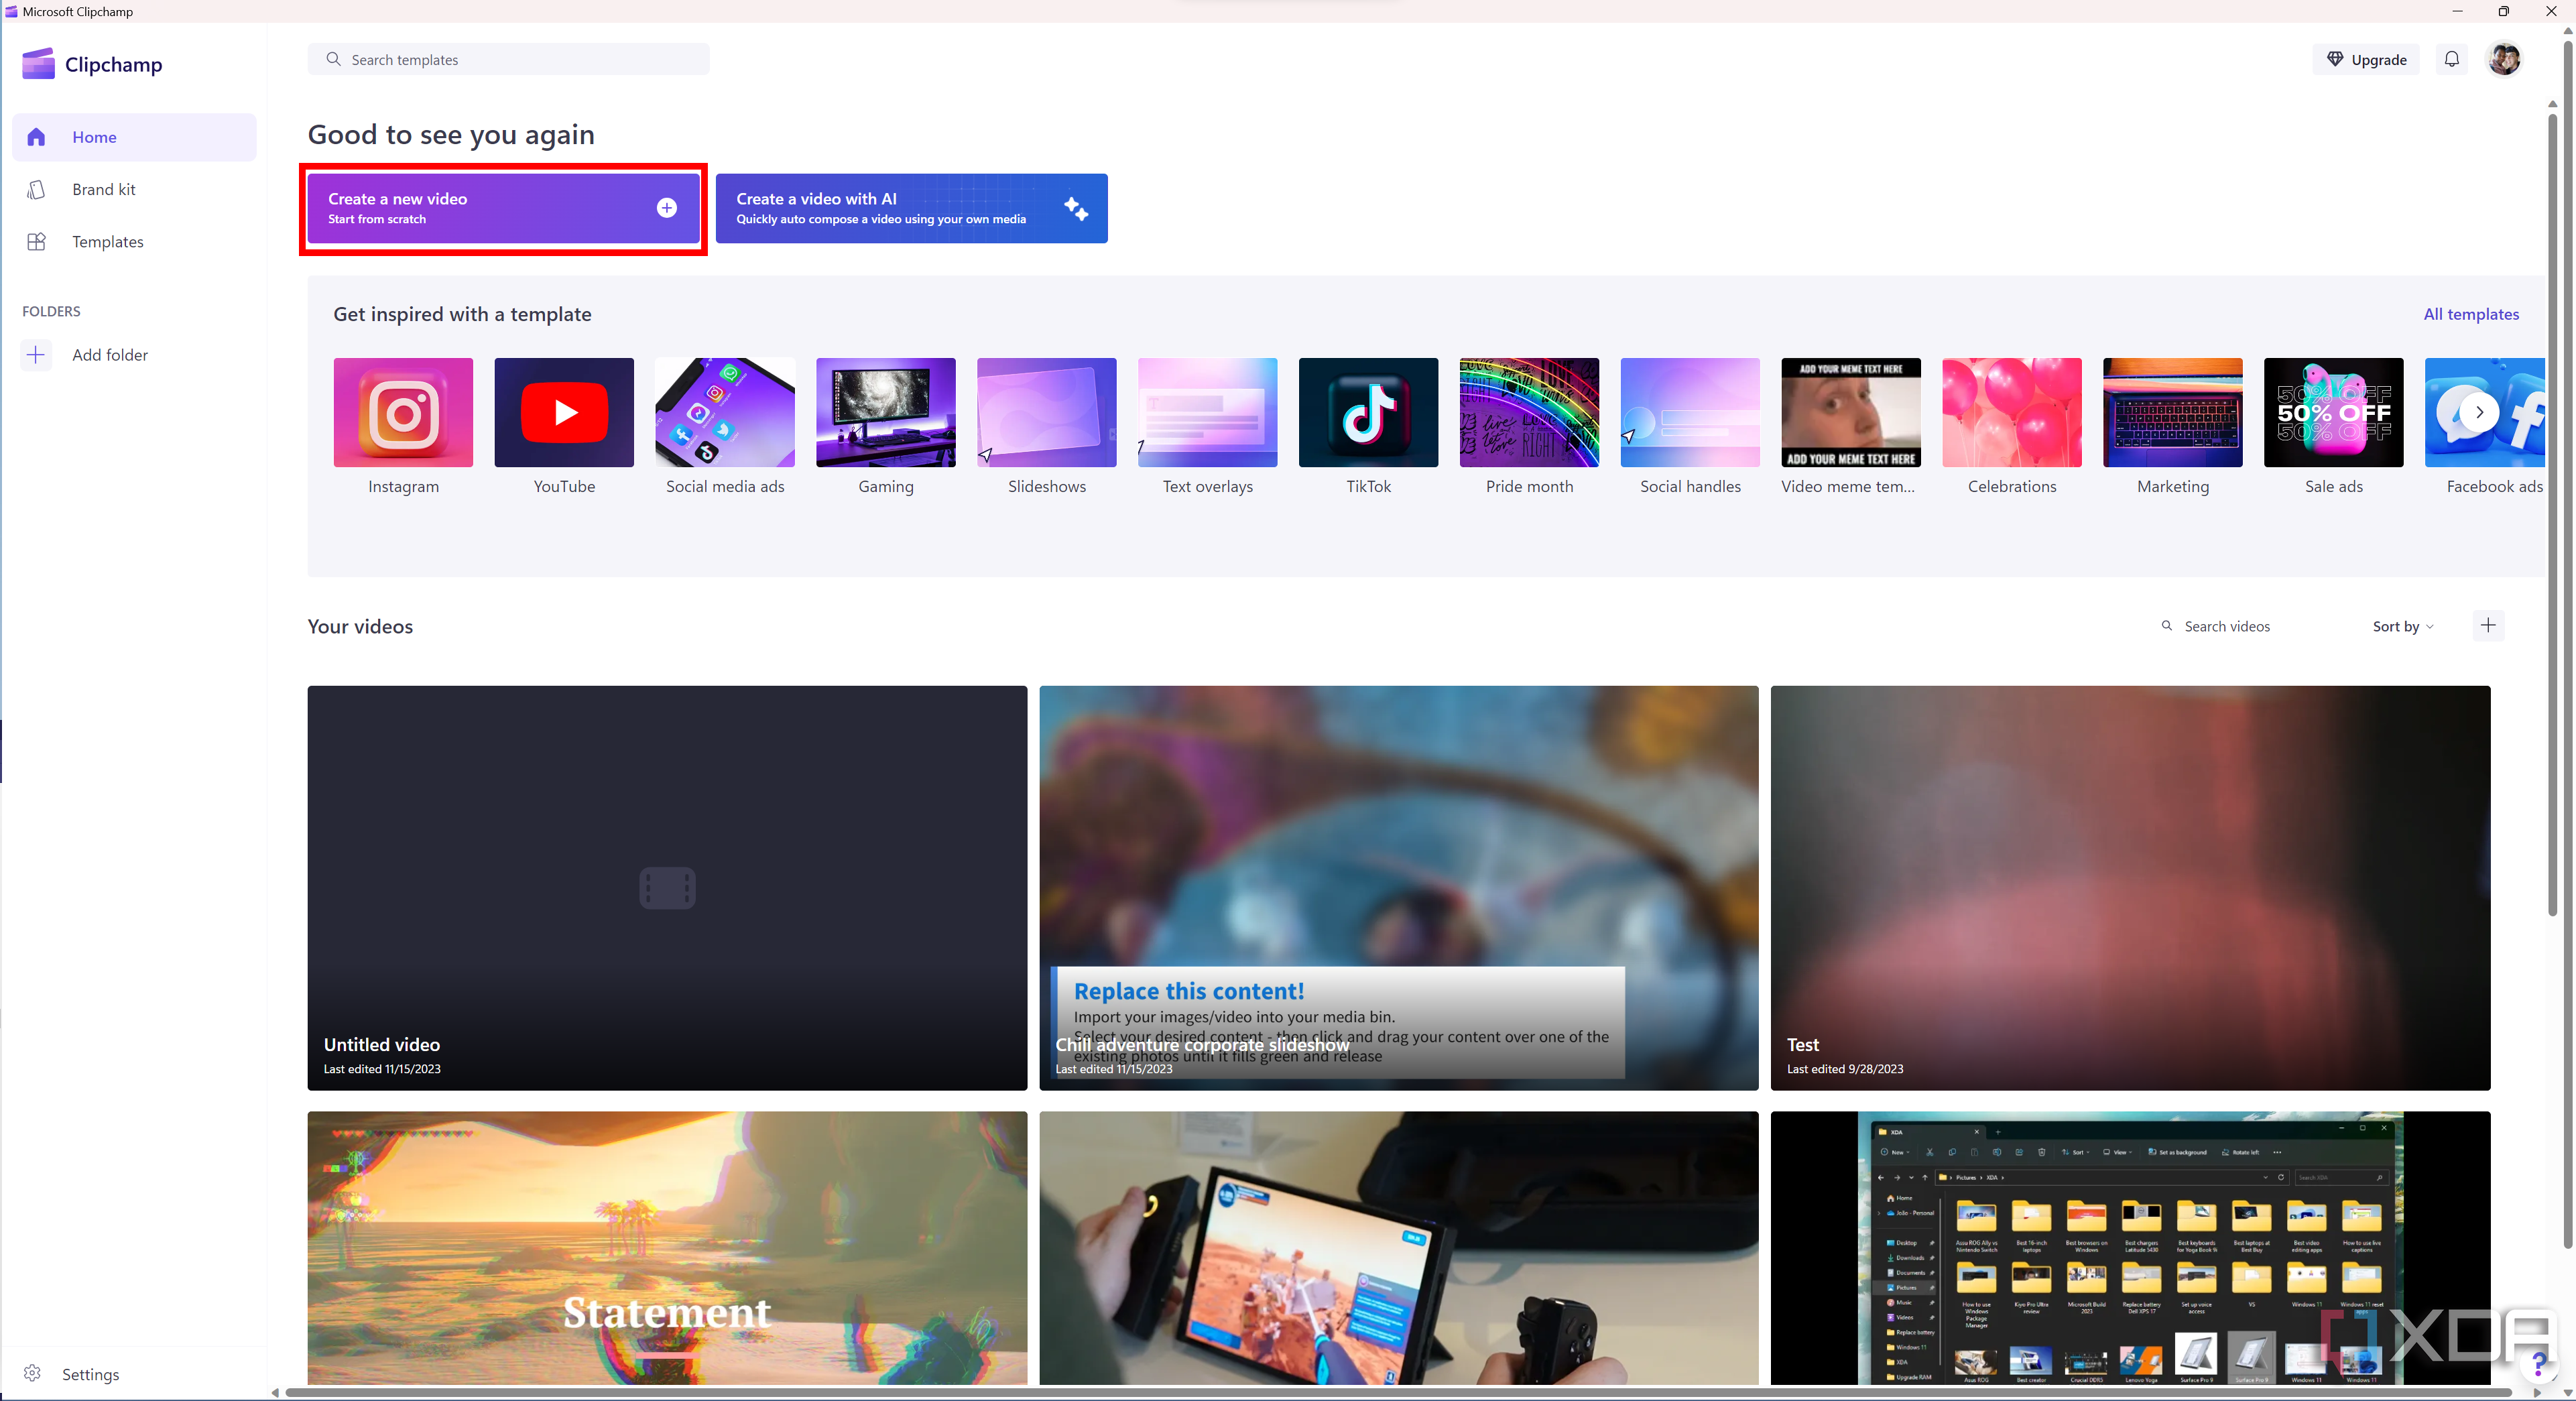
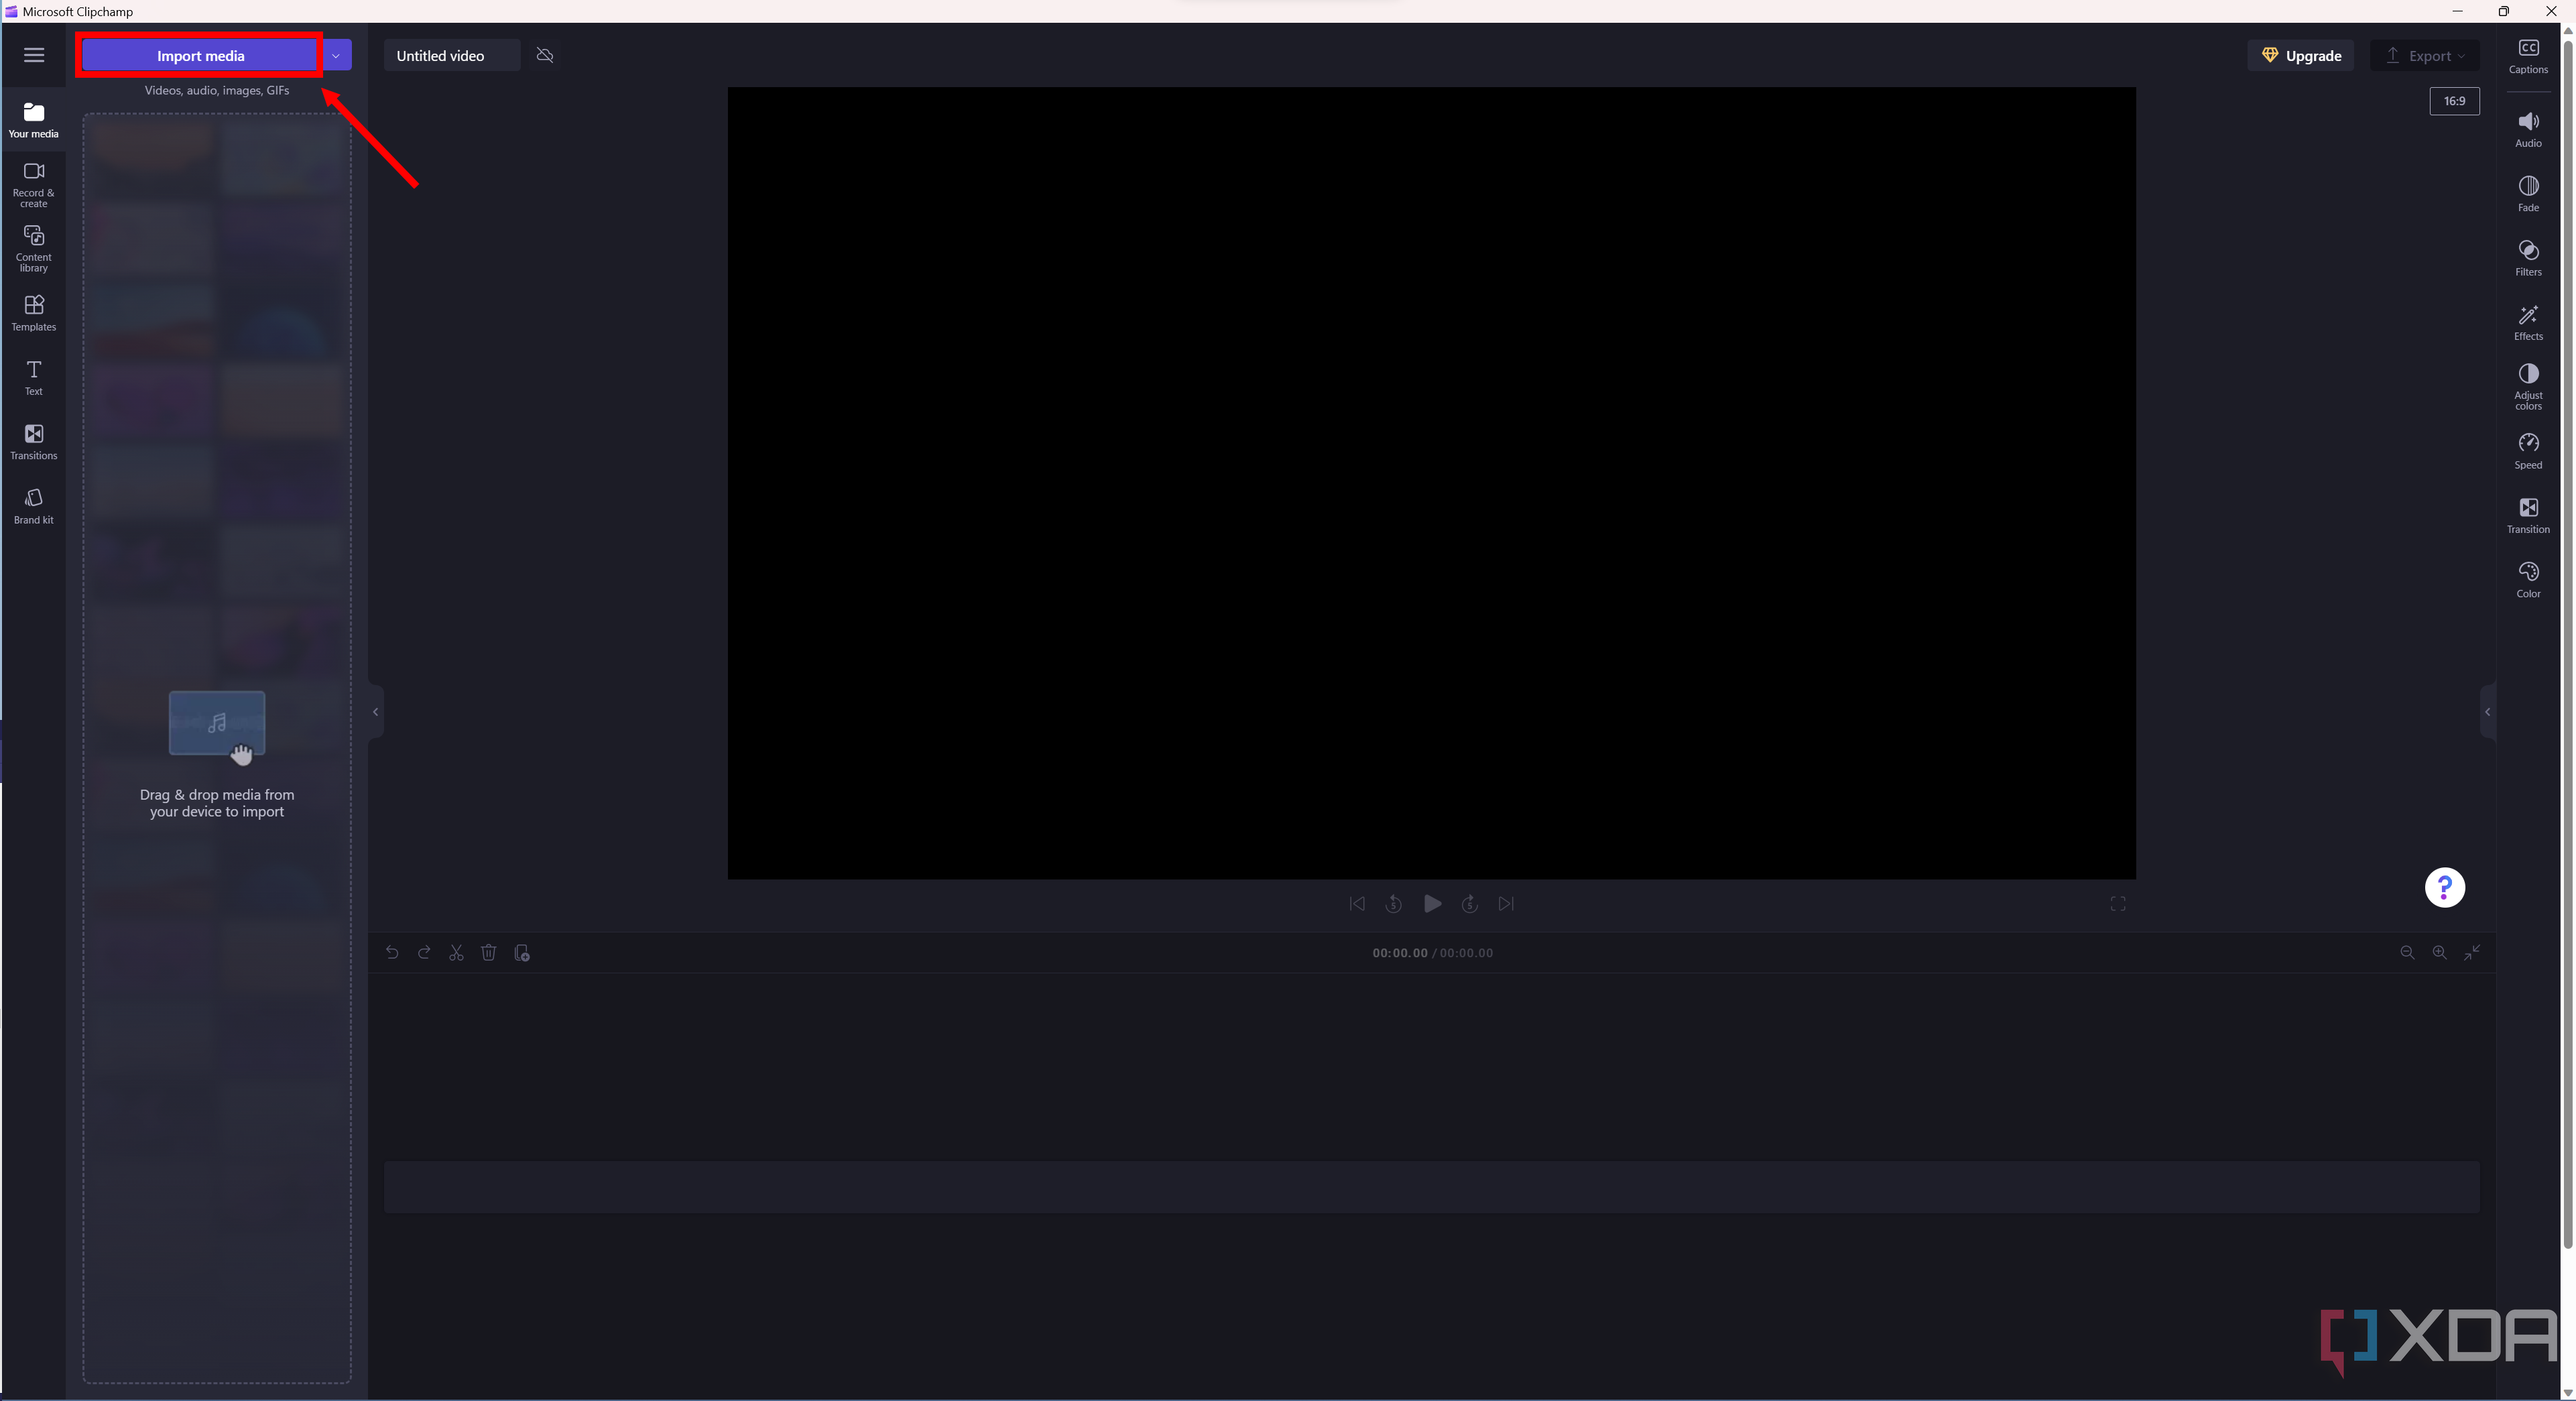
- Click Import media to choose photos to add to your slideshow.
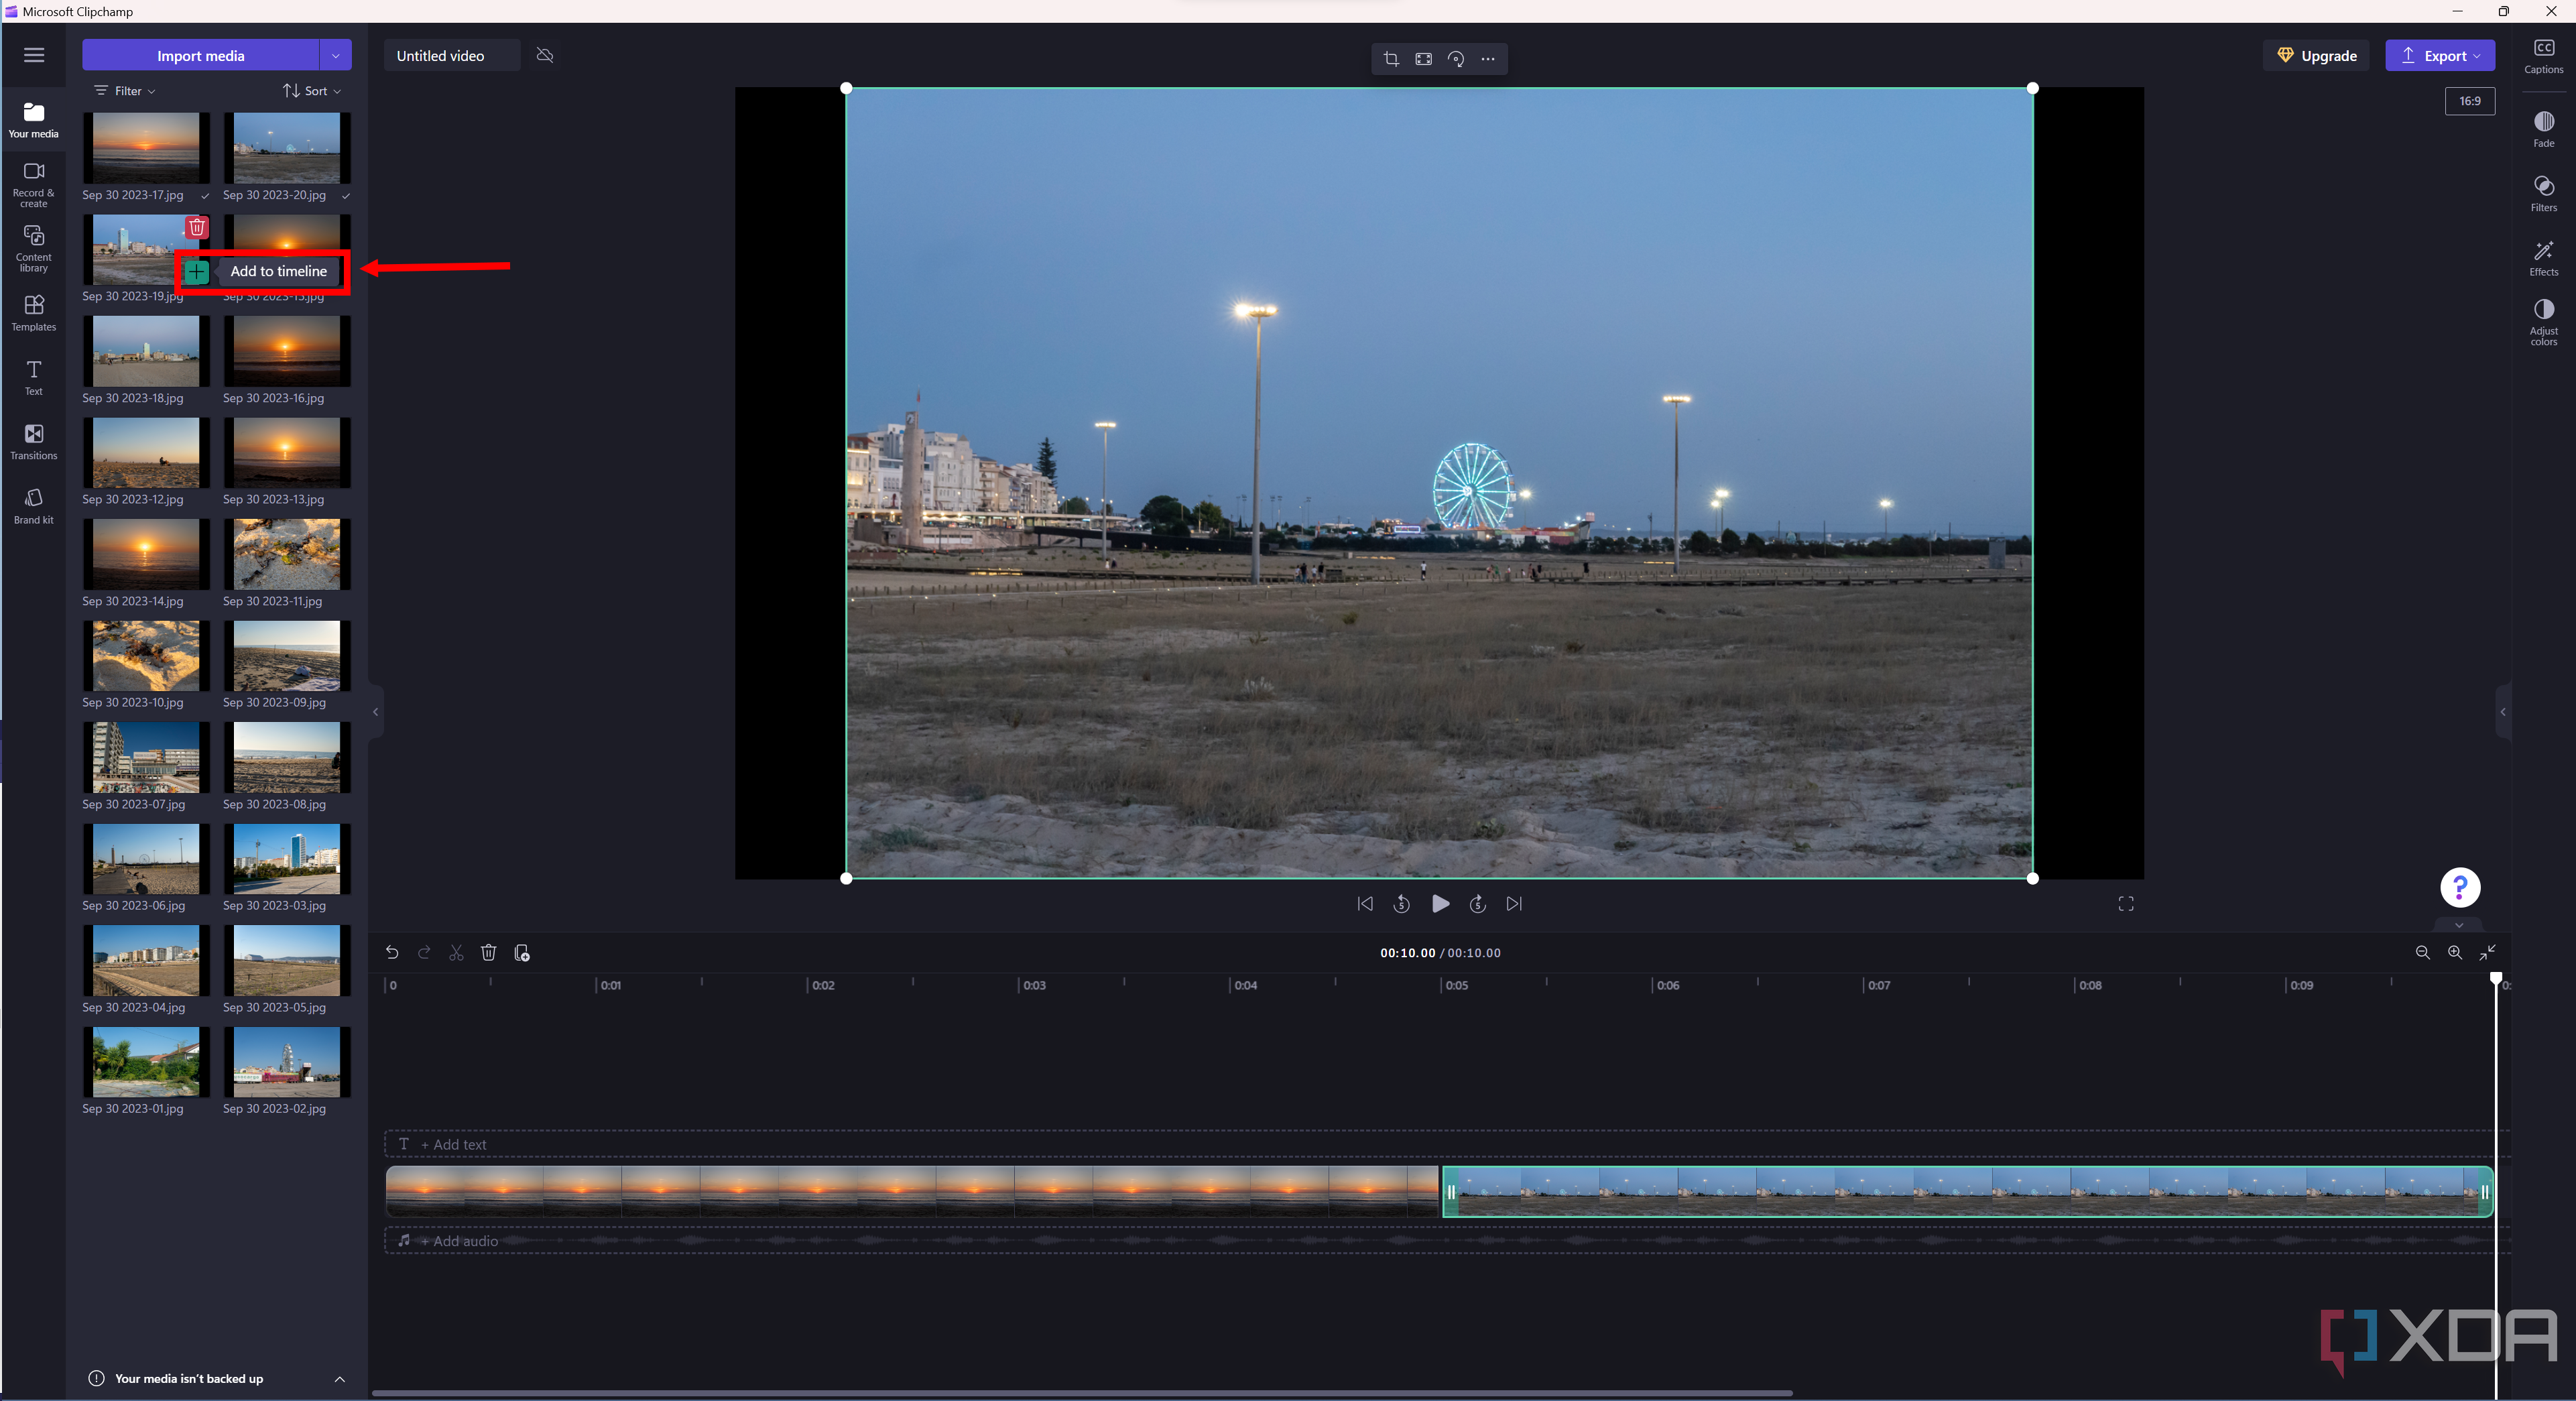
- Click the + (plus) button next to each image to add it to the video timeline. Alternatively, you can drag and drop them in the order you want.
- On the timeline, click and drag the edge of each image to adjust how long it should be in the video.
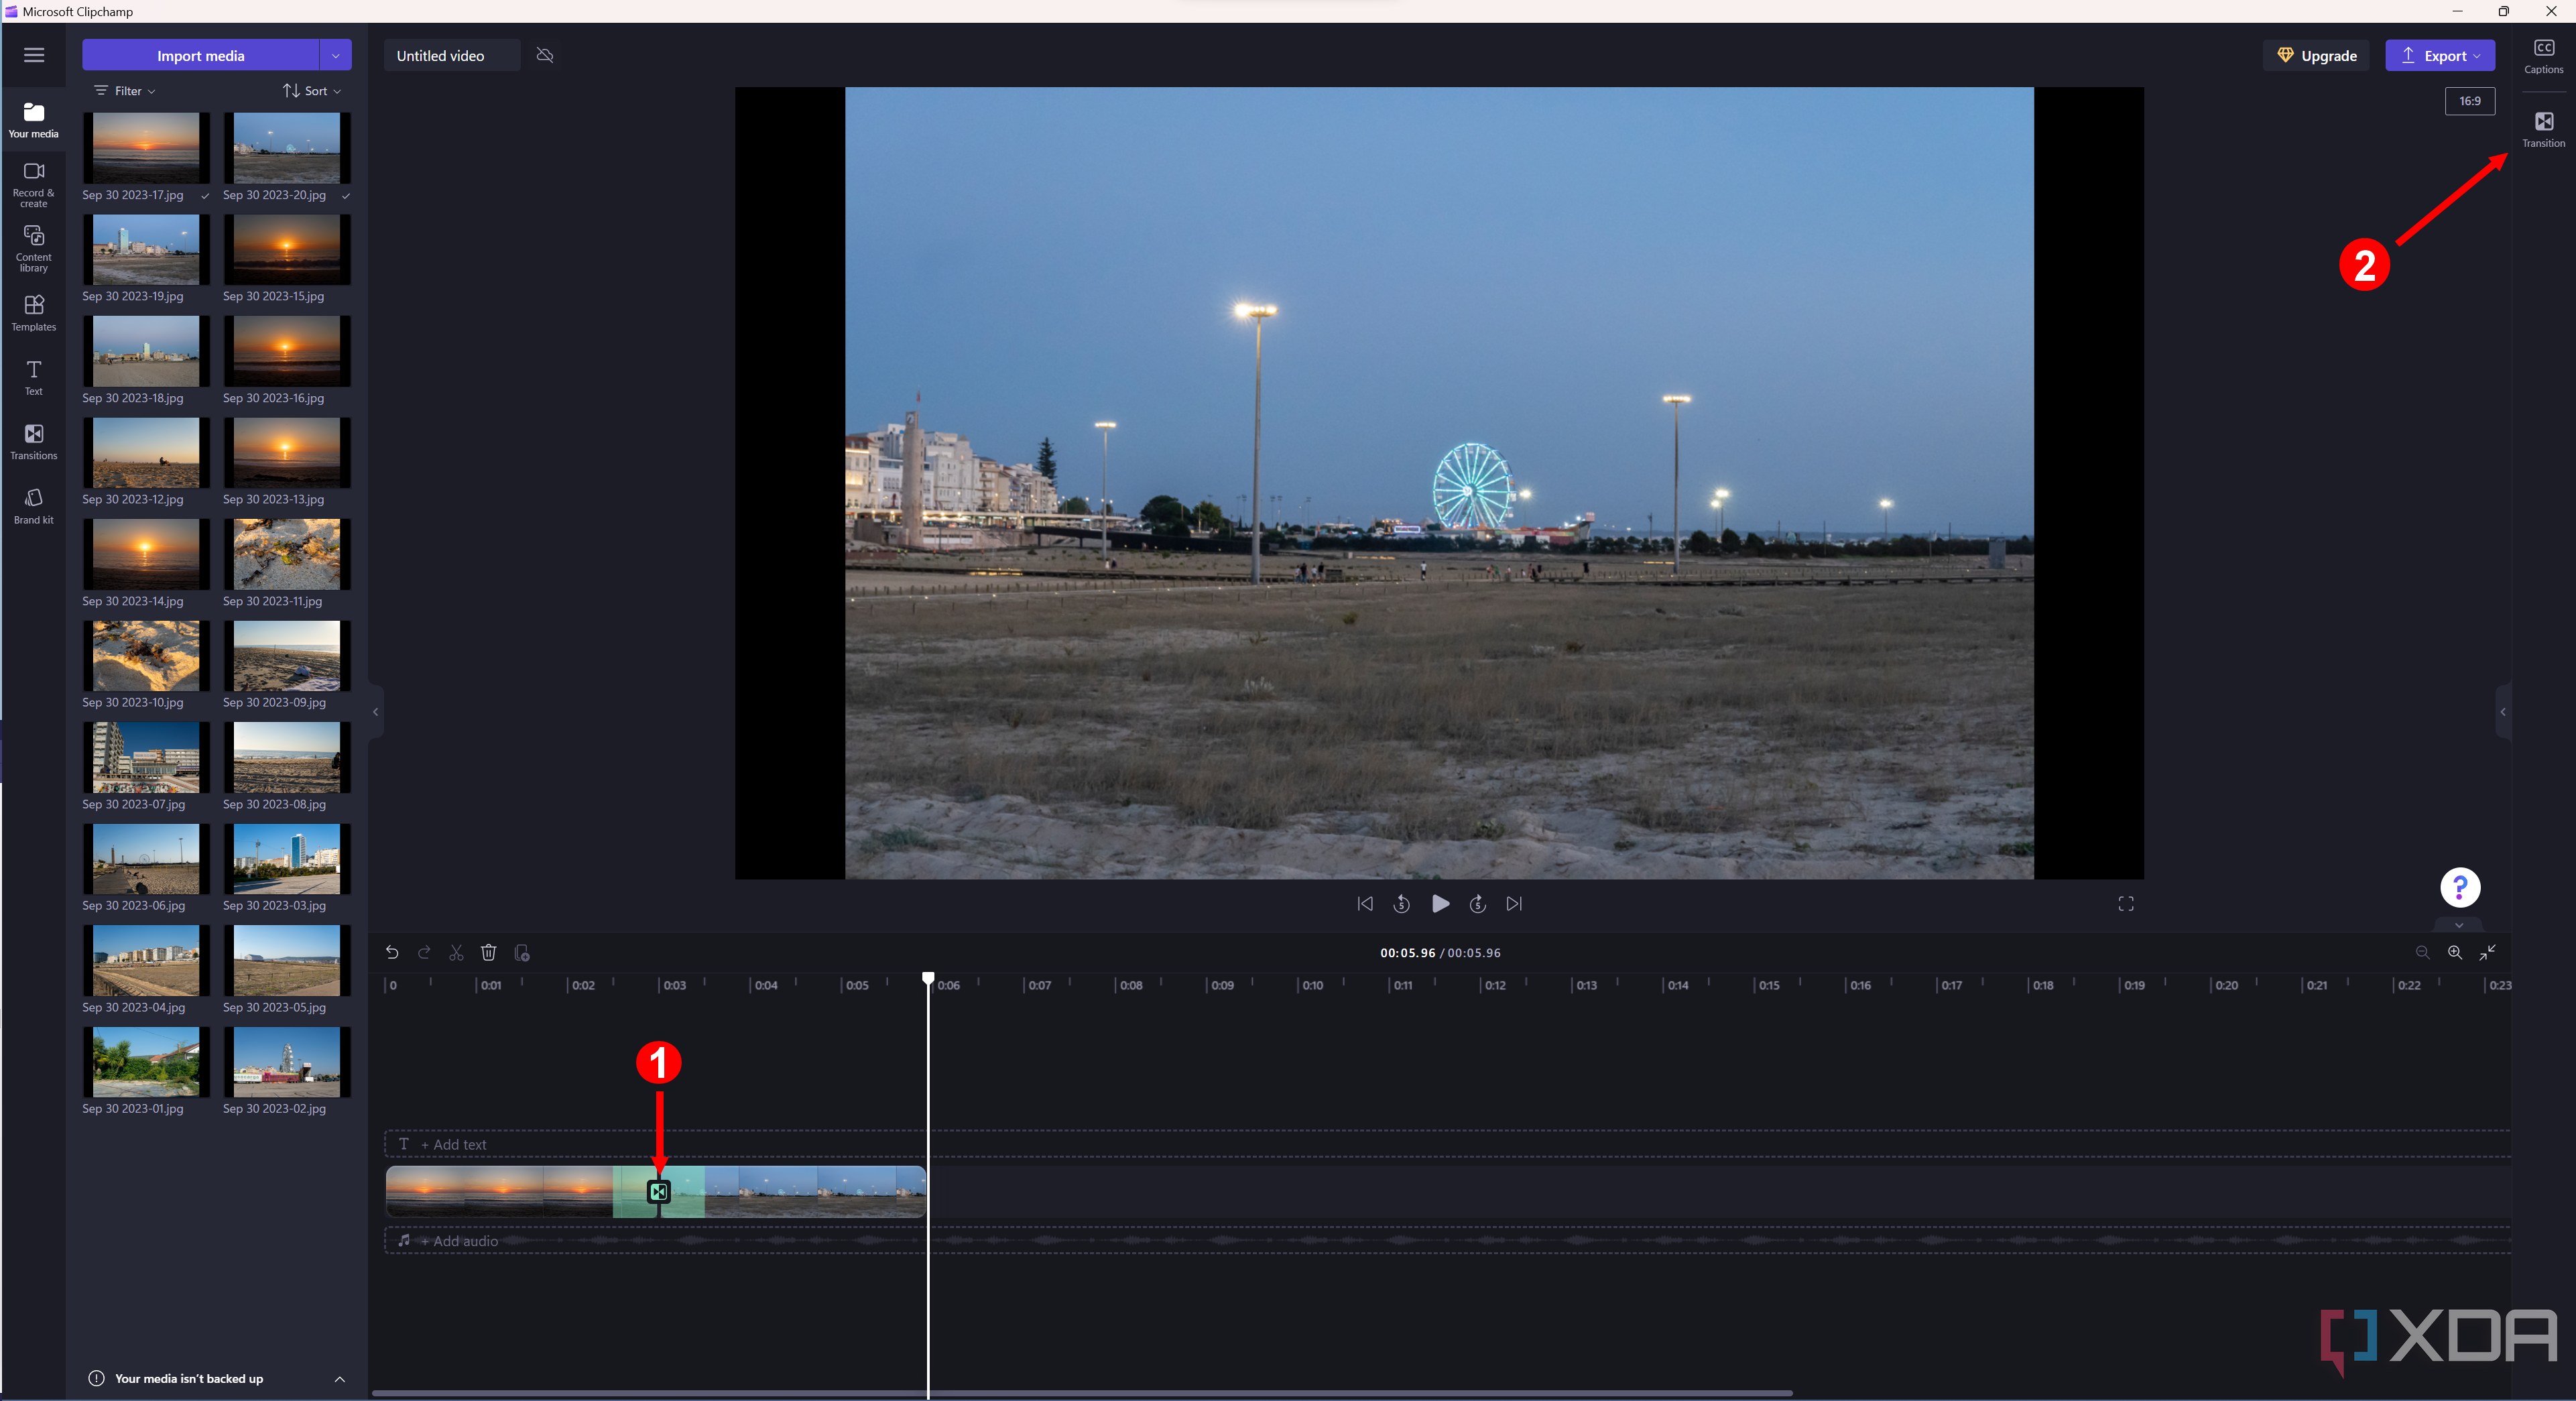
- Click the space between images to add a transition effect.
- To change the transition style, click the transition icon on the timeline and then click Transitions on the menu on the right.
- Choose a transition style from the list.
- You can also add music to the video using the Import media option or the Content library on the left side to use stock music.

- The Text option on the left lets you add custom text to the slideshow, too.


You can check out our guide to learn more about how to use Clipchamp.
Slideshows can help you relive your favorite memories
These are some of the many ways you can view your photos as a slideshow in Windows 11, all without having to install any new apps. Whether it’s a simple slideshow or something more elaborate, with music and animation, there are plenty of ways you can look back at your favorite memories. The Windows 11 Photos app has become one of the best ways to do it, though, thanks to all the included animation, transition, and music options.
[ad_2]


