JavaScript is the most in-demand programming language right now, and it enables developers to create beautiful and functional cross-platform apps when used alongside Node.js — a JavaSript runtime environment. To get started with JavaScript, you can use ChatGPT to help you start coding, but you’ll still need a package manager like Yarn or Node Package Manager (NPM) to develop and share code. While NPM was the default package manager for Node.js for a long time, Meta developed Yarn as a more efficient and stable alternative.
What is Yarn, and how does it work?
To properly understand what Yarn is and what it does, you first need to familiarize yourself with Node.js. Think of Node.js as your platform for executing JavaScript code, helping you bring projects to life. Now to keep everything organized and share your code effectively, you need a package manager that can oversee your project dependencies (additional code libraries). That’s where Yarn comes in.
Once you’ve installed Yarn, you can initialize your project, add dependencies, explore Yarn scripts, and share your project with other developers.
Yarn handles the installing, updating, and sharing process for your project dependencies. The Node Package Manager (NPM) does the same thing and is shipped as the Node.js default package manager. However, NPM has common problems with security, consistency, and performance. Yarn is better in all those departments and even features an offline mode. NPM might be the default option, but Yarn is usually better in most cases. If you already have a great laptop for development, you’ll notice the difference in speed by using Yarn even more.
How to install Yarn on Windows via Corepack
Check your Node.js installation
Before you install Yarn, follow our guide to install Node.js on your system. You can’t have Yarn without Node.js, so consider it a prerequisite. The process is the same for Windows 10 and 11, so you don’t need to worry about specific instructions for either. Once you’ve successfully installed Node.js, you can install Yarn.
Installing Yarn by using Corepack
If you want to install the latest version of Yarn, you’ll need to use Corepack, an official Node.js tool that allows you to install package managers on a per-project basis. Installing the latest Yarn version is relatively simple; all you need to do is enable Corepack by using the Command Prompt terminal. After doing so, Yarn will automatically be installed on your system.
- Search for the Command Prompt app in the Start Menu, and click Run as administrator.
- To enable Corepack (and subsequently, install Yarn), type the following command into the Command Prompt terminal and hit Enter on your keyboard:
corepack enable
- To see if Yarn was installed successfully, type the following command into the Command Prompt terminal and hit Enter on your keyboard:
yarn -v
If you see a version number as a response, then the latest Yarn version was installed successfully.
How to install Yarn Classic on Windows using NPM
Yarn Classic refers to any Yarn version before 2.0. Some users prefer Yarn Classic over the newer versions simply because it’s familiar. While we recommend the newer version because of better features and faster performance, you can still install Yarn Classic on Windows using NPM.
While installing Node.js, NPM will be added to the installation by default. Before you install Yarn, make sure to check that your Node.js installation was completed properly. Here’s how you can do so:
- Search for the Command Prompt app in the Start Menu, and click Run as administrator.
- Type the following command in the terminal and hit Enter on your keyboard:
node -v
If Node.js was installed properly, you’ll see a version number as the response to your command. Don’t close the Command Prompt app yet. We’ll be using it to install Yarn Classic. Follow the simple steps below to do so:
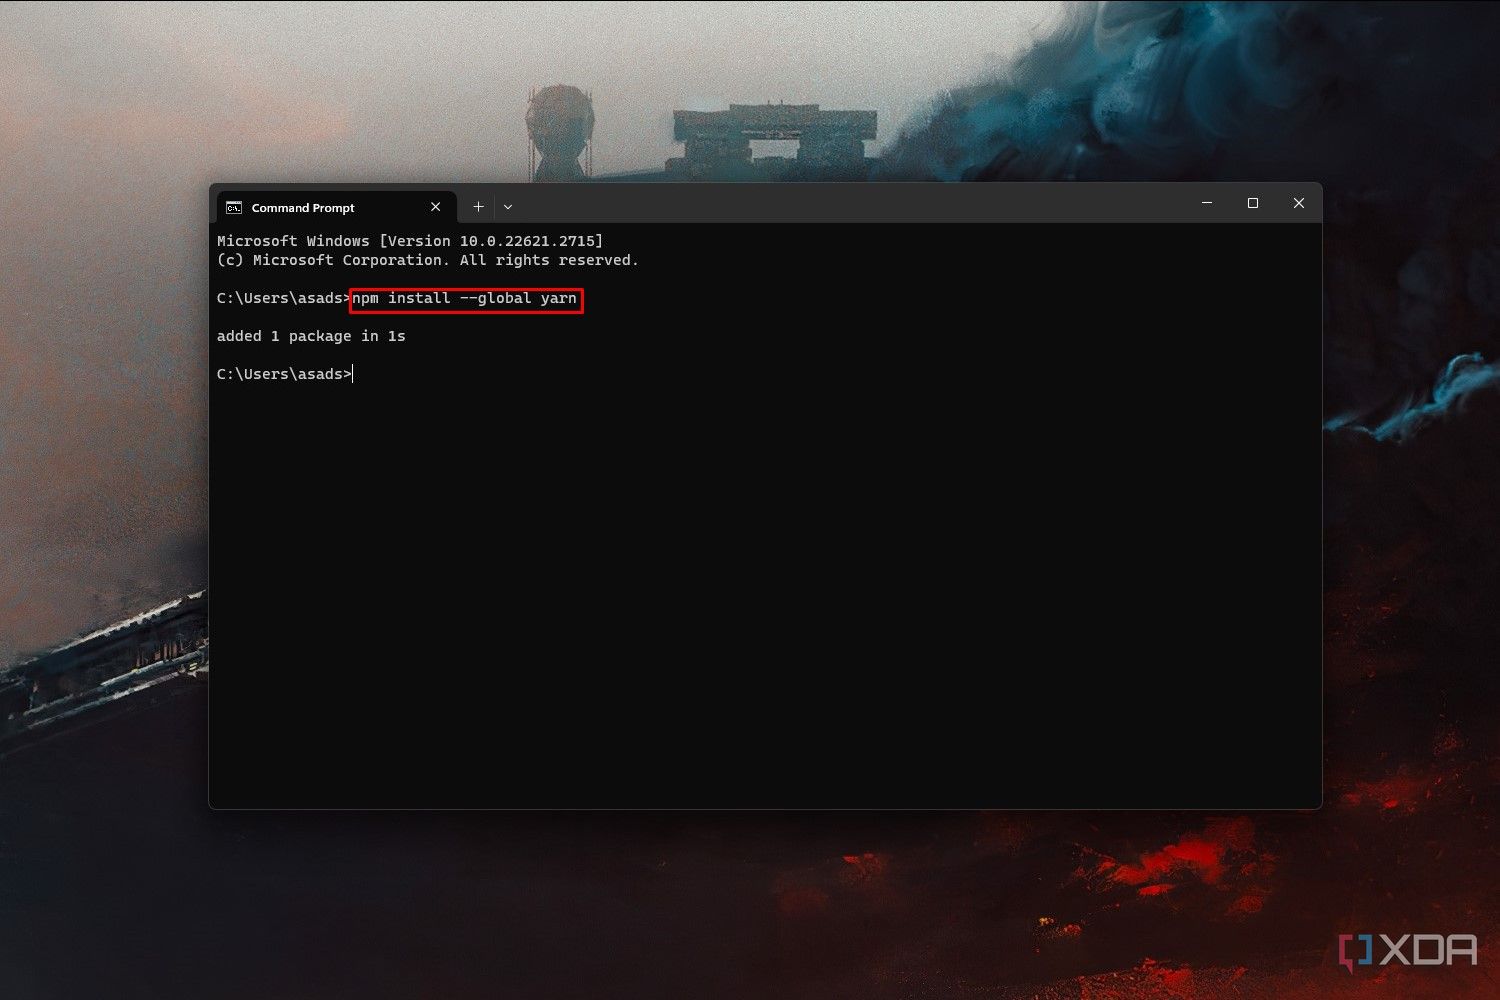
- Type the following command into the Command Prompt terminal and hit Enter:
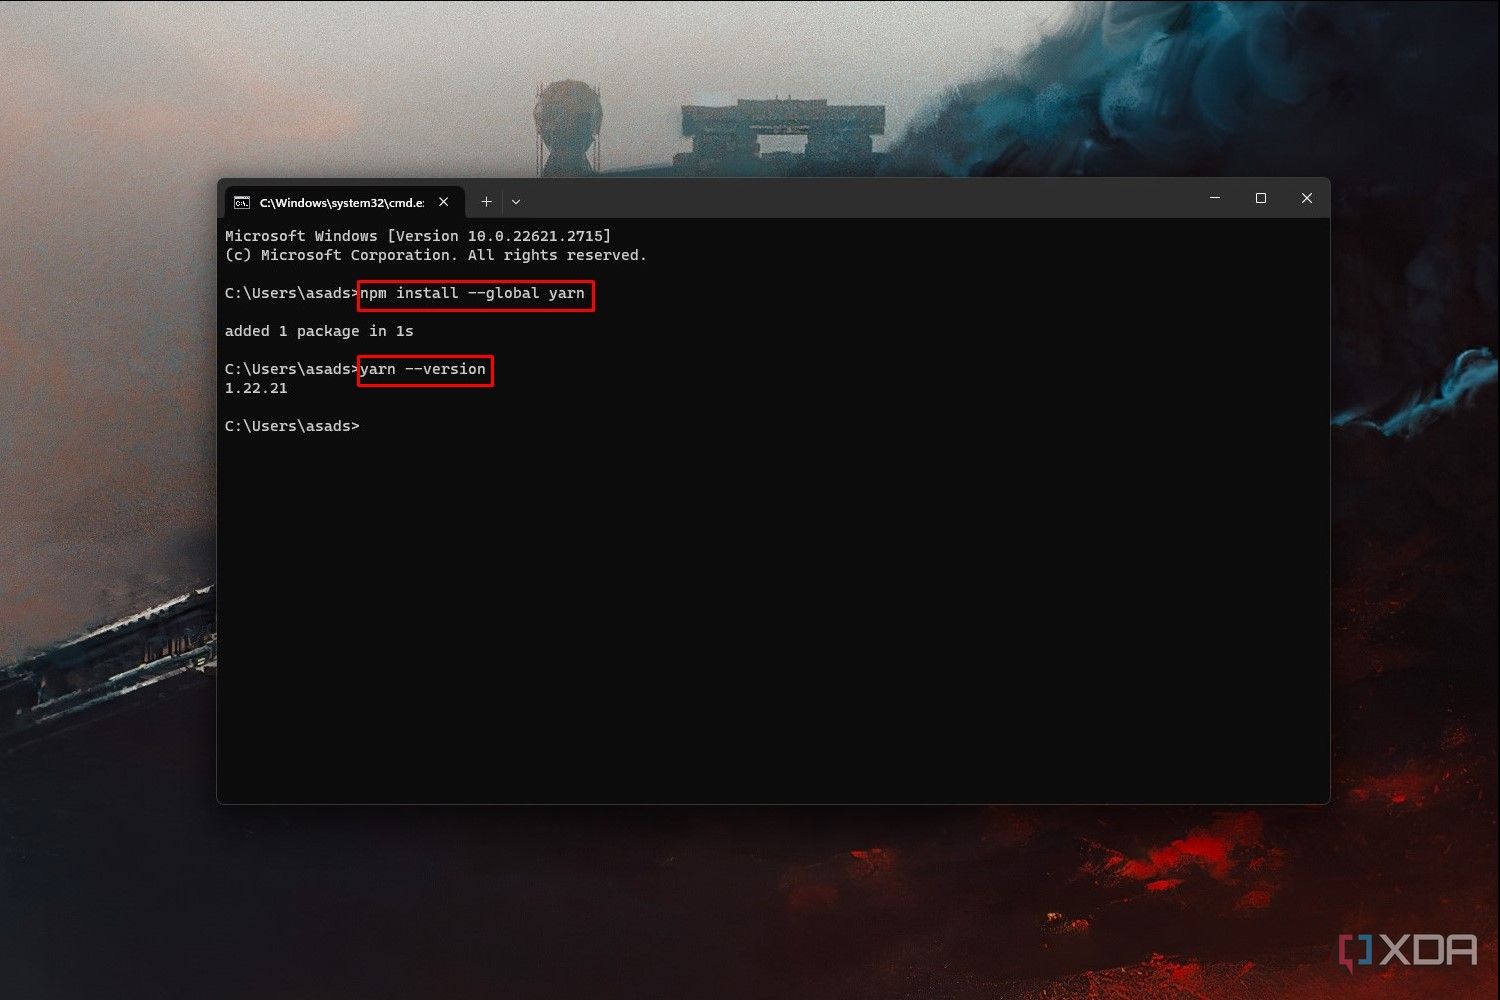
npm install --global yarn
- Type the following command into the Command Prompt terminal and hit Enter to verify your Yarn installation:
yarn --version


If you see a version number as the response to your command, you installed Yarn Classic successfully.
What’s next after installing Yarn on Windows?
That’s all there is to it. Whether you want to install the latest version of Yarn or Yarn Classic, you can follow the methods above and install either by using the Control Panel. The difference lies in using Corepack (for modern Yarn) and NPM (for Yarn Classic). Now that you’ve installed Yarn, you can initialize your project, add dependencies, explore Yarn scripts, and share your project with other developers.
[ad_2]


