

Screen flickering is an annoying and common problem that can occur on Windows 11 for various reasons. Sometimes, it’s an issue with an incompatible application, and other times, it might be a problem with the graphics driver. Constant screen flickering is incredibly disturbing to the eye, and using a monitor with this issue is impossible for long periods.
Fortunately, there are several ways to fix the issue. Your first step should be troubleshooting the issue to find the cause and then following the appropriate steps to fix it. In this guide, we’ll discuss how to find the root of the problem and various fixes that can help you solve this annoying situation.

How to fix a Windows 11 BSOD: A complete guide
Is your Windows 11 PC crashing with Blue Screens of Death (BSOD)? Here are some reasons why and how you can fix your problems.
Check your monitor and its cables

Before you start clicking around trying to figure out what’s wrong with your screen, do yourself a favor and check the cables first. While graphics drivers and incompatible applications are the most common causes of screen flickering, it’s also possible that there’s a problem with the connection or your monitor. While you are troubleshooting things, it’s a good idea to rule out the hardware, too. Check if the HDMI or DisplayPort cables from your computer to the monitor are securely plugged in.
Your graphics card likely has multiple DisplayPort and HDMI ports, so try switching between them to see if that fixes the issue. If your monitor has more than one video input port, try using that as well to rule out your monitor’s ports. The cable you’re using for the video output may also be damaged. Try replacing it with a spare cable to see if that fixes the issue.
Troubleshoot with Task Manager
The Windows 11 Task Manager can tell you a lot about your PC’s performance and help you solve issues such as screen flickering. Before you start changing cables, rolling back graphics drivers, or uninstalling apps, use this Task Manager test to see why the screen is flickering in the first place.
- Press the Ctrl + Shift + Esc keys on your keyboard to launch Task Manager.
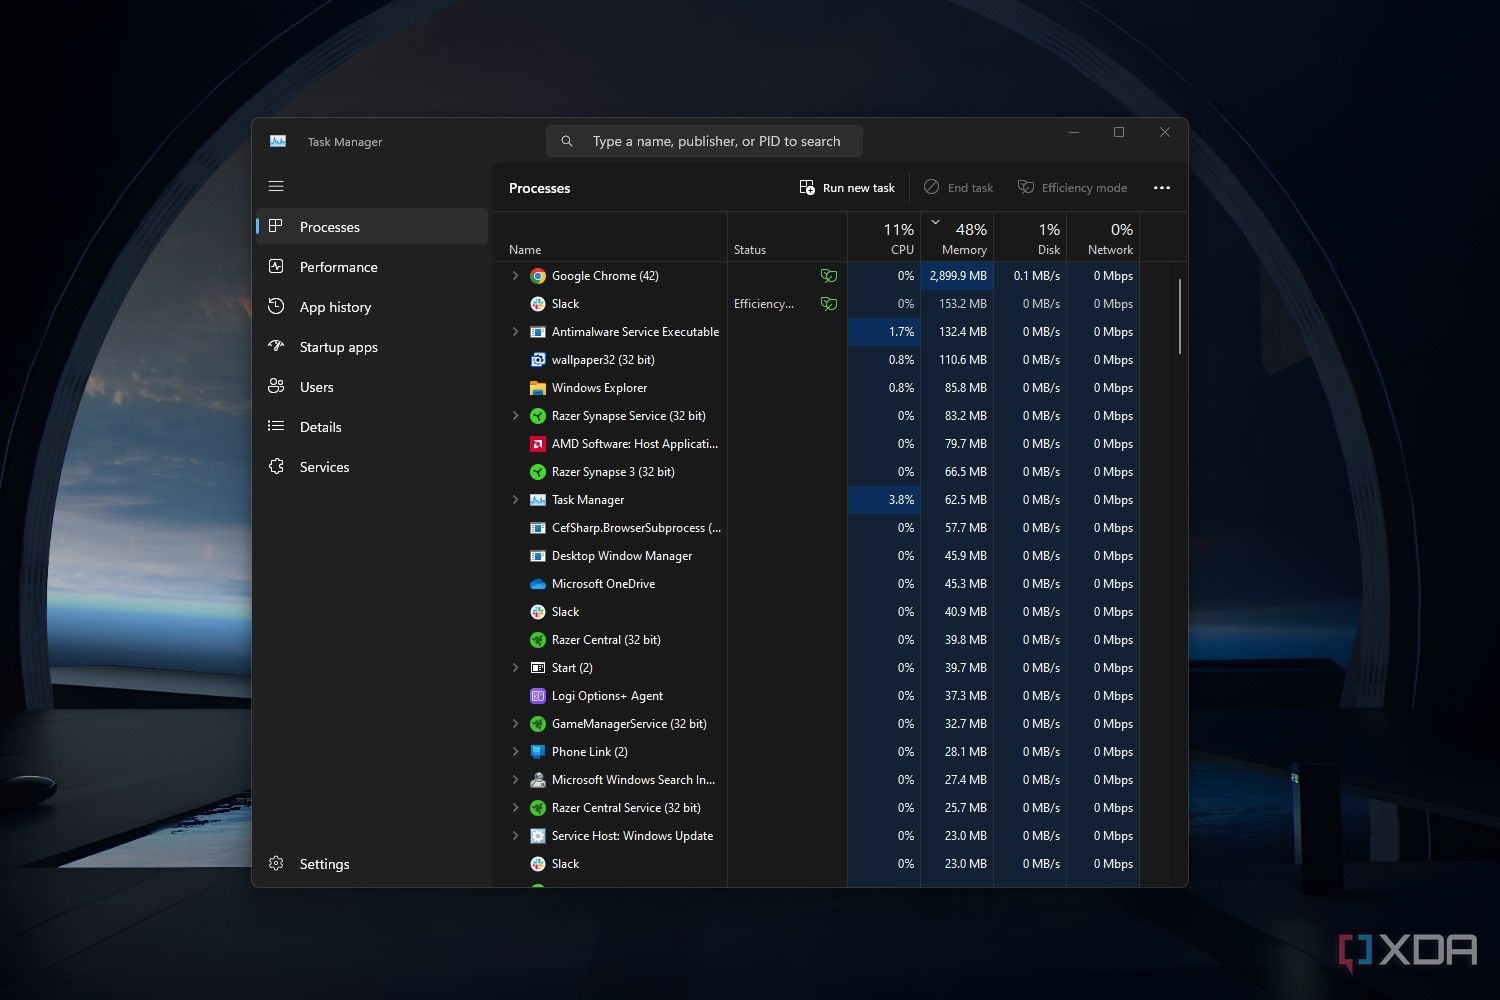
- Keep an eye on your screen to see if the Task Manager flickers. If the app flickers with everything else on the screen, the issue is likely caused by the graphics driver or a faulty cable.
- If the Task Manager window does not flicker, but the rest of the screen does, a troublesome application might be the culprit.

Now that we’ve narrowed things down, you can skip to the appropriate sections below to fix the issue. If you believe an application is causing the problem, skip to the uninstalling app section. On the other hand, if you think it’s a hardware issue, skip to the graphics drivers or cable sections.
Uninstalling problematic applications
A handful of apps are incompatible with Windows 10 and 11, which can cause a myriad of issues, including screen flickering. It’s also possible that one of your applications was recently updated, and a bug of some sort is causing the screen flickering issue.
It’s hard to narrow down the exact application, but think about any recent apps you installed before the screen flickering problem began. One of them is likely the root of your problems. If you think you’ve found the offender, here’s how you can uninstall it.
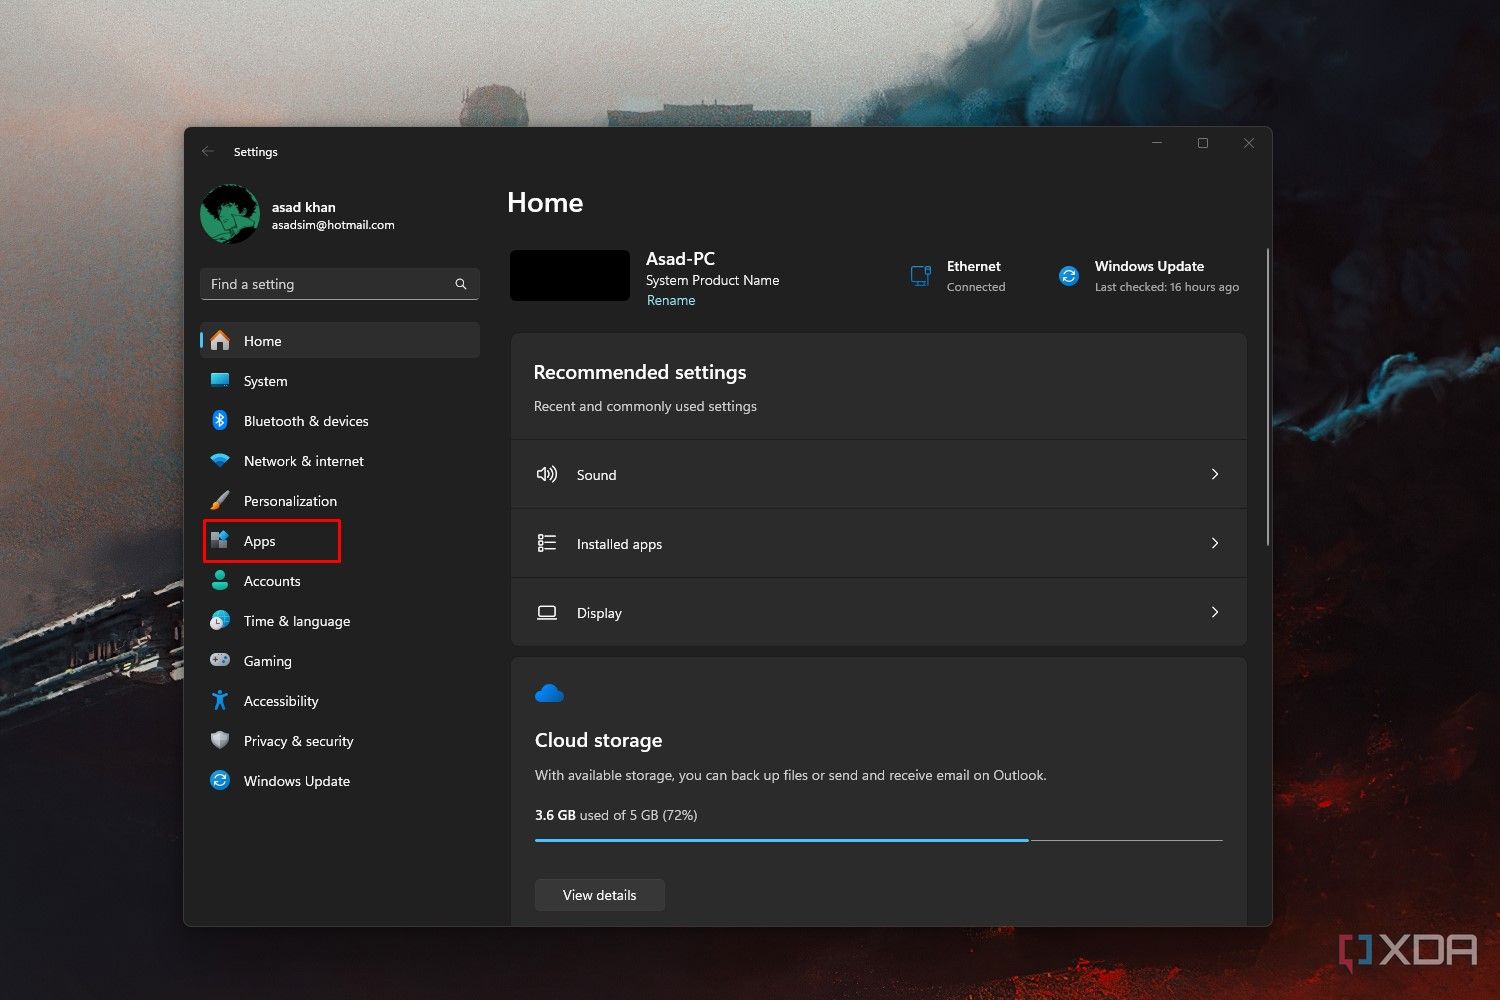
- Press the Windows key + I to open the Settings app.
- Click Apps from the left sidebar.
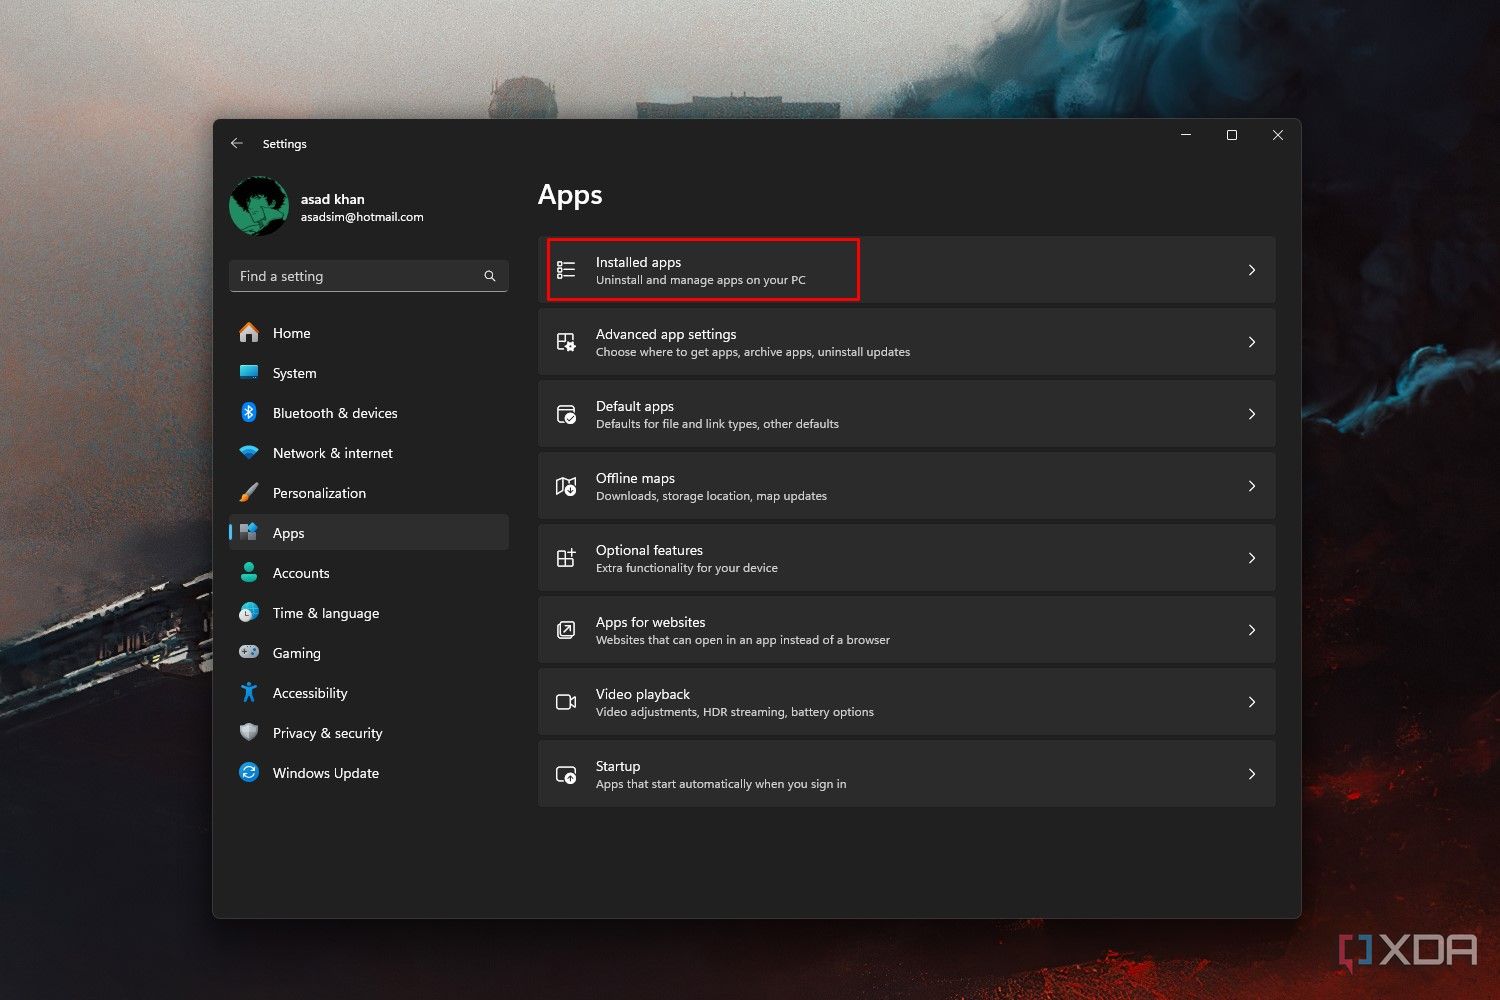
- From the Apps menu, select Installed apps.
- Search for the app you want to install by typing its name into the search box. Right-click the three dots next to the app, and select Uninstall.
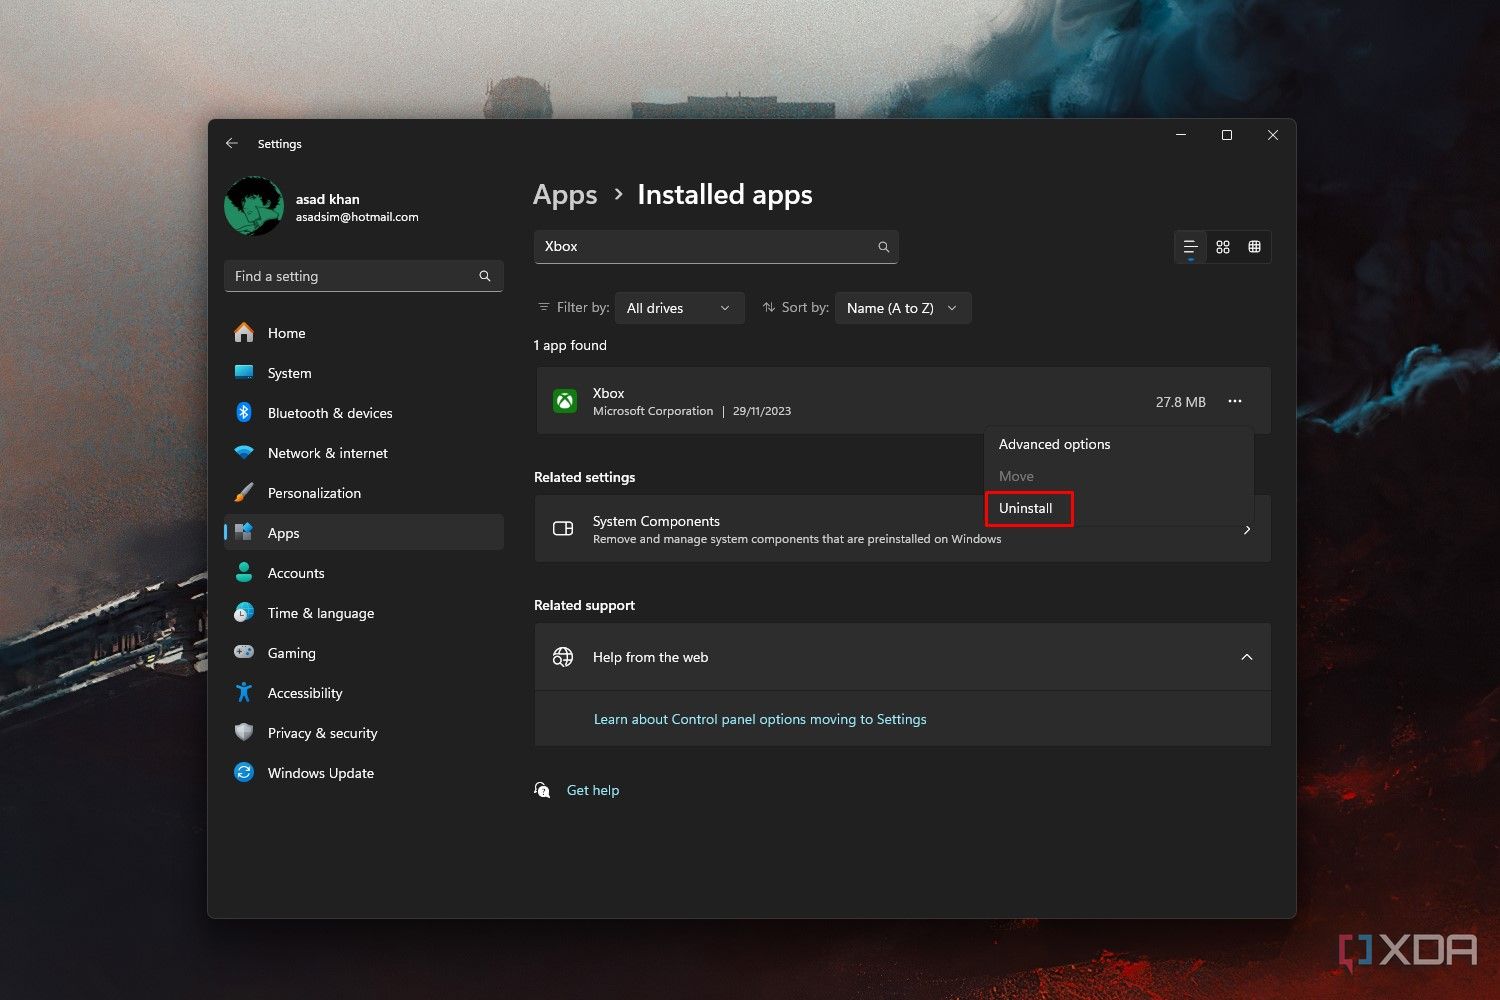
- Windows will ask you to confirm the action, so click Uninstall again to remove the app.
- Restart your PC, and see if the flickering problem is gone.


Depending on your luck, you might find the problematic app immediately, or you’ll have to spend some time narrowing things down. After you find the troublesome app, search online to see if it recently received an update that fixed the issue.
Resetting or updating the graphics driver
Updating your graphics driver
If a random app isn’t causing the issue, the other most common cause of screen flickering is related to the graphics driver. Before resetting or rolling back anything, follow our guide on updating your graphics drivers. We covered AMD, Nvidia, and even Intel drivers in the aforementioned guide, so you should have no problems with updating.
Roll back the previous driver version
If you recently updated your graphics driver and there aren’t any updates to fix the issue, you’ll have to roll back to a previous version to fix screen flickering.
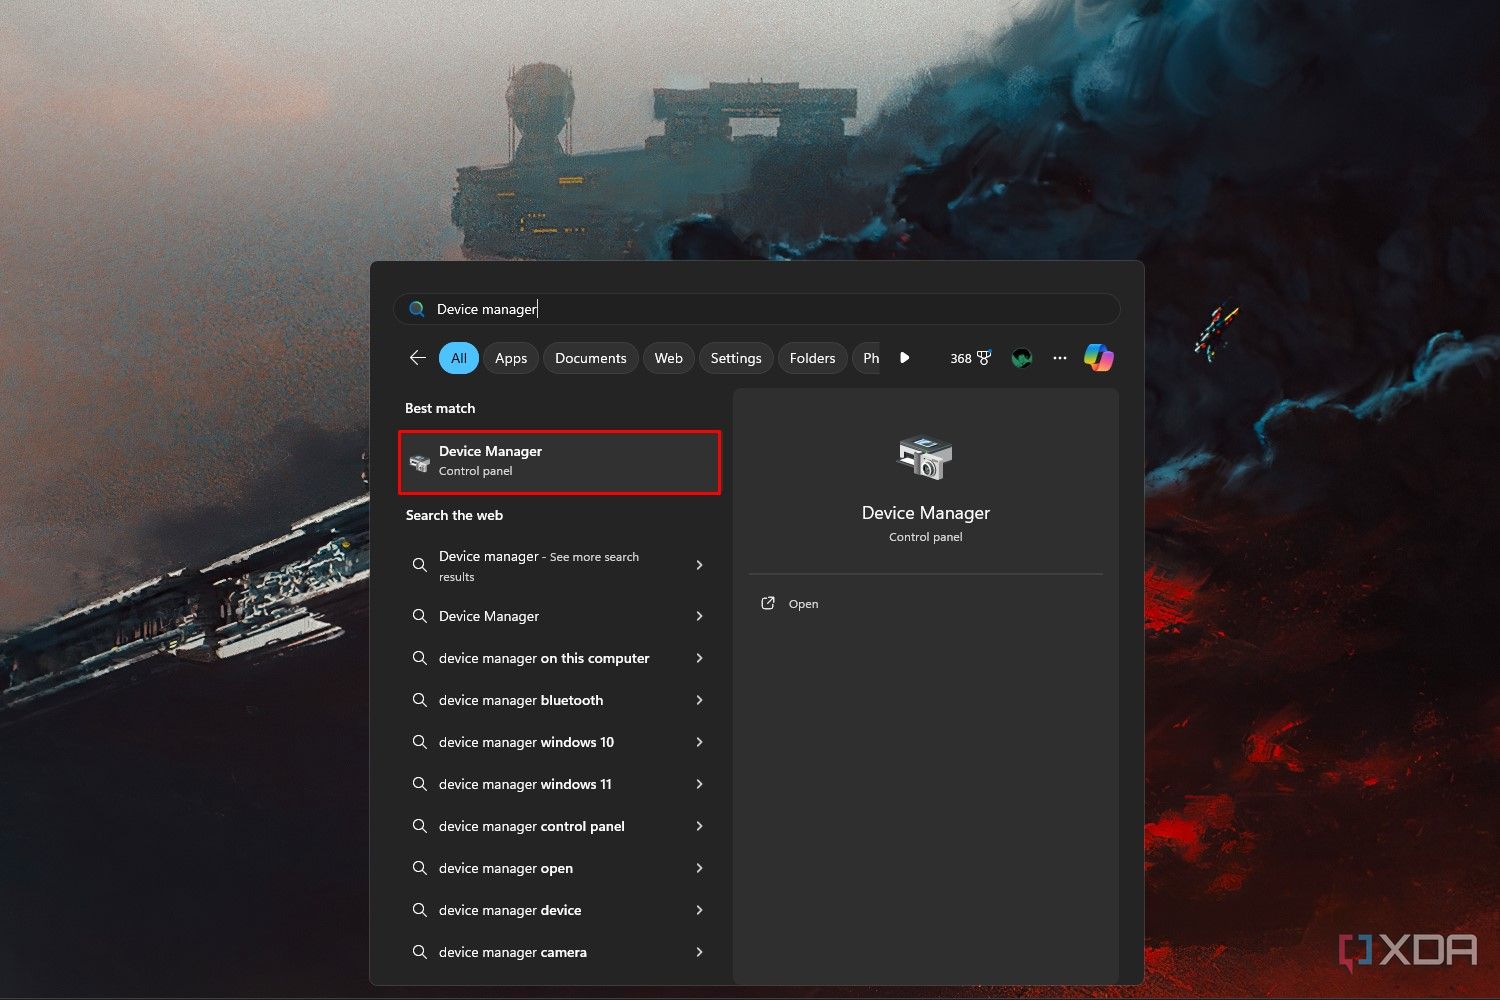
- From the Start menu, search for Device Manager by typing it into the search bar. Click the app to launch it.
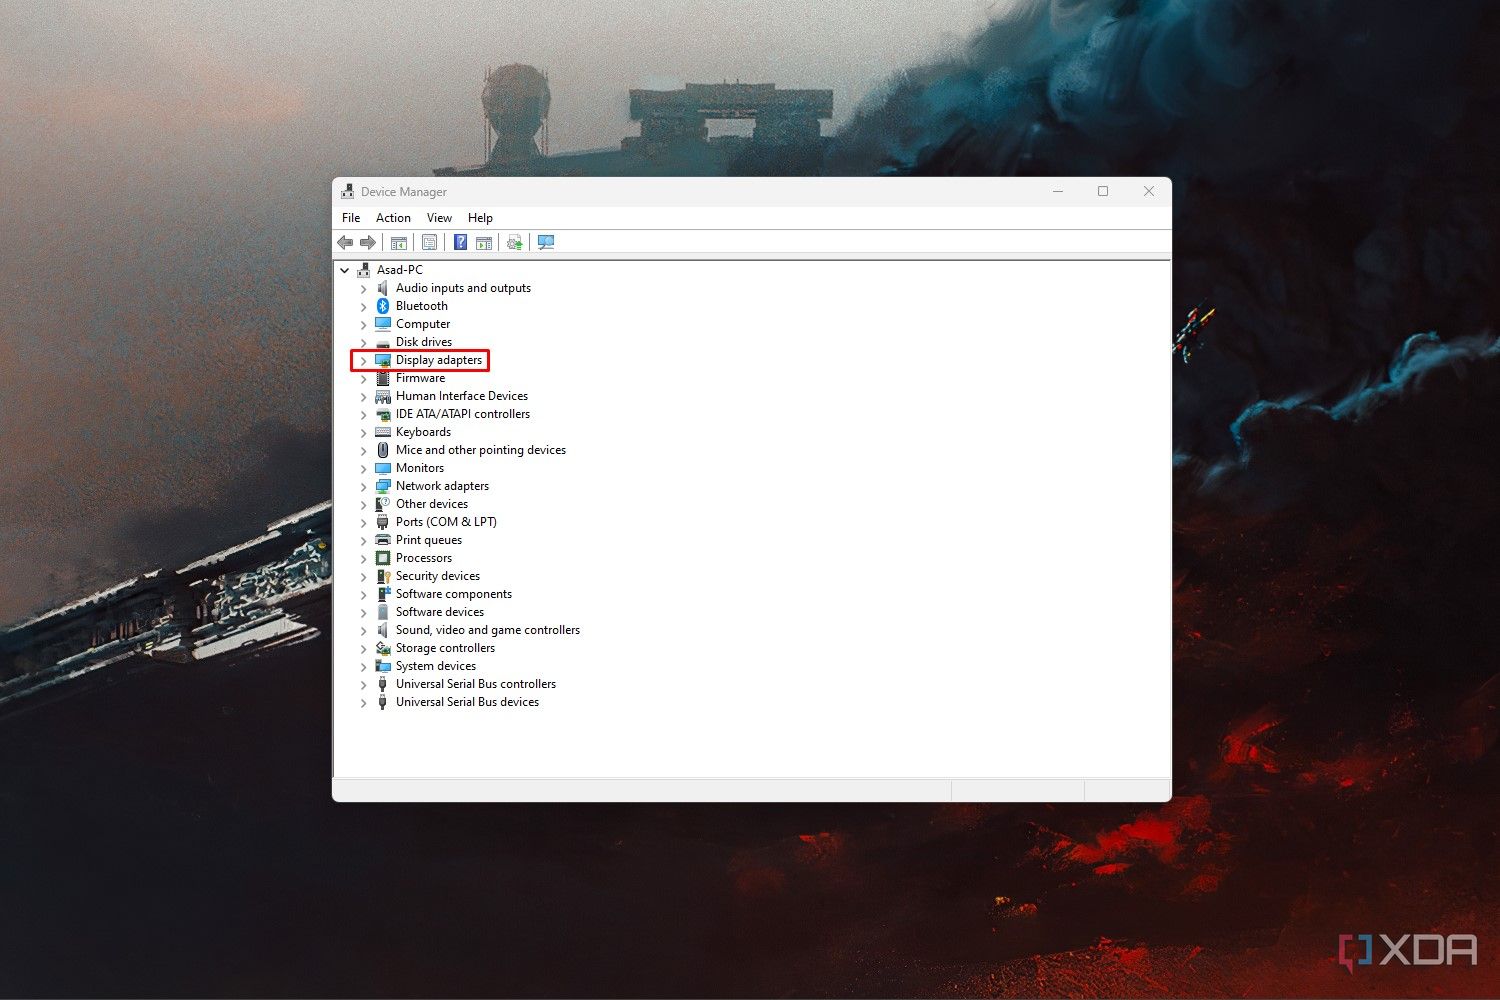
- Click the Display adapter branch.
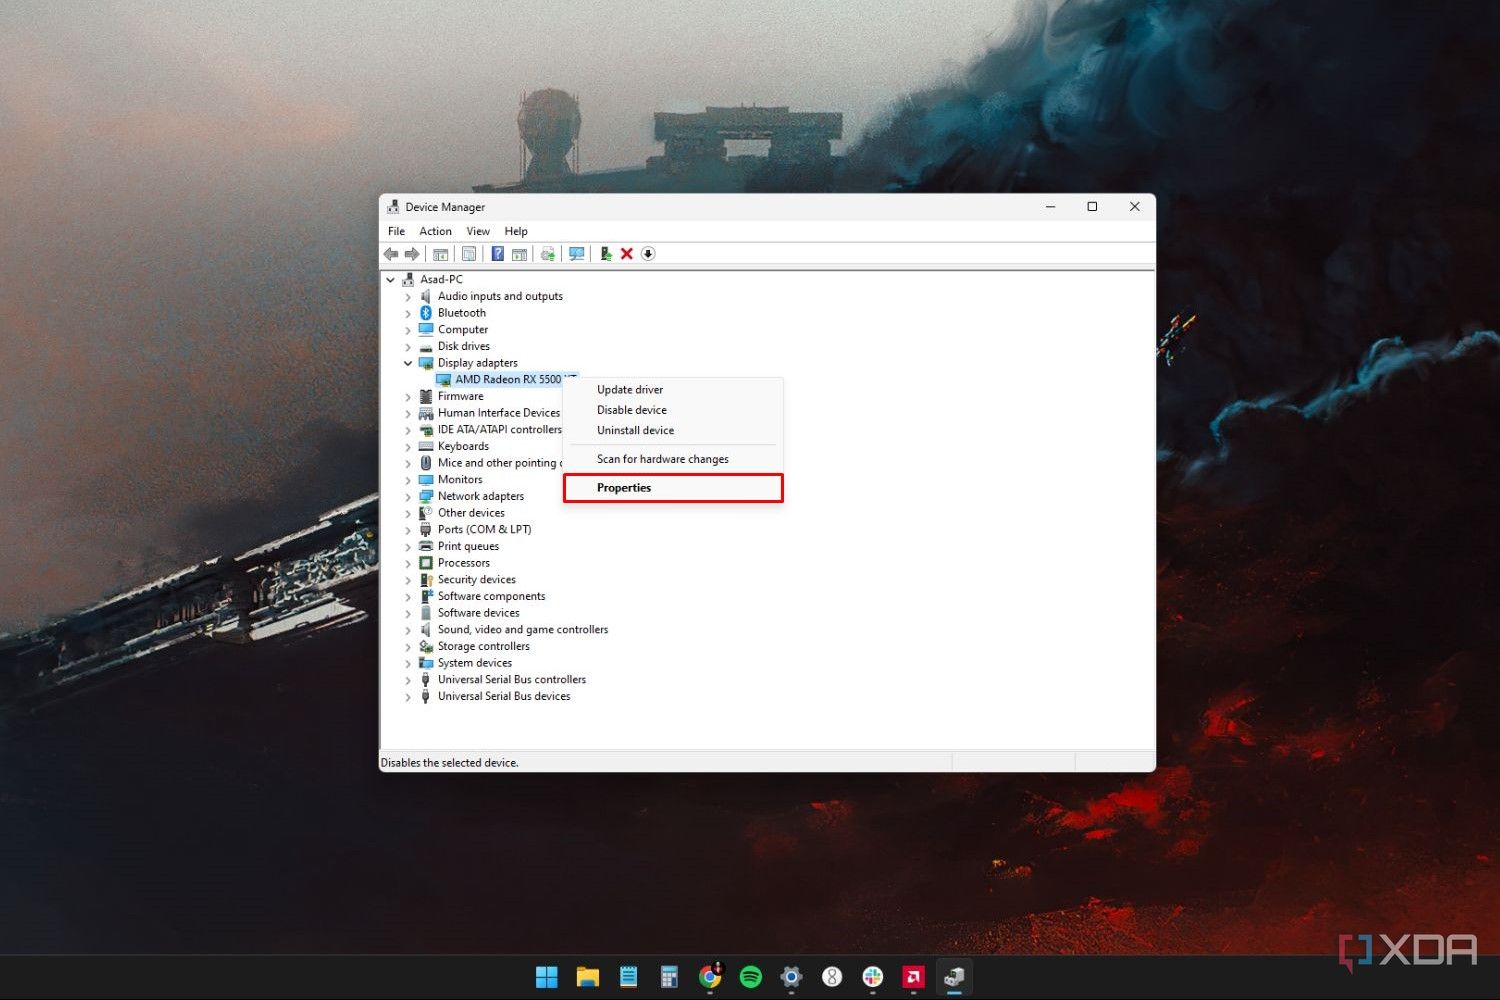
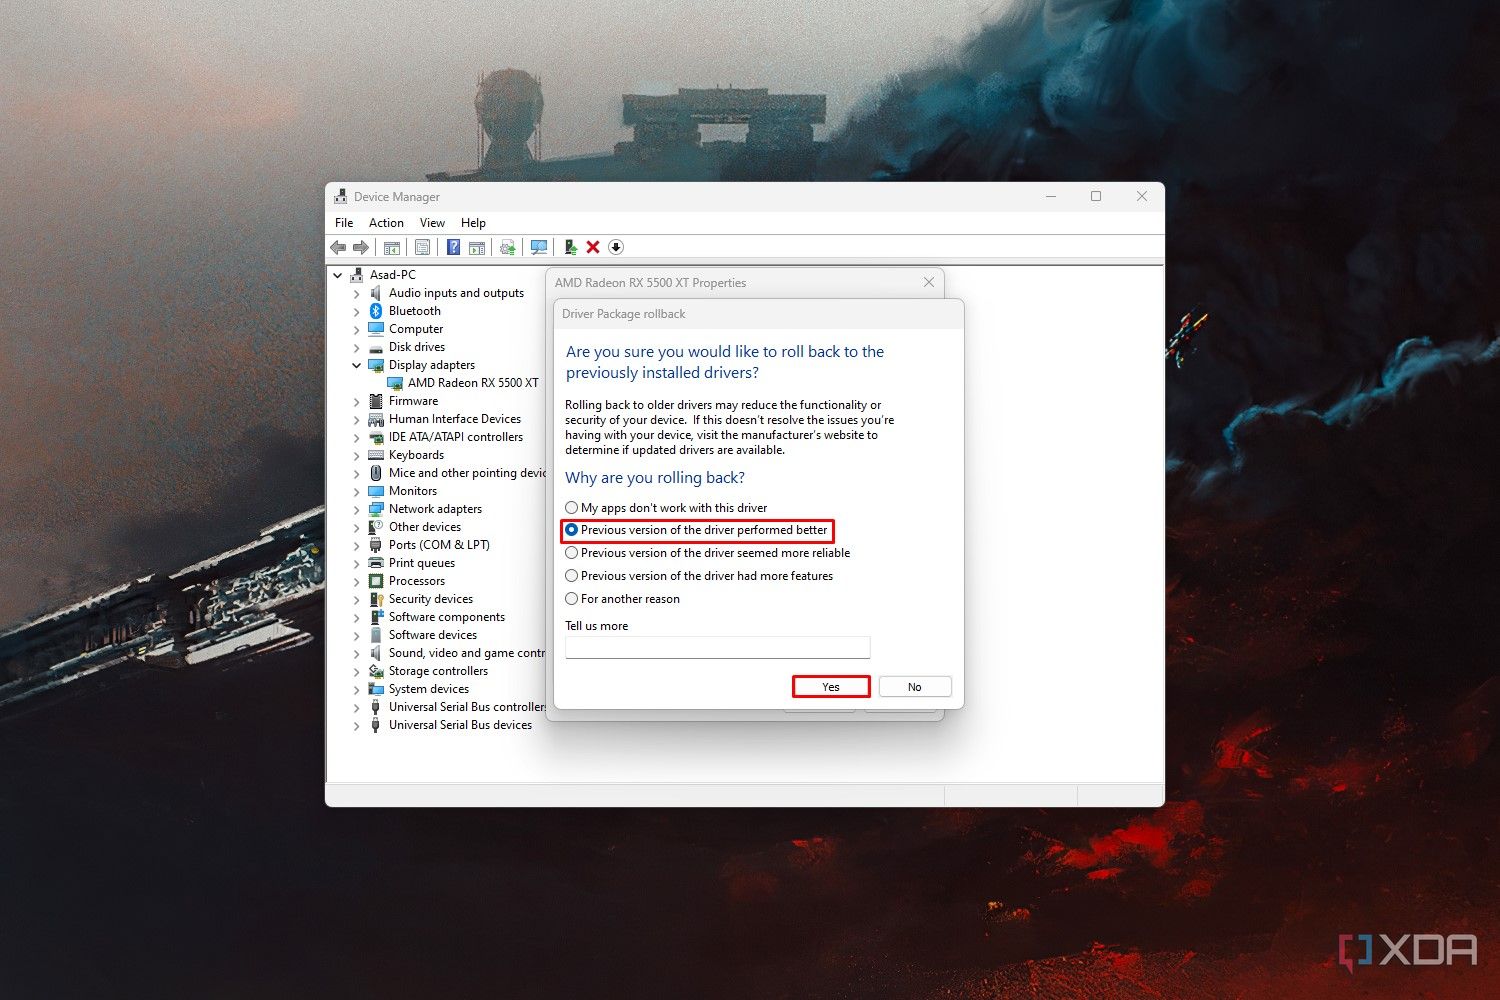
- Right-click the name of your graphics card adapter and select Properties from the drop-down menu.
- Click the Driver tab, and click the Roll Back Driver button.
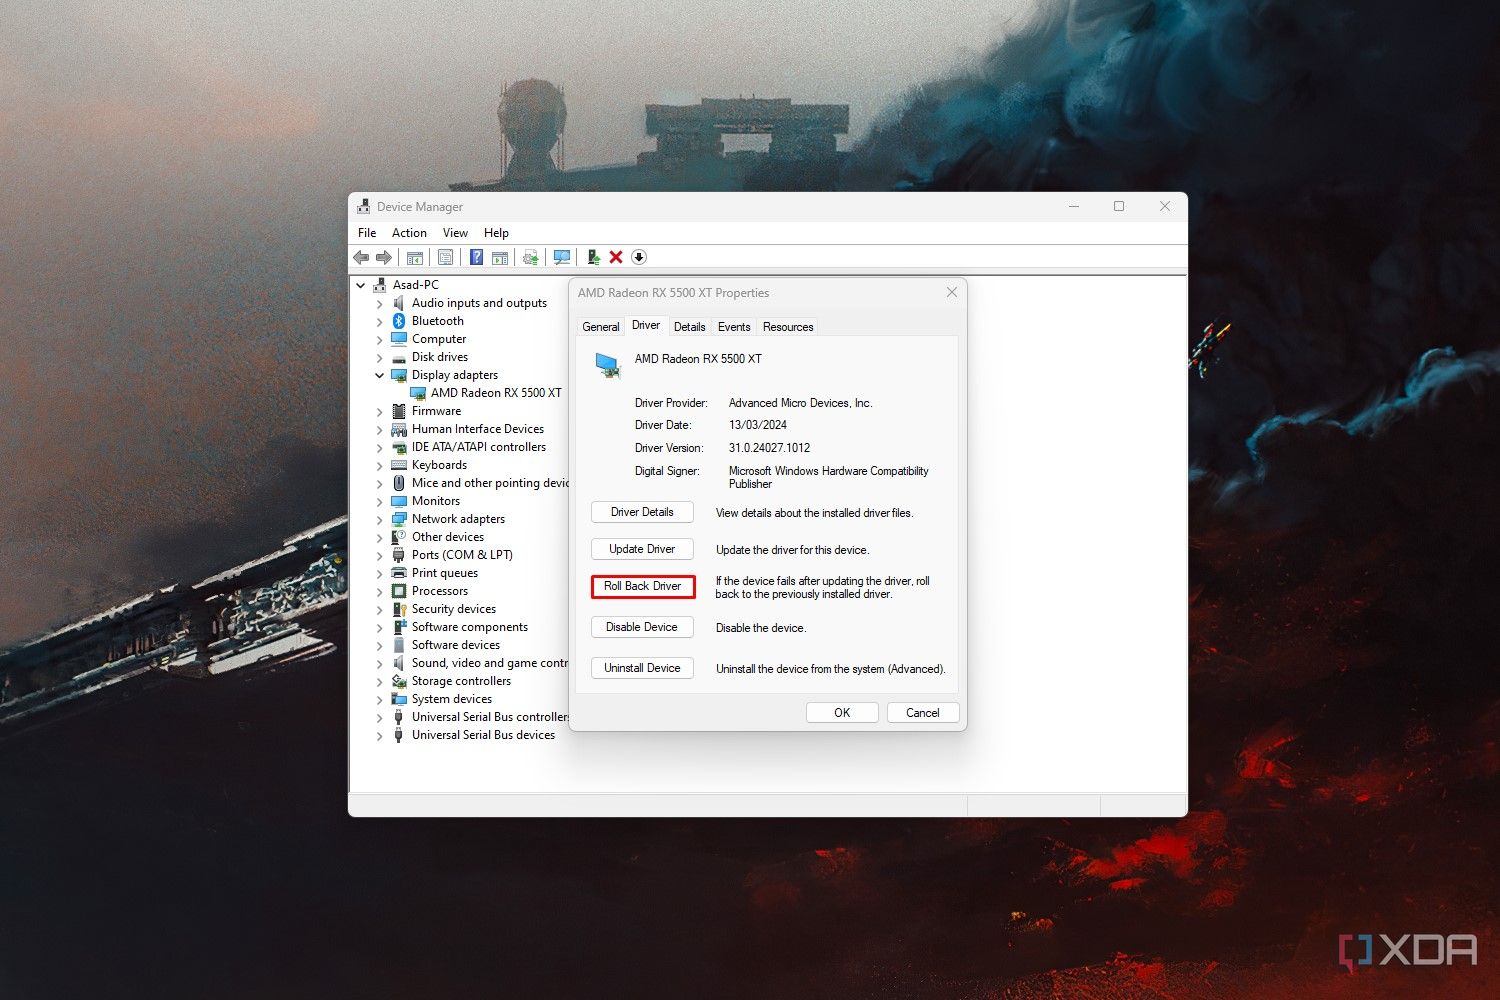
- Choose any reason from the list that pops up, and click Yes.
- Restart your PC.


After completing the steps above, Windows will reinstall a previous version of the driver, hopefully fixing the screen flickering issue.
There’s just one problem here. For some of you, the Roll Back Driver option might be grayed out and unavailable. This might happen because your computer has never had a previous version of the installed driver, or Windows did not retain the driver files from the original version. In that case, uninstalling and reinstalling graphics drivers is your next step.
Reinstall graphics driver
There are plenty of ways of reinstalling your graphics driver, and using the device manager is the simplest. However, it’s always best to start with a clean slate when you have issues such as screen flickering.
For a hassle-free experience, we recommend using a third-party app called Display Driver Uninstaller (DDU). This app can always safely uninstall graphics drivers when you’re having issues, and you should also consider using it when upgrading to a new graphics card.
- Download the latest version of DDU from Wagnardsoft’s official website. There are two download options: the portable version and the standard installer. For the purpose of this guide, we’re going with the portable version.
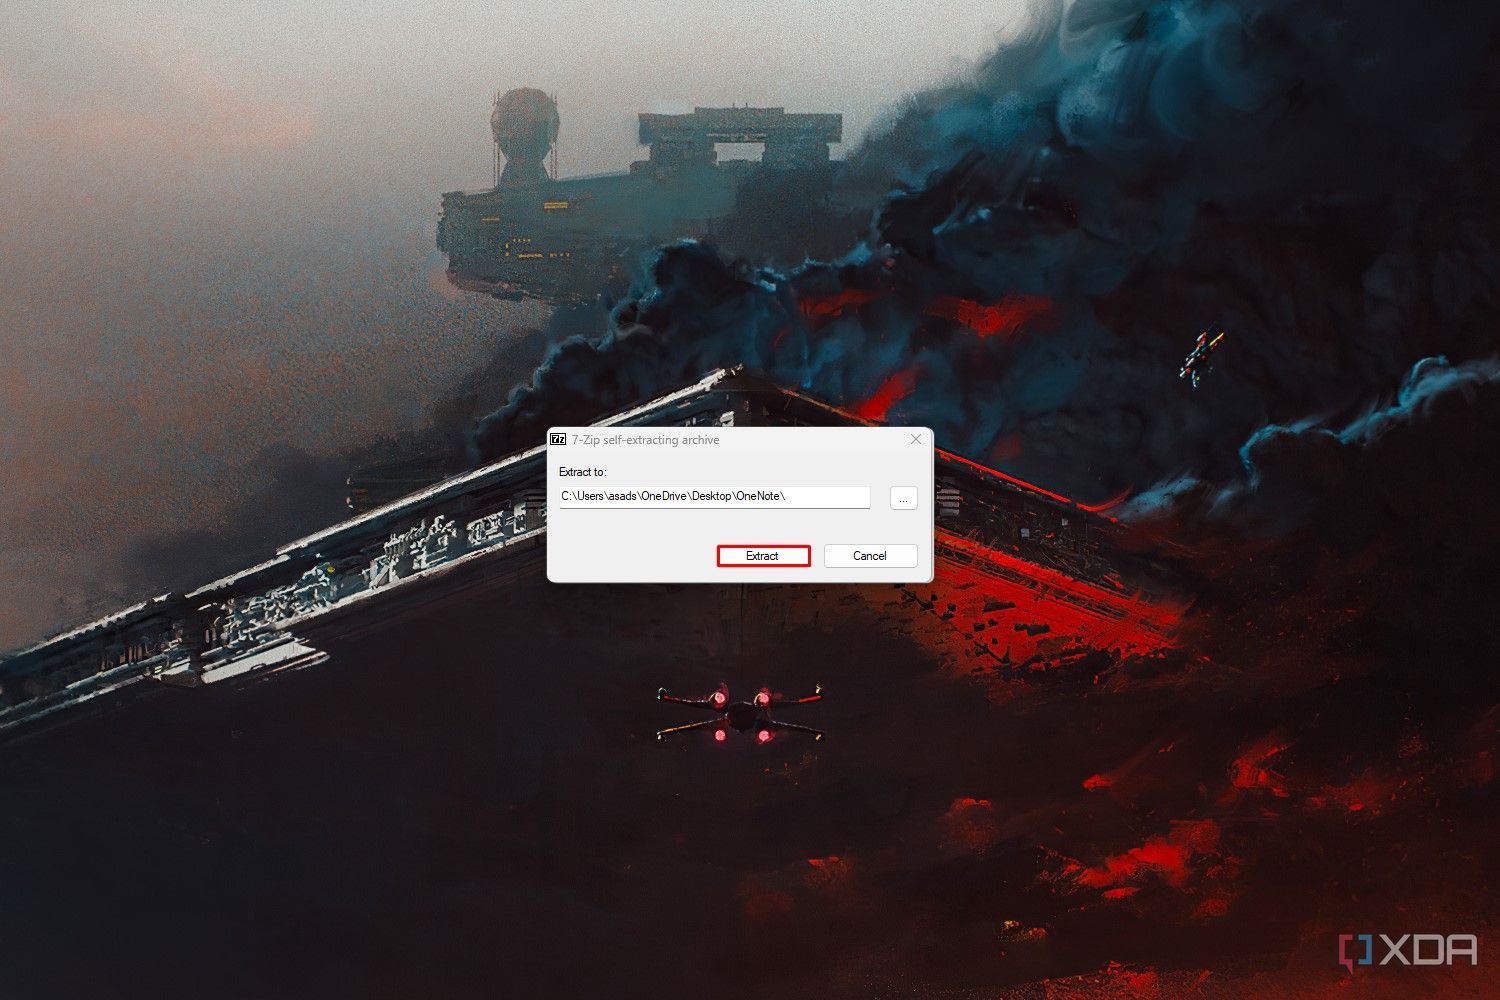
- After DDU finishes downloading, click the EXE file to open it. Pick the location where you want it to go and click Extract.
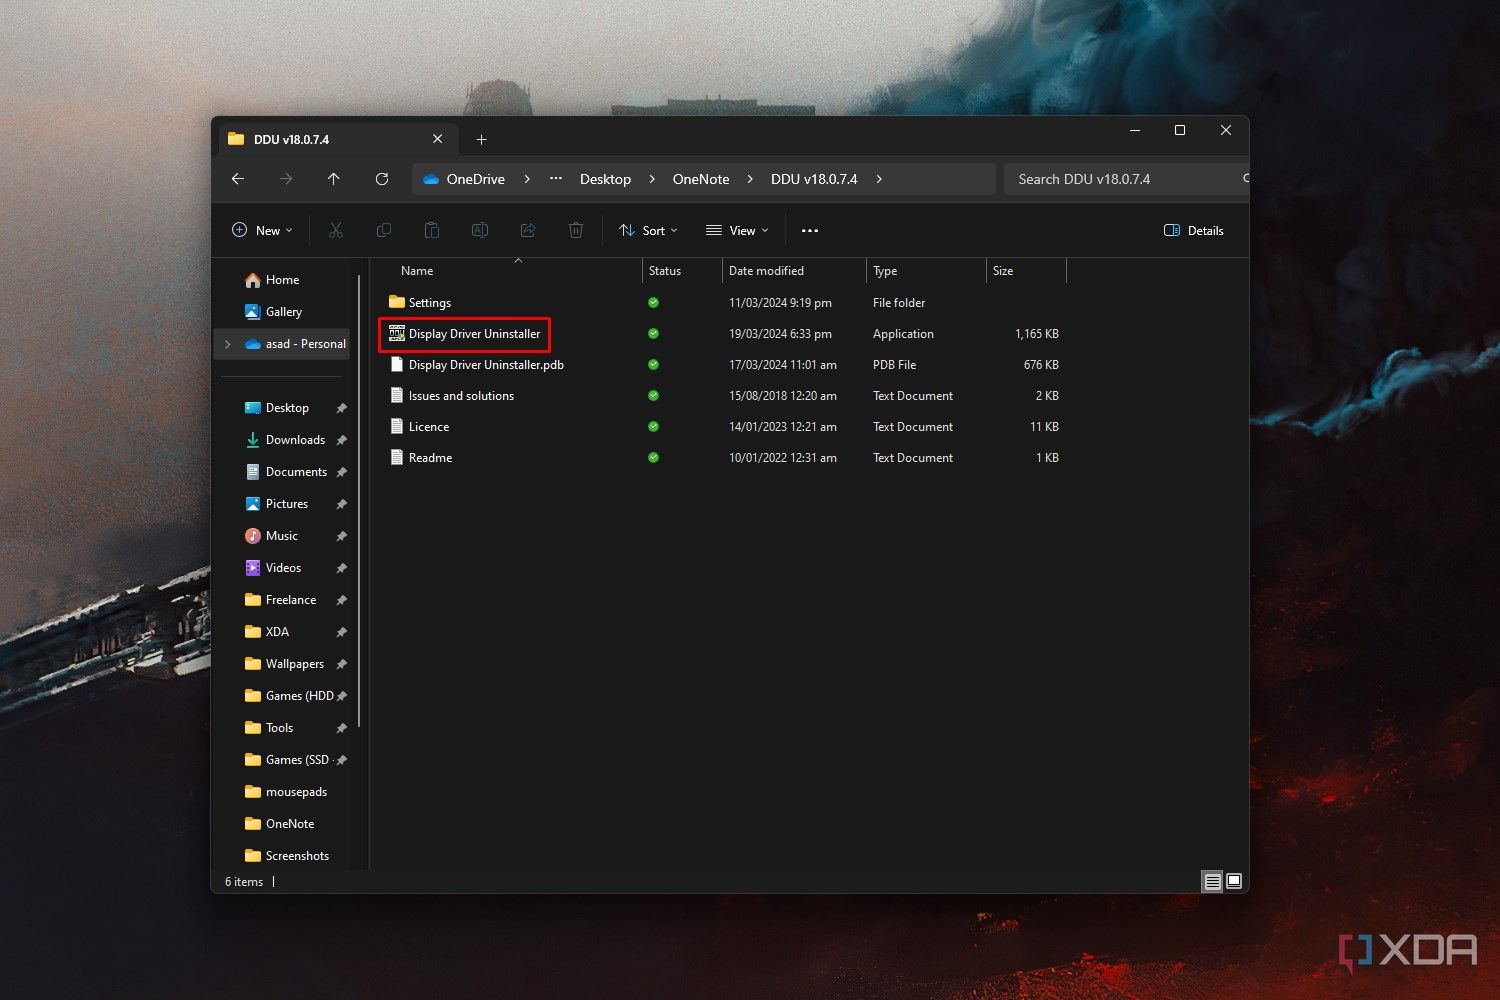
- Go to the folder where you extracted DDU and open its folder.
- Double-click the application to open. Click Yes when the administrator prompt pops up.
- Another prompt will tell you you’re not in safe mode. Booting into safe mode is recommended if you’re dealing with corrupt drivers. However, the standard way is fine, too. Press OK to close the prompt.
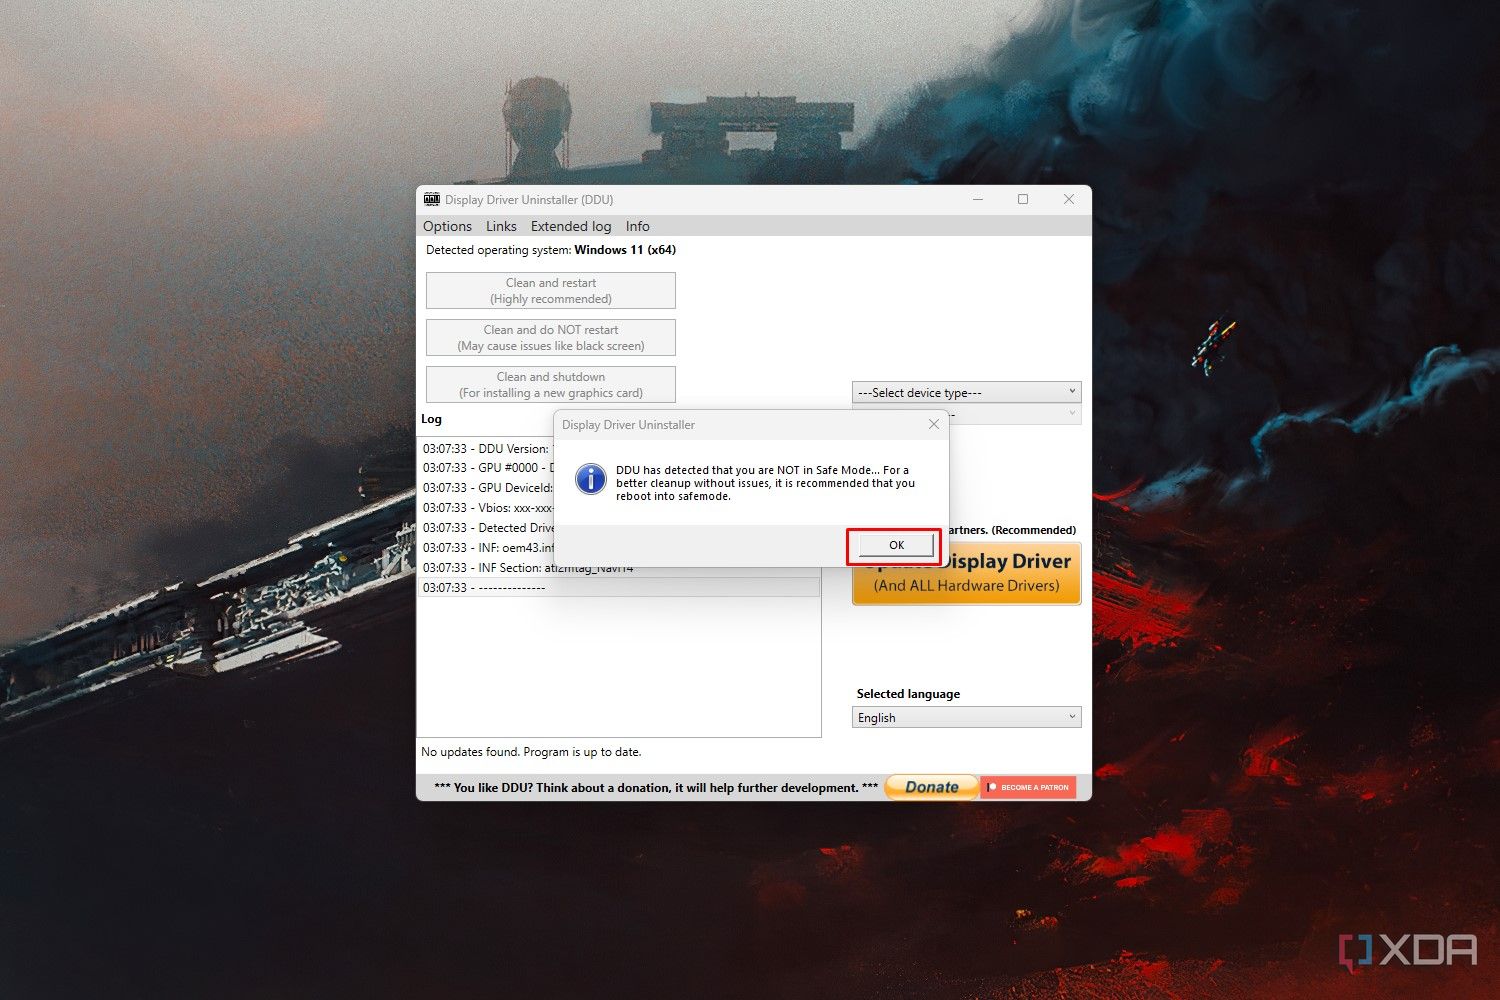
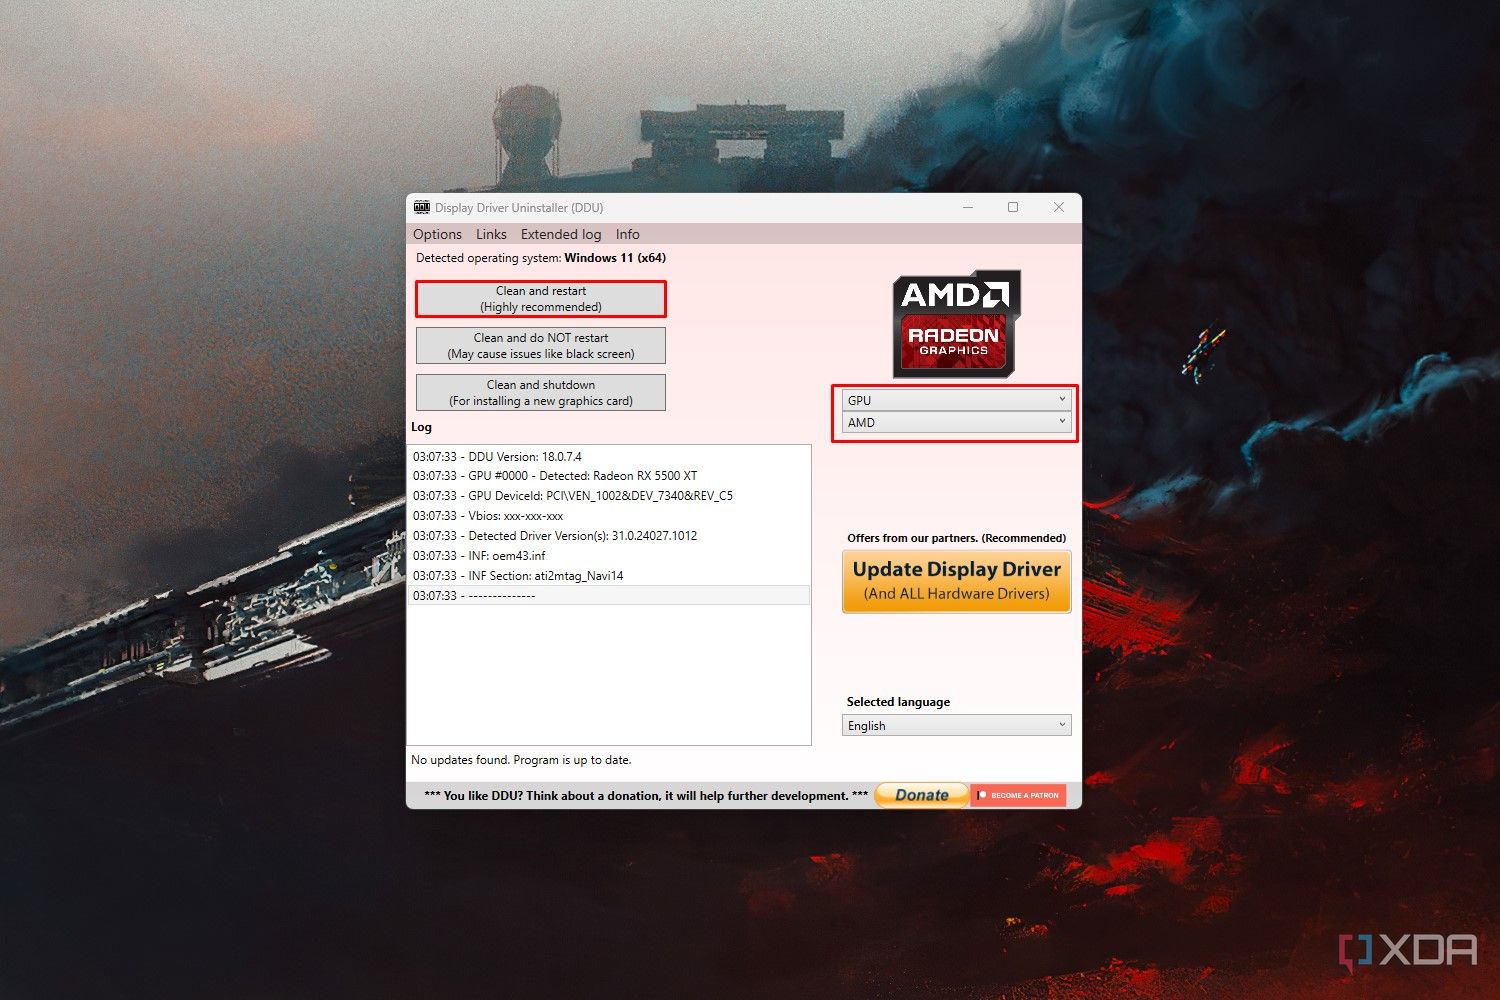
- In the DDU app, select GPU and either AMD, Nvidia, or Intel. The option you need to select depends on who your GPU manufacturer is.
- Select the Clean and restart option to wipe your current graphics card drivers and restart the system.
- Let the application run and do its thing. After it removes any drivers from your PC, it will restart the system automatically.


After your PC restarts, the system will automatically download and reinstall the drivers automatically from Windows Update. This will likely fix the screen flickering problem, assuming it was an issue with the drivers.
Remember that while the Windows Update service offers reliable drivers, they’re usually a bit outdated. Older drivers won’t give you the best possible performance, and they could cause other issues down the line. To avoid such issues, consider manually downloading the latest graphics drivers from AMD, Nvidia, or Intel’s website.
Check your graphics card

If all else fails, it’s time to check your graphics card. Your first step should be to check the GPU temperature. At idle, GPU temperatures between 40 and 60 degrees Celsius are considered fine. In more intensive tasks, the temperature can reach up to 90 degrees or beyond. However, that only happens when you push the graphics card to its limit. If you see higher temperatures than usual during normal operation, your graphics card is overheating.
Look for other signs to see if your graphics card is working properly. If you’ve noticed frequent graphical glitches, strange fan noises, unexpected frame drops, and random crashes, your graphics card might be on its way out. This may be due to an overheating issue or components failing because of faulty manufacturing.
If you think it’s an overheating issue, reapplying thermal paste on your graphics card is worth a shot. Just keep in mind that this might void your warranty, depending on the manufacturer. On the other hand, if the fans aren’t working or there’s an issue you can’t crack, it’s time to contact the manufacturer for support or claim the warranty.
Finally, there’s also a slim chance that your graphics card isn’t seated properly. If you moved your PC recently or upgraded your graphics card, it’s worth opening the case and reinstalling it into the PCIe slot.
Getting rid of screen flickering
There are a lot of ways to fix screen flickering on Windows 11, and while that sounds great, it means there are a lot of variables to consider when trying to fix the issue. For most people, uninstalling a problematic app or reinstalling graphics drivers should be a quick fix. If that doesn’t work for you, the other fixes in this guide might work or, at the very least, help you narrow down the problem. We hope you find a fix quickly and get back to using your PC without issues.

What is Nvidia G-Sync?
G-Sync is one of Nvidia’s most tried and tested technologies, but it’s changed over the years. Here’s what you need to know.
[ad_2]


