

Regardless of whether you wish to keep an eye on your pets or want to reduce the threat of burglary, a surveillance system is a worthwhile investment. While CCTV cameras are a lot cheaper these days, none can rival the utility of a custom security system.
Thanks to the MotionEye project, you can convert your Raspberry Pi board into a full-fledged motion-detection surveillance system!

Best single board computer in 2024
If you’ve been thinking of tinkering with a SBC, we break down the most common ones and why you’d want them.
What you’ll need
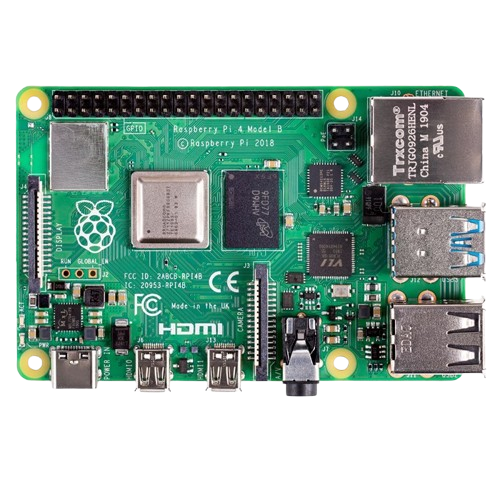
You can use any Raspberry Pi model for this project as running MotionEye isn’t taxing on the SBC family. However, I’d recommend getting at least a Raspberry Pi 3 B+ if you want optimal performance. If you’re a beginner, I’d advise against buying a Raspberry Pi 5 because the latest addition to the Raspberry Pi family isn’t compatible with MotionEyeOS, and you’ll have to go through a tedious process to set up the security camera with the SBC.
You’ll also need a microSD card to store the OS, image, and video files. For those planning to capture high-resolution videos, it’s a good idea to pick up at least a 32GB card to avoid running out of space in the middle of a recording.
Be sure to check our guide on how to find your Raspberry Pi’s IP address as you’ll need it when logging into the MotionEye web interface. If you’re still unable to get the IP address, simply install Nmap on your PC or Fing on your smartphone and run a network scan with the app.
It also goes without saying that a security system would be incomplete without a camera. I used an affordable HP webcam and the Obsbot Tail Air in the project, but you can even go for Raspberry Pi camera modules and IP cameras (and even all three, at the same time).
-
-
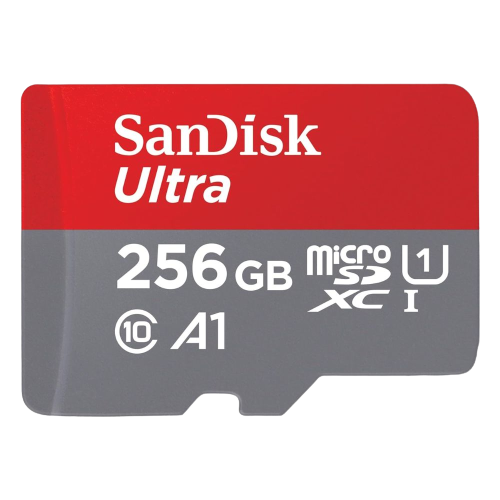
SanDisk 256GB Ultra microSDXC card
-
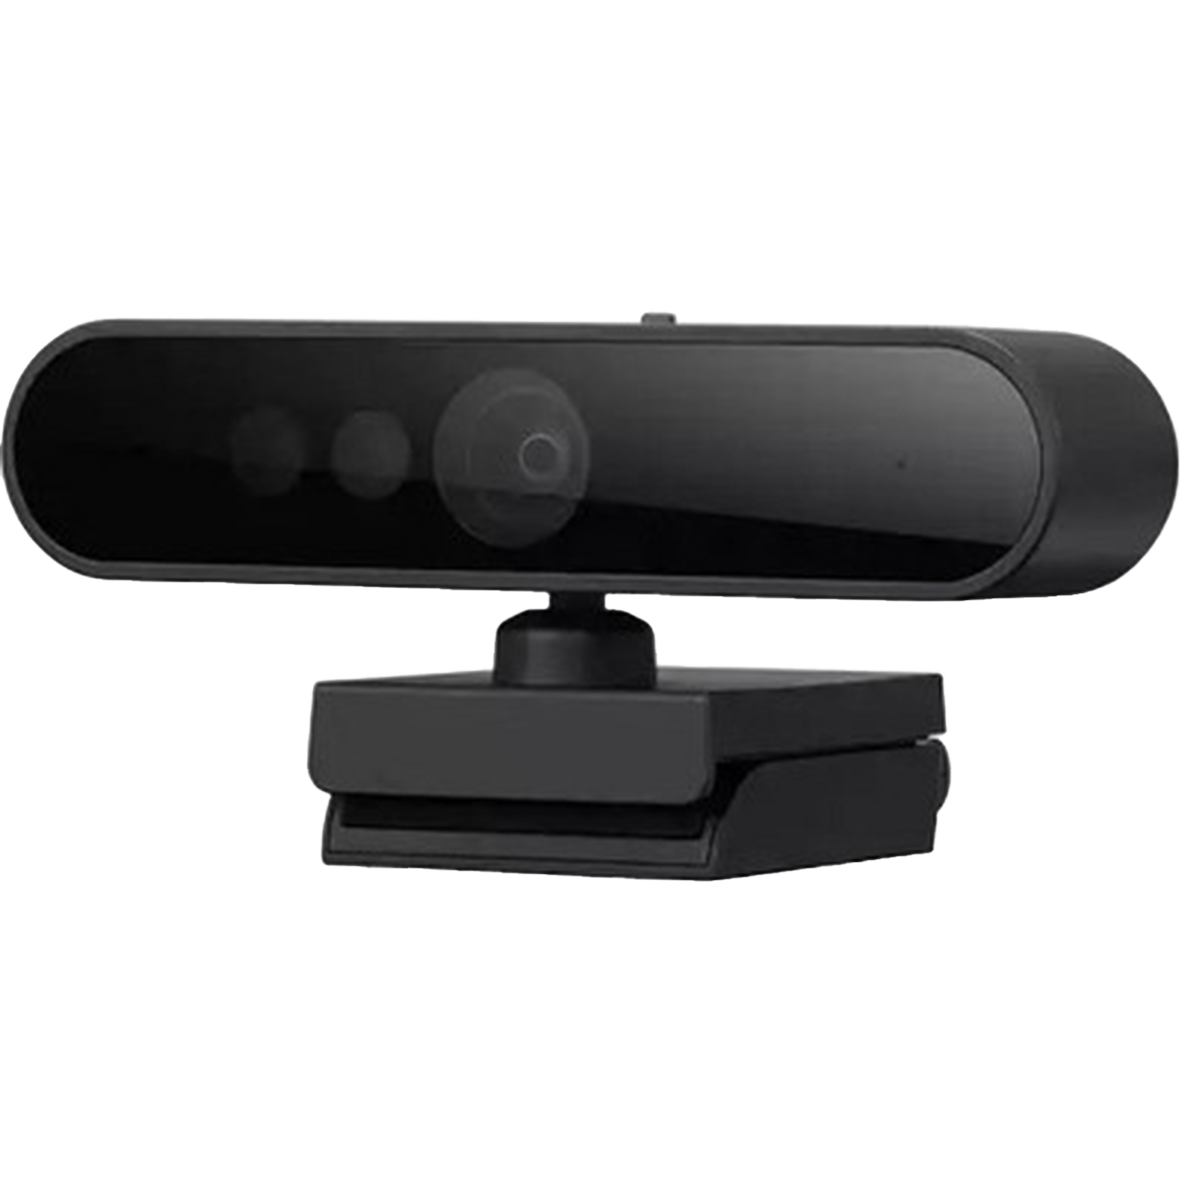
Lenovo Performance FHD Webcam
If you forgot to configure the ThinkPad T14 with a Windows Hello webcam, this is a cheap solution that offers solid video quality along with an IR sensor for facial recognition. It also offers a range of adjustments so you can get the right angle and position, there’s a privacy shutter, and dual microphones for calls.


Installing MotionEyeOS on most Raspberry Pi boards

If you’re rocking any mainline Raspberry Pi model besides the RPi 5, installing MotionEyeOS is a straightforward process. All you have to do is:
1. Download the version of MotionEyeOS that’s compatible with your Raspberry Pi board from the official GitHub link.
2. Head to this link and download the portable version of Balena Etcher.
3. Run Balena Etcher as an admin afterward.
4. Click on Flash from file, choose the MotionEyeOS image you downloaded earlier, and tap OK.

5. Hit Select target, and pick the microSD card that will be in your Raspberry Pi.

6. Press Flash and wait for Balena Etcher to write the OS files onto the microSD card.

Installing MotionEye on the Raspberry Pi 5

Unfortunately, there isn’t an official MotionEyeOS image that you can use with your Raspberry Pi 5. So, you’ll have to go through all the steps to install MotionEye on the latest and greatest Raspberry Pi board.
For starters, you’ll need another Linux distro like the Raspberry Pi OS or Ubuntu to install the MotionEye interface. The overall procedure is the same as flashing MotionEyeOS: download the Raspberry Pi OS or Ubuntu image before writing it on your microSD card using Balena Etcher.
After that, you can boot into the operating system and follow this procedure to install MotionEye:
1. Open the Terminal app.

2. Install the latest version of Python and the development headers required for the native extensions used by MotionEye with the following command:
sudo apt --no-install-recommends install ca-certificates curl python3 python3-dev libcurl4-openssl-dev gcc libssl-dev -y

3. If your distro doesn’t include pip, install it using this command:
sudo apt install python3 pip
4. Since the EXTERNALLY-MANAGED file in the Python package is known to cause issues in the Bookmark version of the Raspberry Pi OS, you should add an extra variable called break-system-packages and declare it as true in the pip configuration file.
grep -q '[global]' /etc/pip.conf 2> /dev/null || printf '%b' '[global]n' | sudo tee -a /etc/pip.conf > /dev/nullsudo sed -i '/^[global]/abreak-system-packages=true' /etc/pip.conf

5. With the help of pip, install MotionEye
sudo python3 -m pip install --pre motioneye

6. Set up the software by executing this command:
sudo motioneye_init

7. Finally, launch the MotionEye server by running the following command:
sudo systemctl start motioneye

Configuring MotionEye using the web interface
Once you’ve set up MotionEye/MotionEyeOS, it’s time to launch its web interface.
1. Switch to your PC and launch your preferred web browser. Make sure your Raspberry Pi is powered on and connected to your router.
2. Type the IP address of your Raspberry Pi followed by a colon and the port number 8765 in the Search Bar.

3. Enter admin as the Username and leave the Password empty before selecting Login.

Next, you’ll need to pair your camera module/webcam/network camera with MotionEye.
1. Click on the Settings icon (three lines) in the top-left corner of the screen.
2. Press the drop-down arrow and choose Add Camera.

3. Choose the Camera Type and make sure the webcam/camera module you’ve used appears next to the Camera option before hitting the OK button.

If MotionEye is compatible with your camera, it will appear on the Dashboard. With that, you’re free to tweak the settings to your liking.
1. Open the Settings menu once again.
2. Scroll down and enable the toggle next to the Motion Detection settings.

3. You can modify the Motion Notification settings if you want your security system to perform a specific action upon detecting motion.

4. Be sure to hit the Apply button when you’re satisfied with the changes.

You can even take manual snapshots via the MotionEye web interface.
1. Check the toggle next to Still Images, ensure the Capture Mode is set to Manual, and hit Apply.

2. Click on the camera in the Dashboard and tap the Snapshot button.

3. You can view the snapshot by clicking on the Pictures Browser.

A Raspberry Pi-flavored alternative to conventional security systems

There are a ton of other settings you can modify within the MotionEye, but I recommend tweaking the Frame Change Threshold under the Motion Detection tab. This value is responsible for determining the minimum number of image pixels that must change between two successive frames for your security system to register motion.
A larger value can result in a lack of motion detection as MotionEye won’t register minuscule changes, while a small value can result in false detection. I recommend enabling the Show Frame Changes setting and experimenting with the Frame Change Threshold slider until MotionEye starts detecting motion as per your needs.
But if you’ve grown tired of the Raspberry Pi-powered surveillance system, you can put the palm-sized device to good use by turning it into a NAS or by building a retro gaming console out of the SBC.

Raspberry Pi 5 review: The holy grail of DIY projects got even better (and rarer)
The Raspberry Pi 5 is one of the most powerful consumer-grade SBCs out there. Sadly, its limited stock means you’ll have a hard time finding one.
[ad_2]


